|
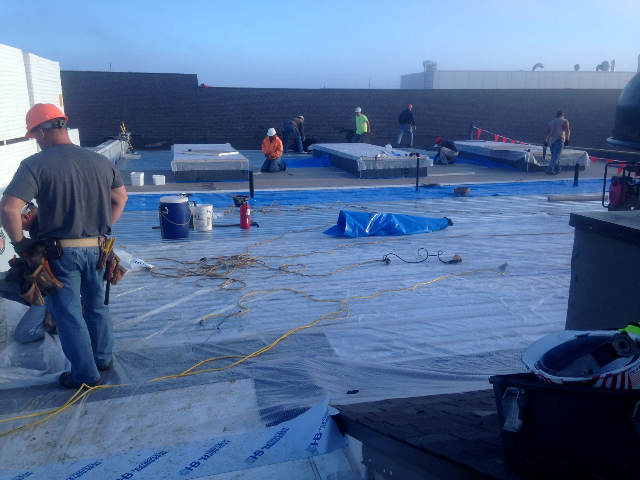
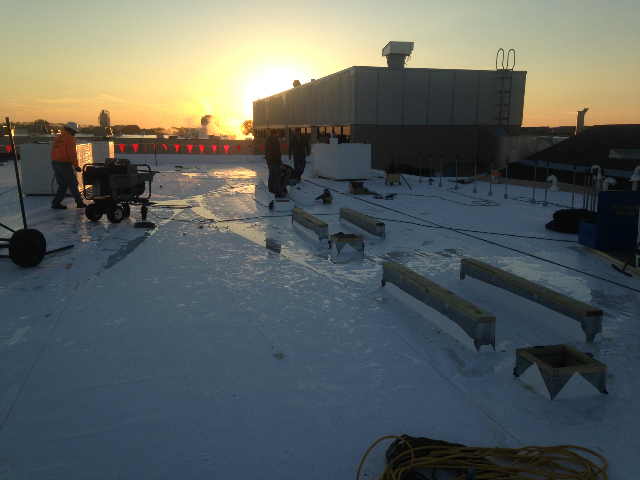
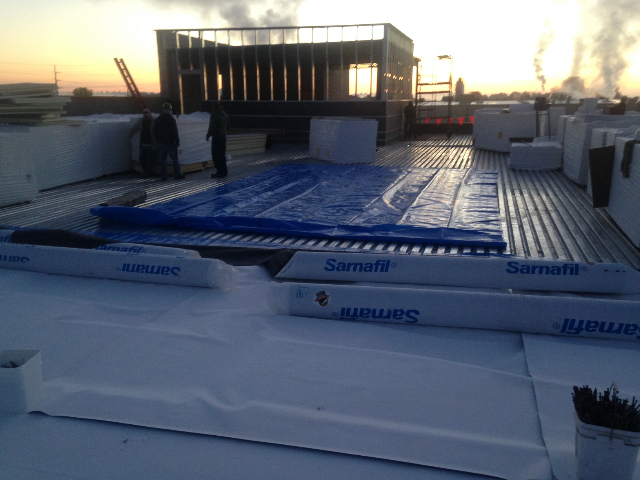
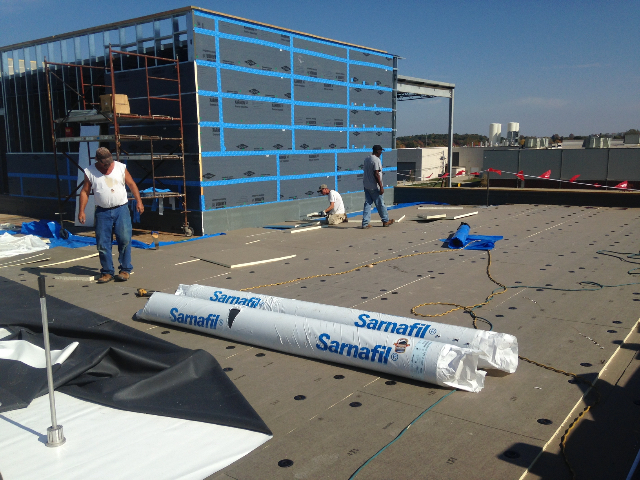
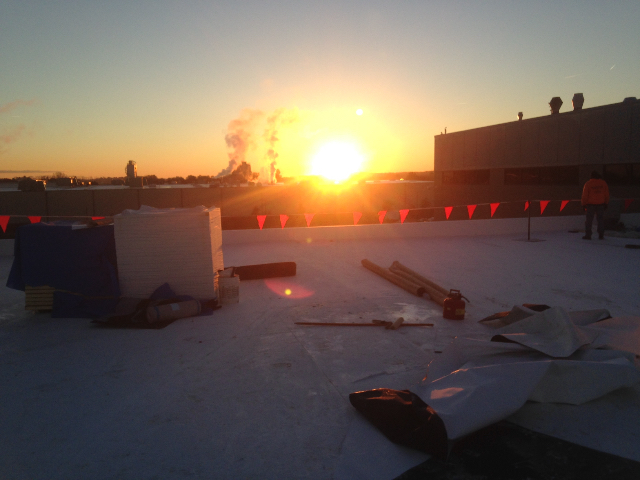
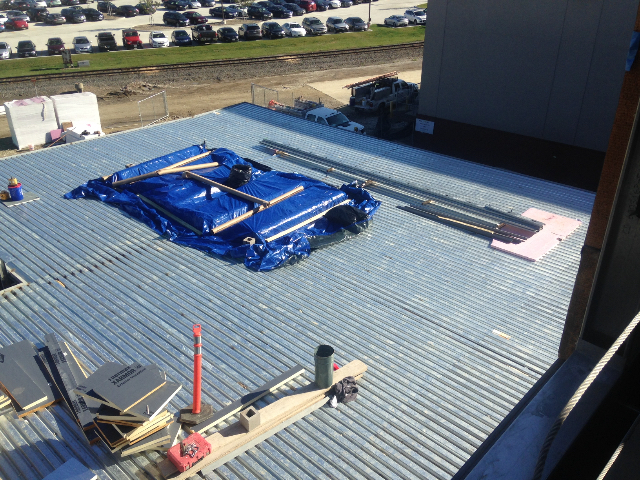
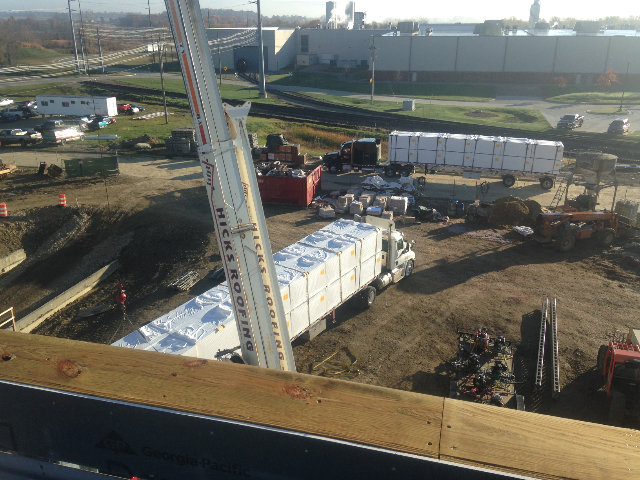
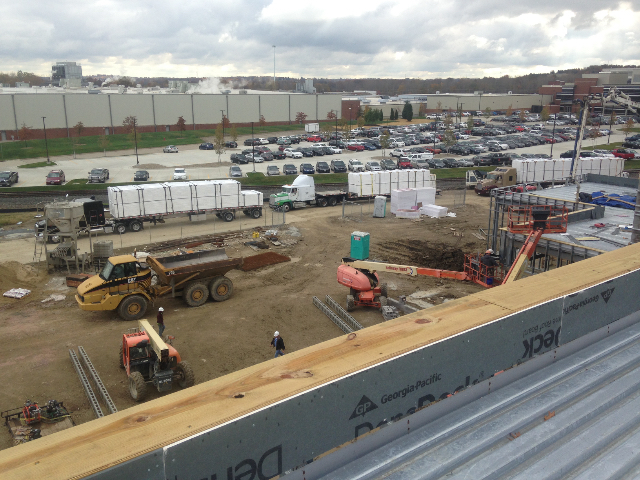
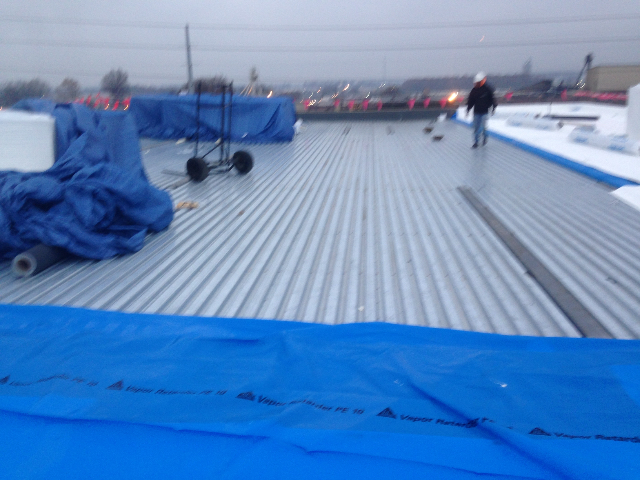
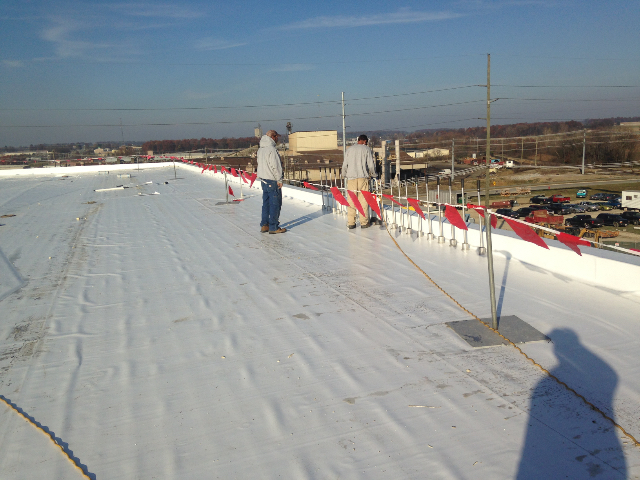
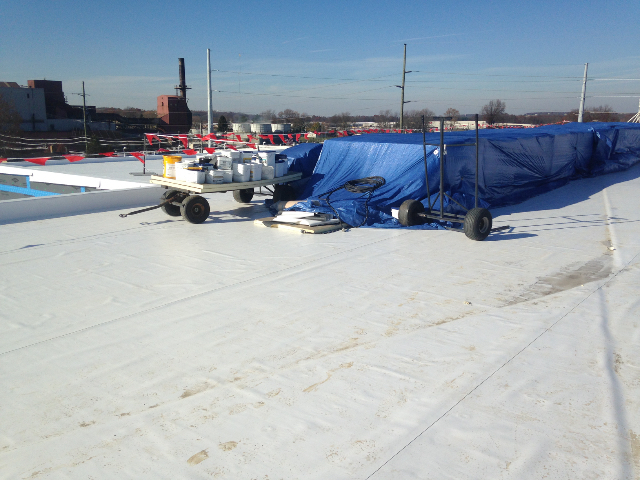
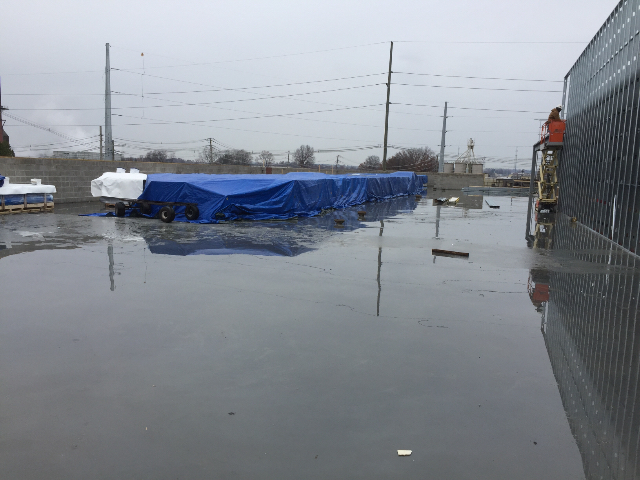
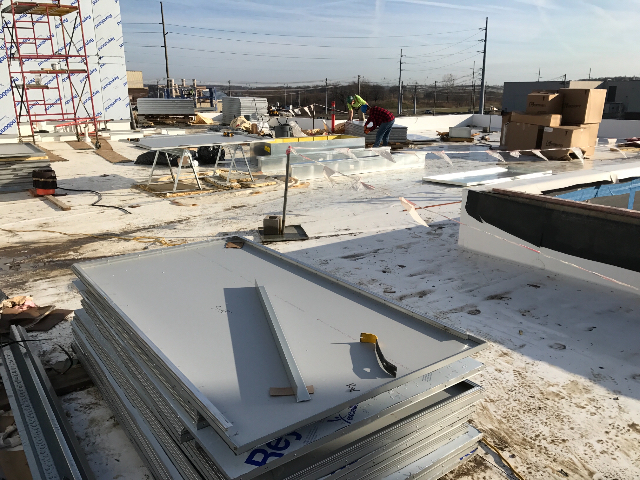
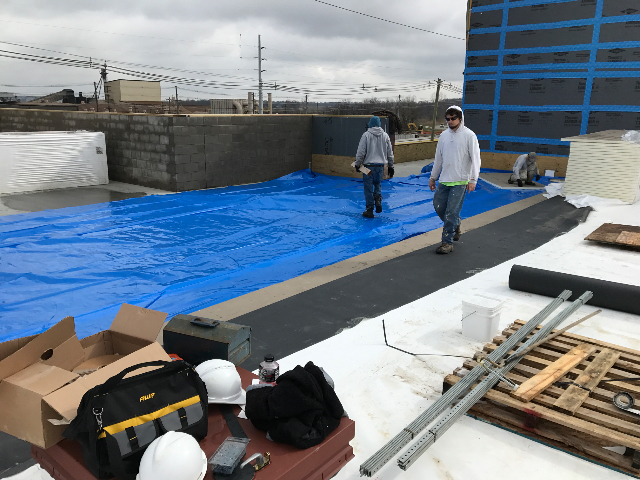
The first roof area that we will be loading our materials and equipment on. 10/03/2016
|
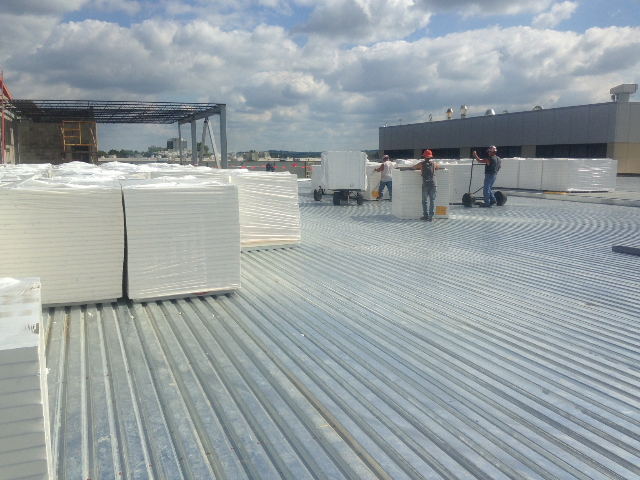
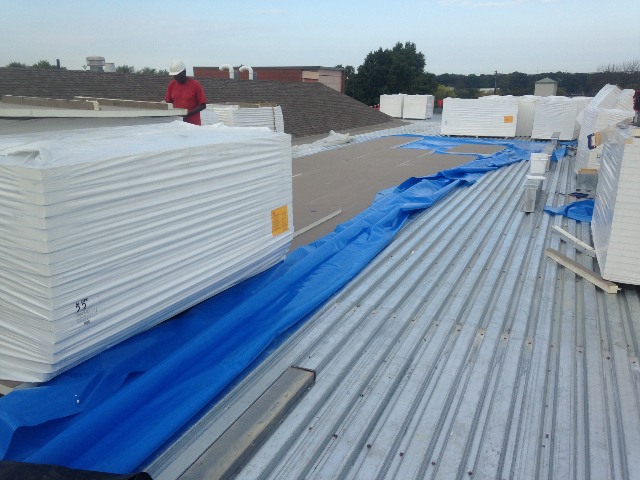
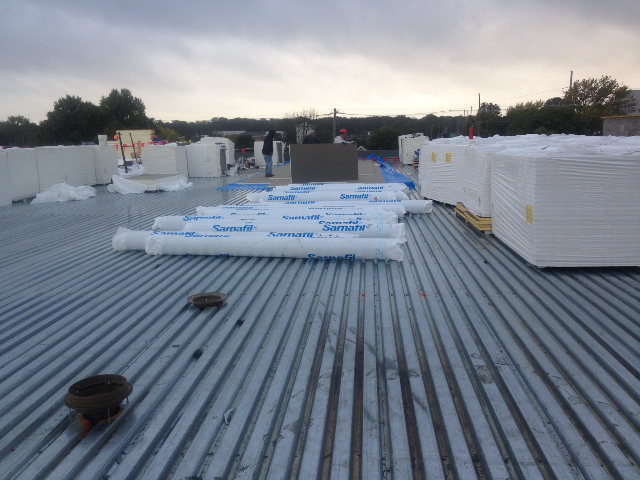
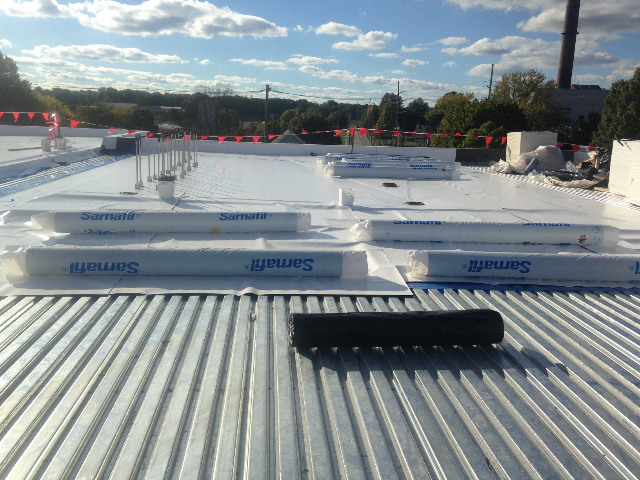
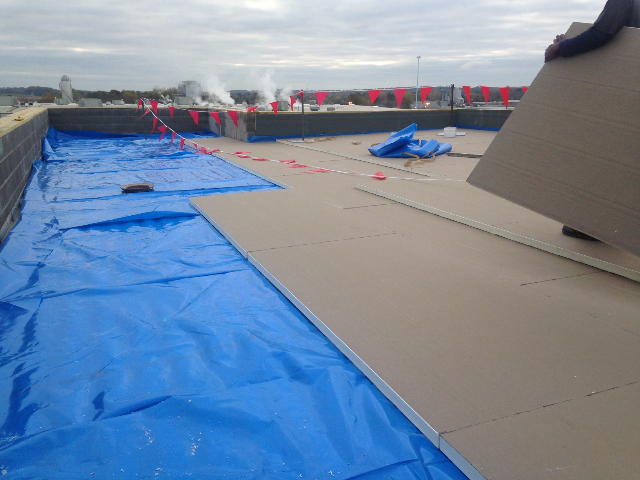
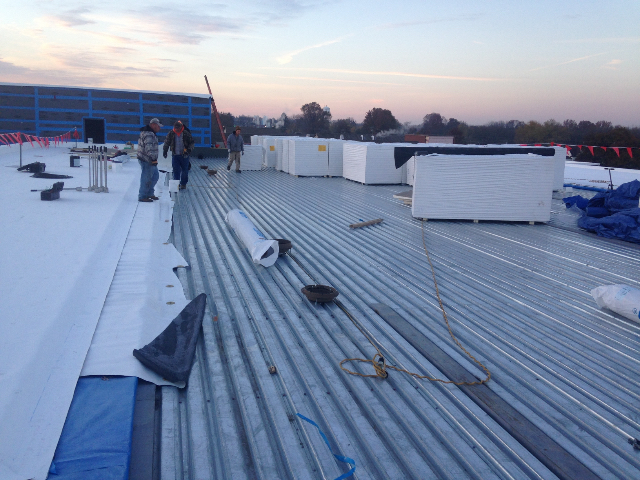
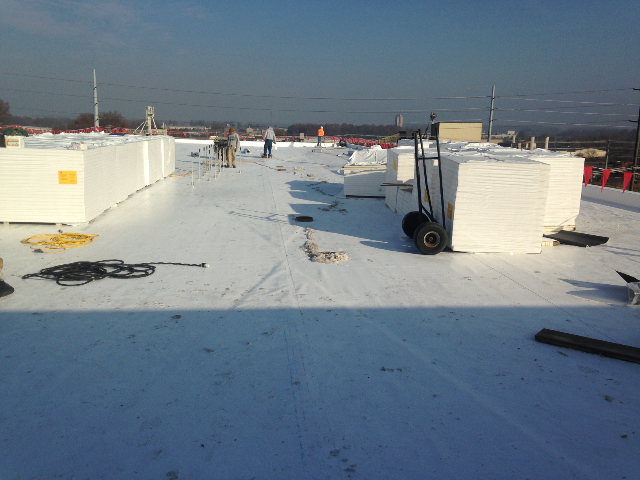
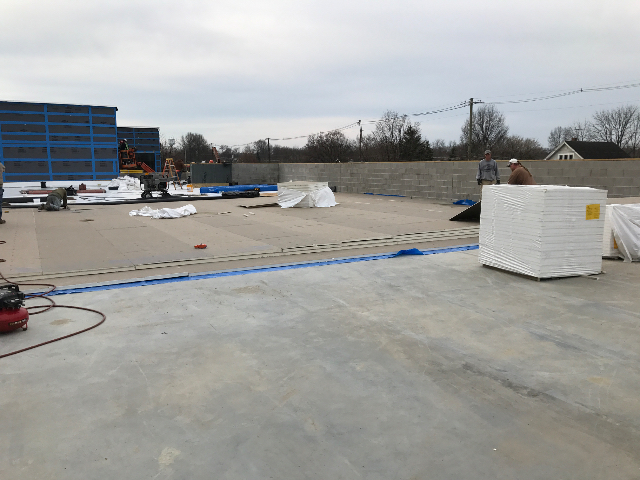
The new bundles of Sarnafil polyiso insulation are loaded and stored on the roof area. 10/03/2016
|
 |  |
|
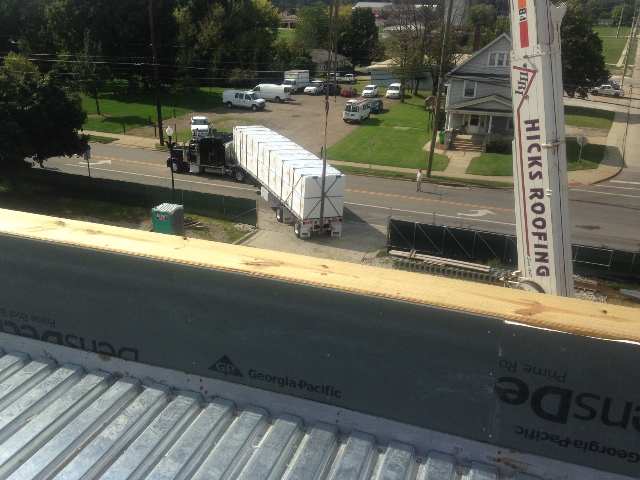
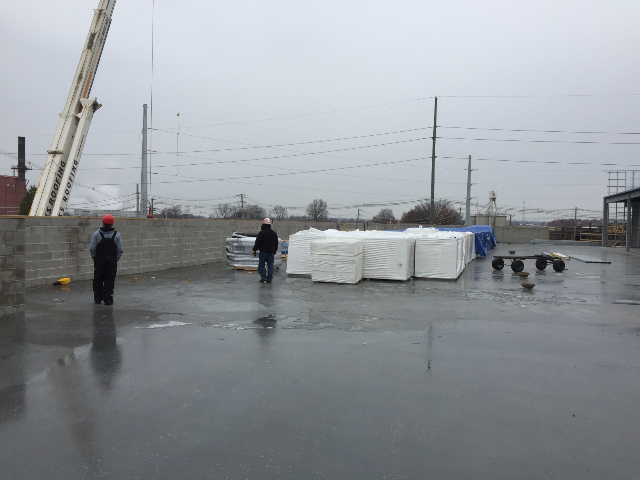
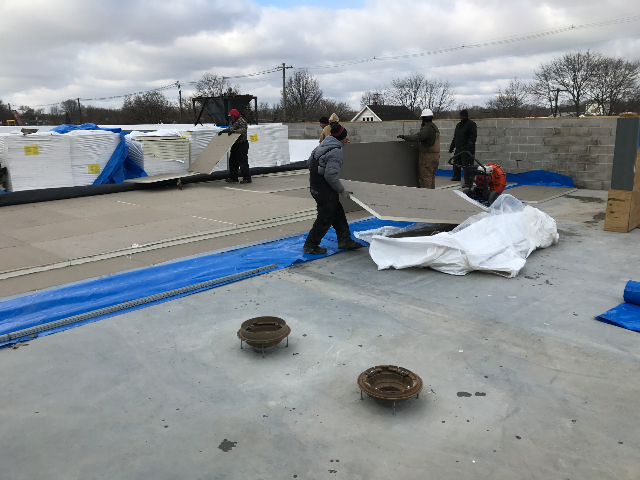
Our crane unloading the new Sarnafil insulation from the truck. 10/03/2016
|
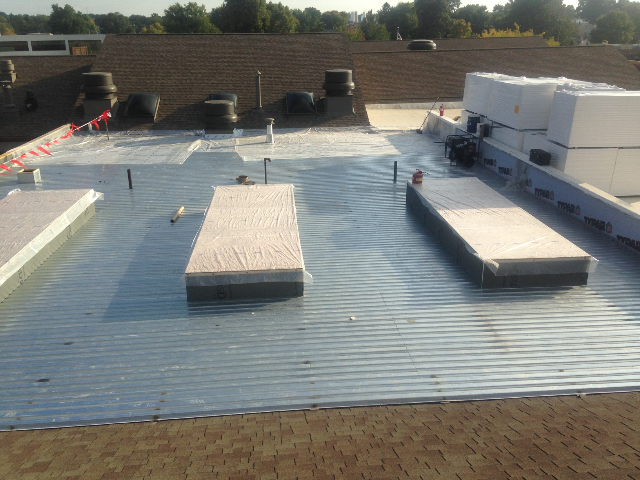
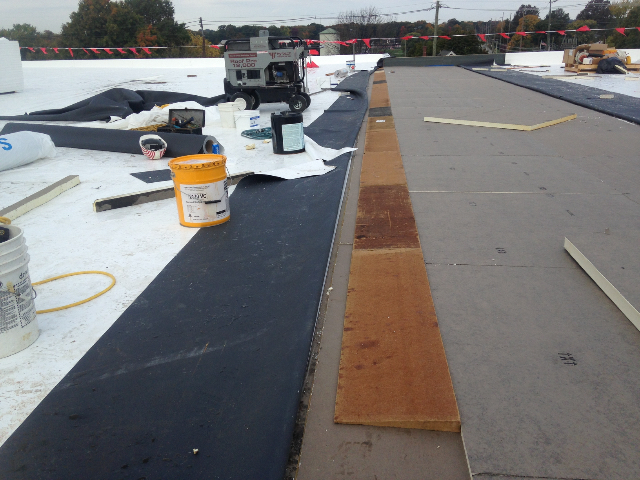
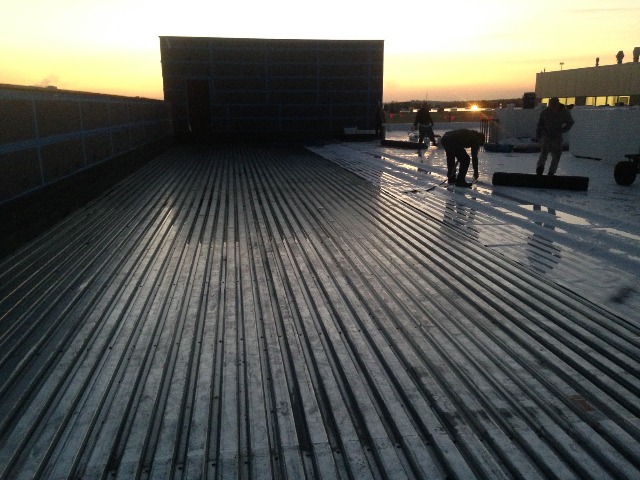
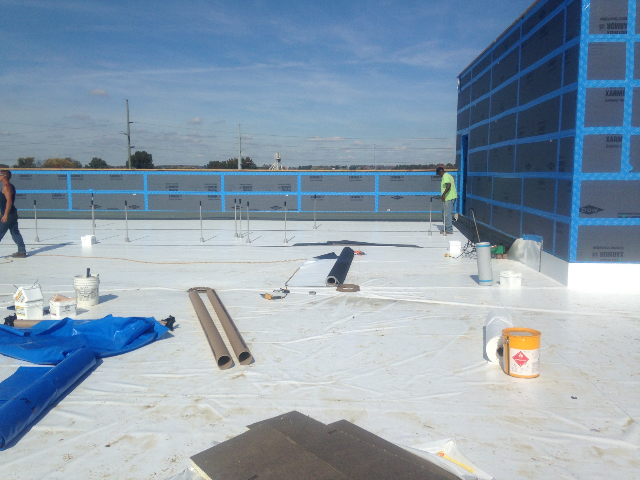
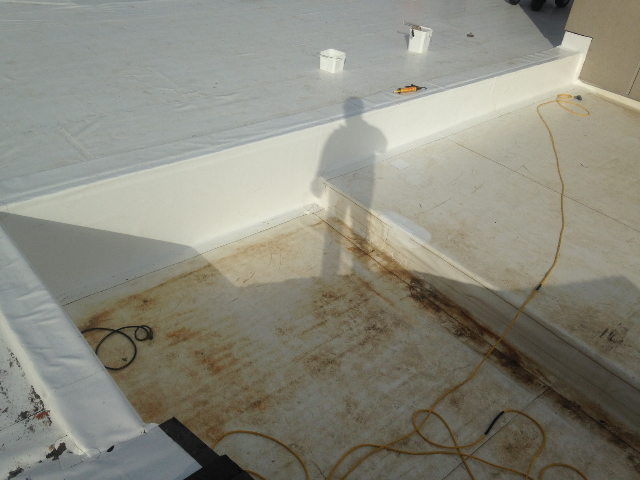
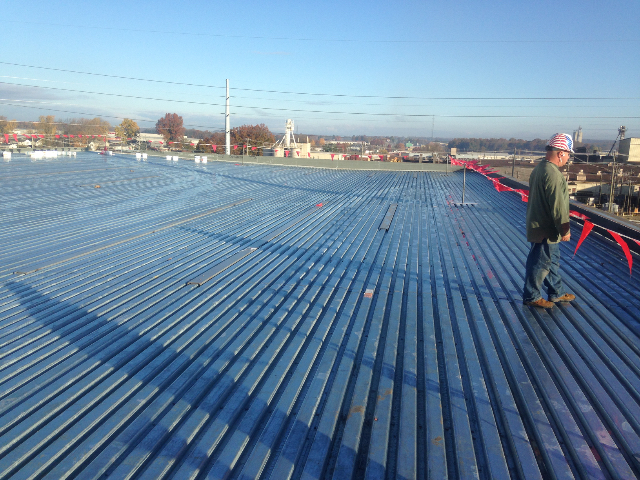
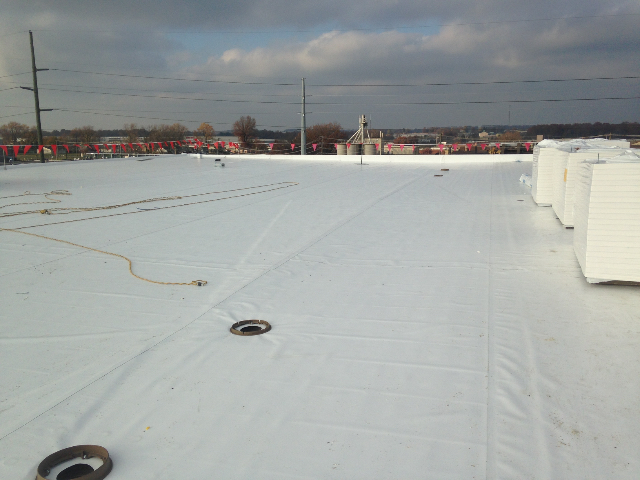
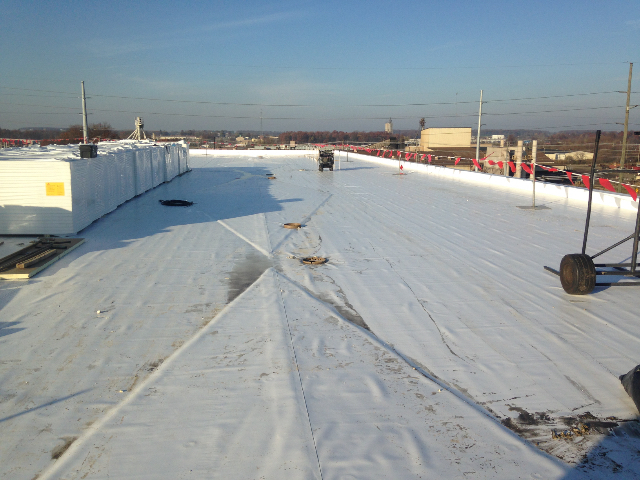
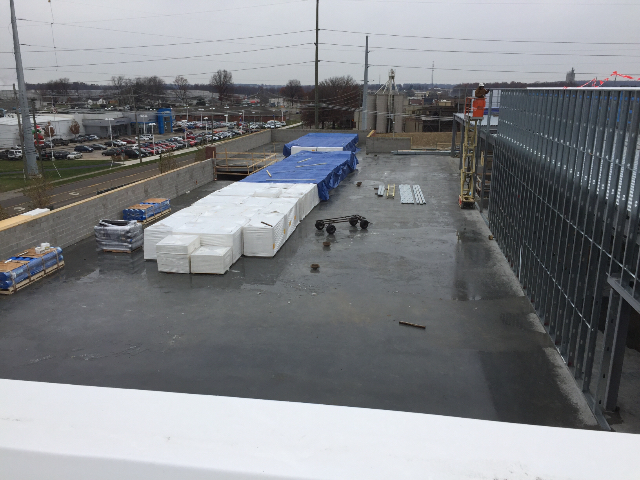
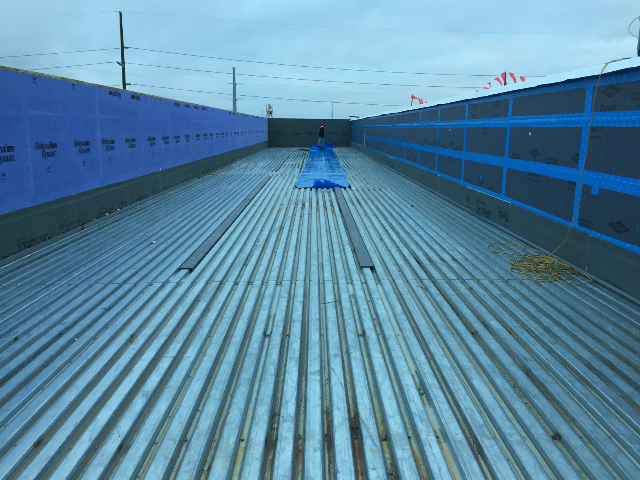
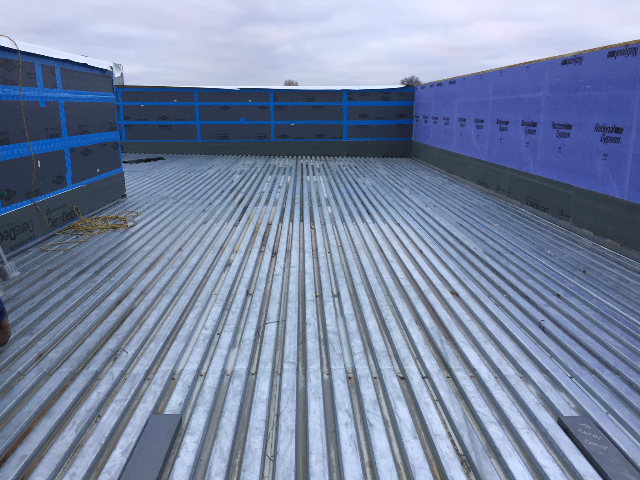
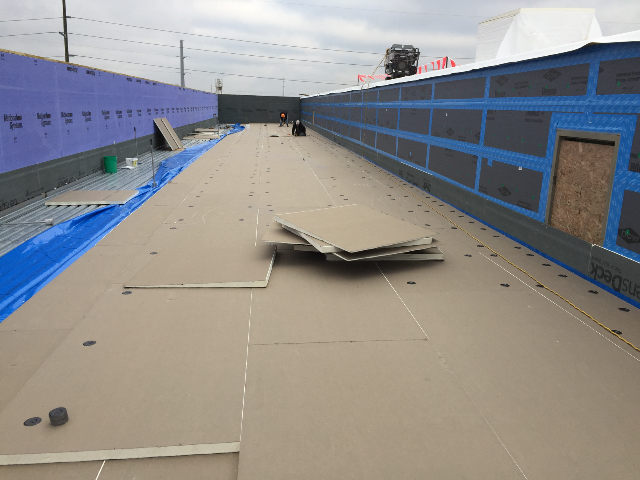
The first roof that will be covered when production begins tomorrow. 10/03/2016
|
 |  |
|
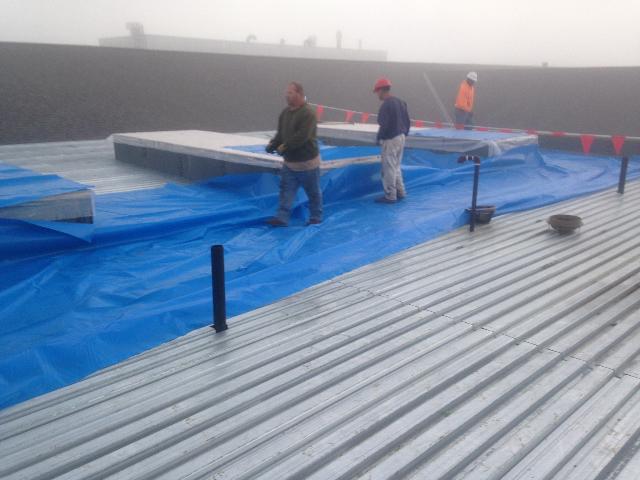
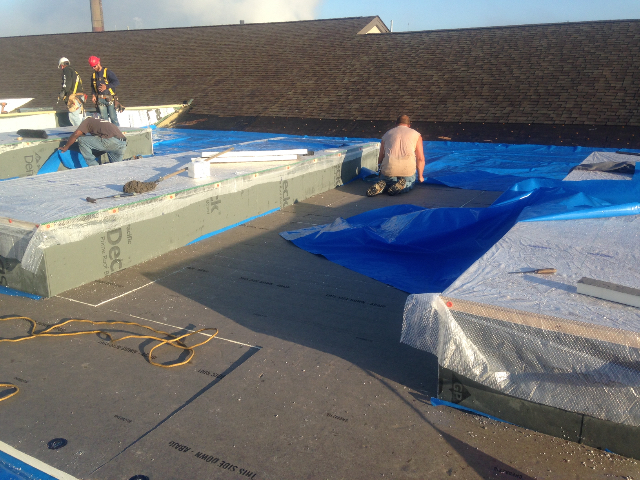
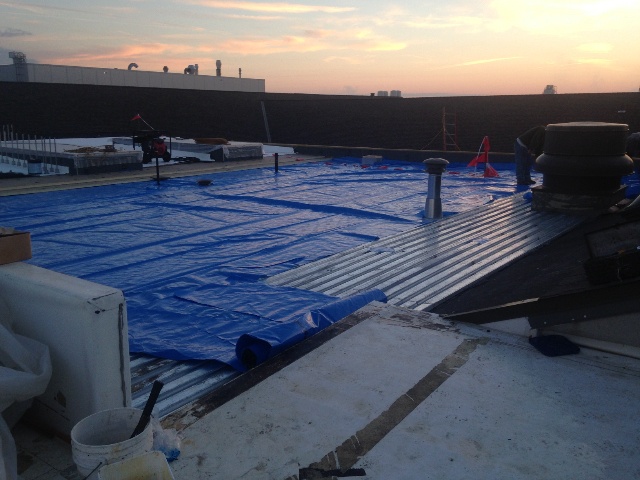
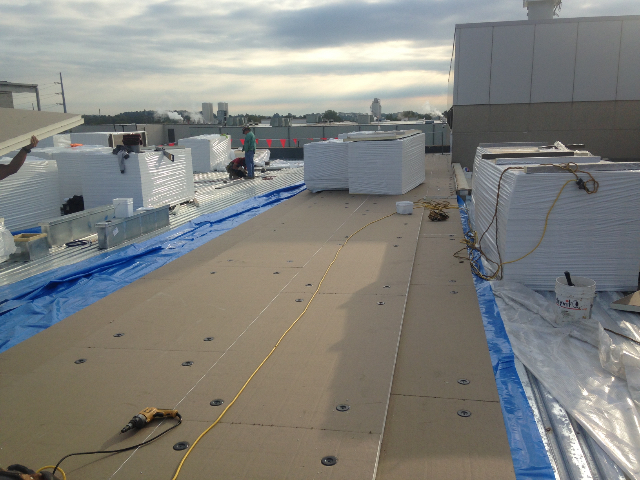
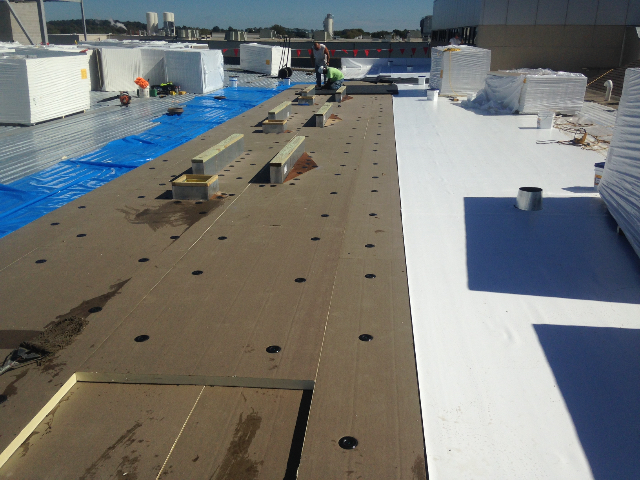
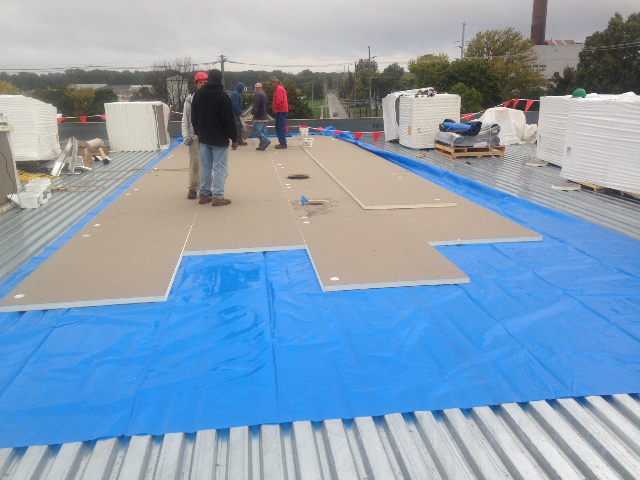
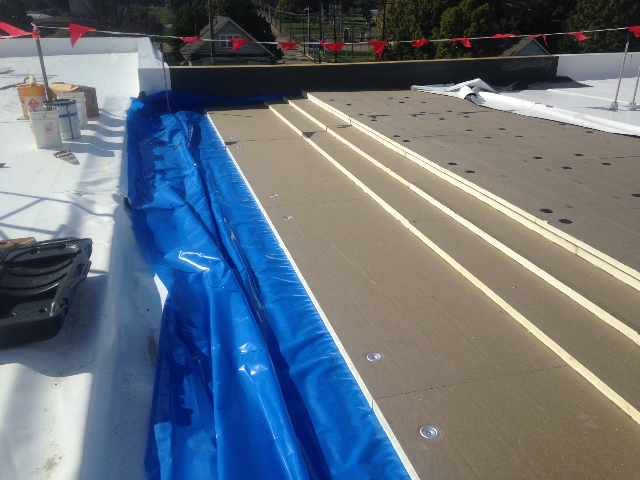
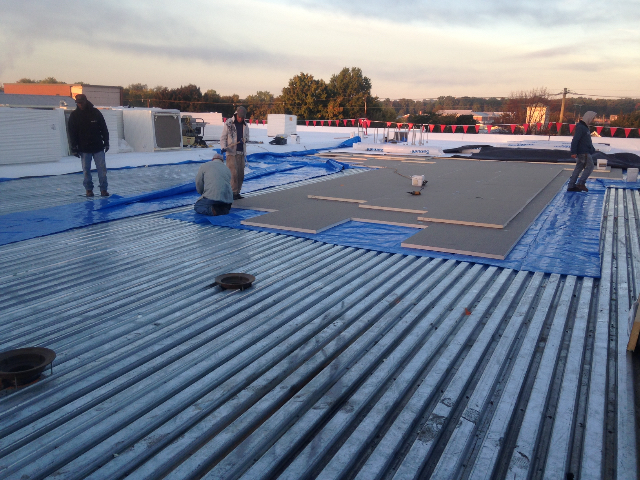
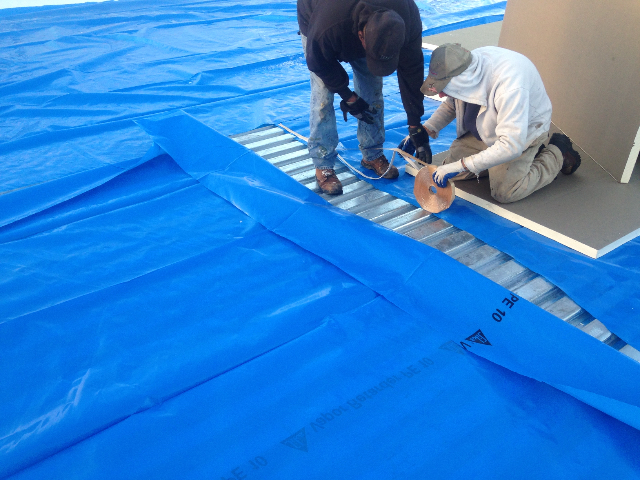
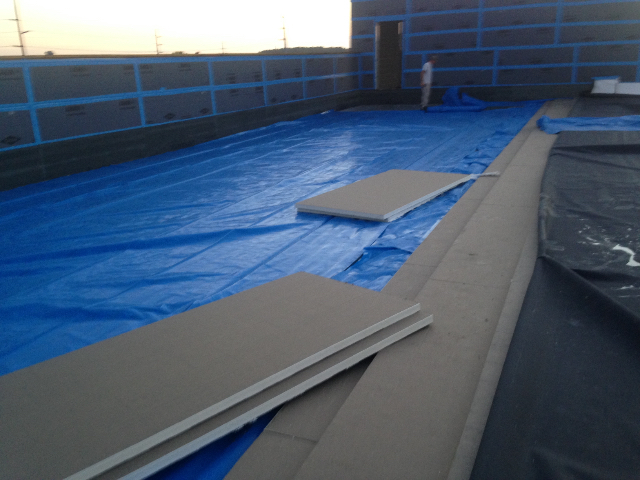
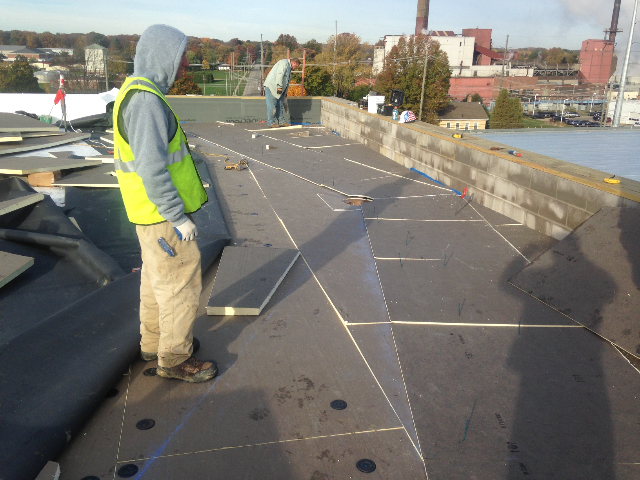
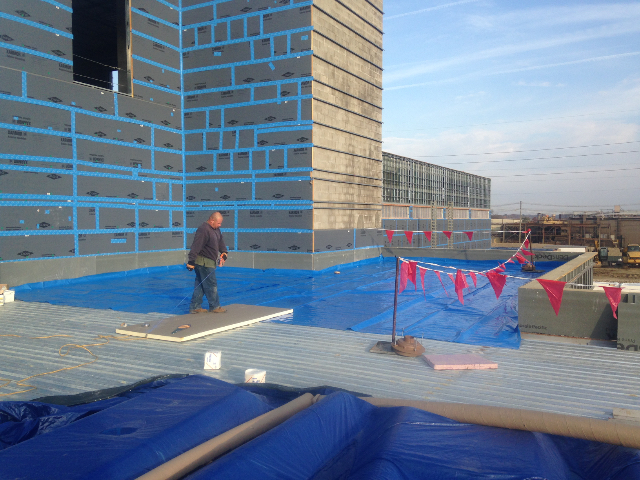
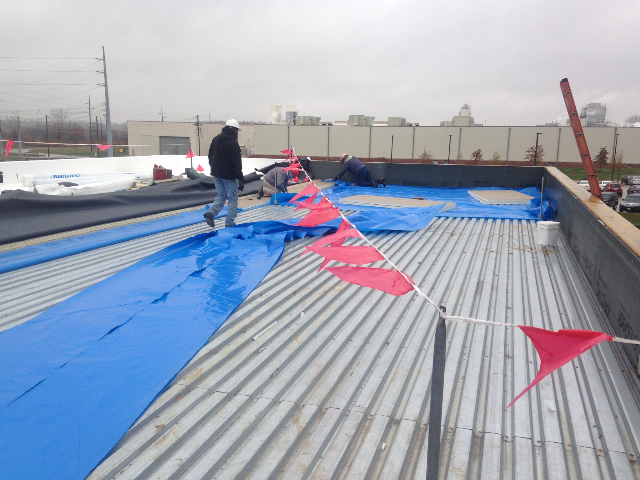
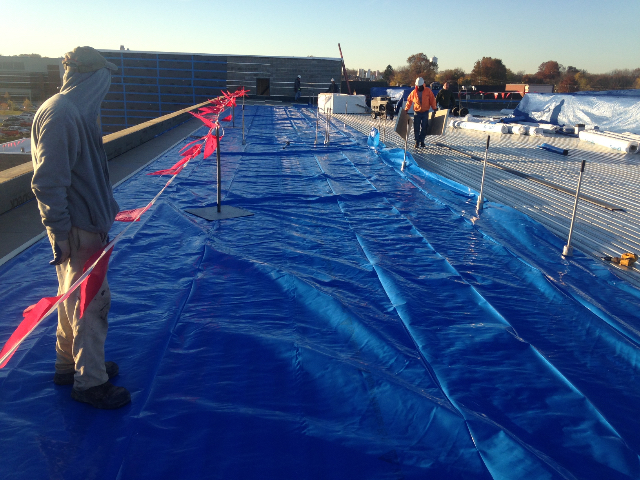
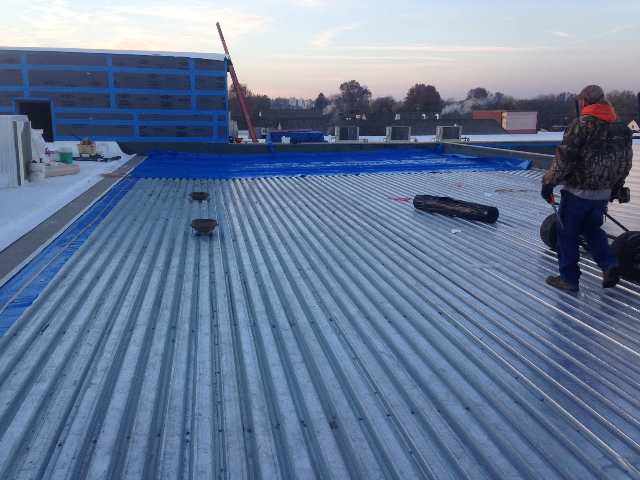
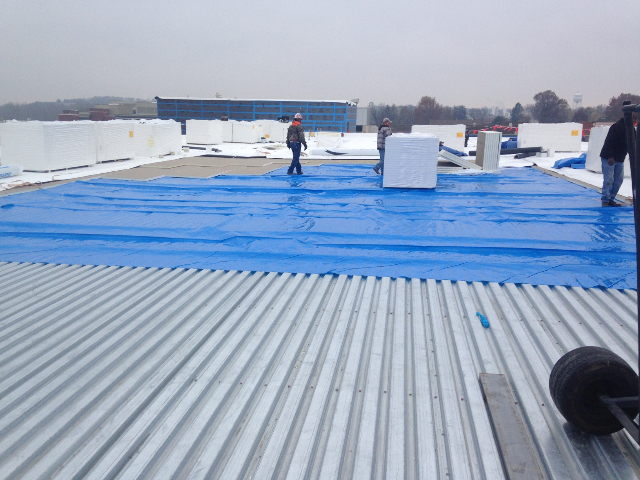
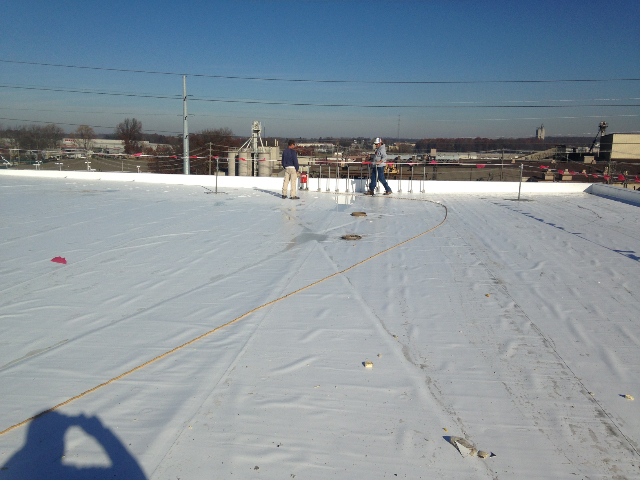
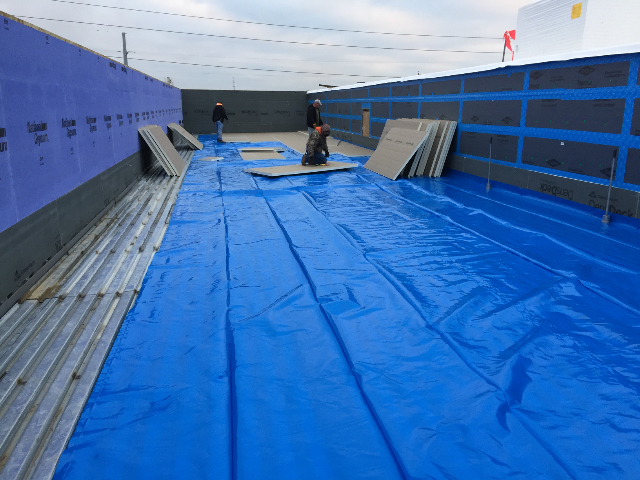
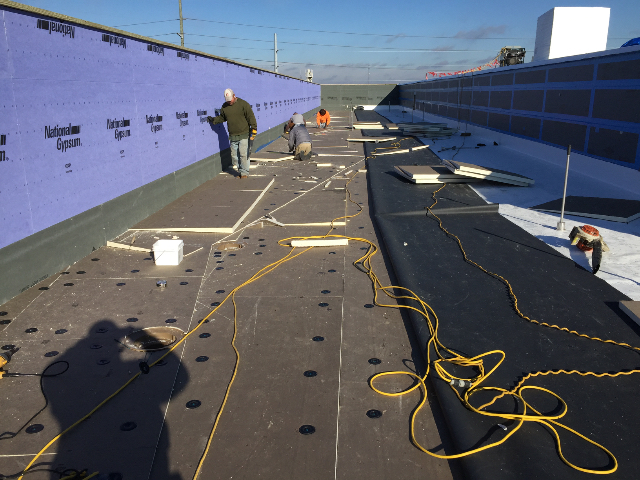
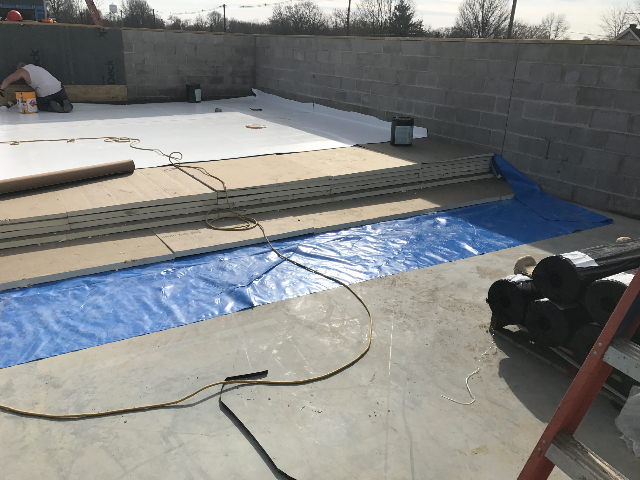
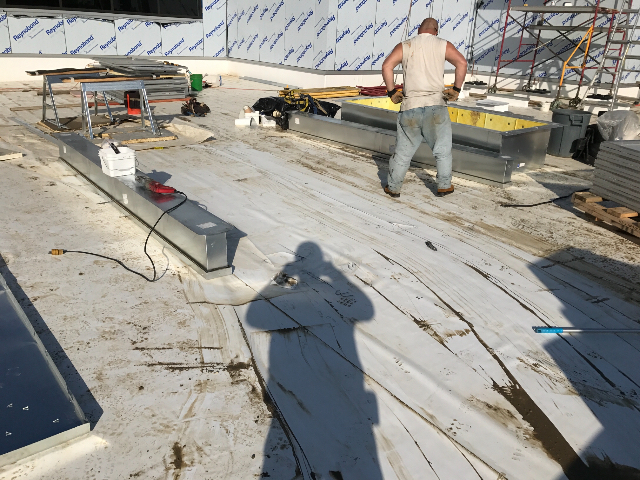
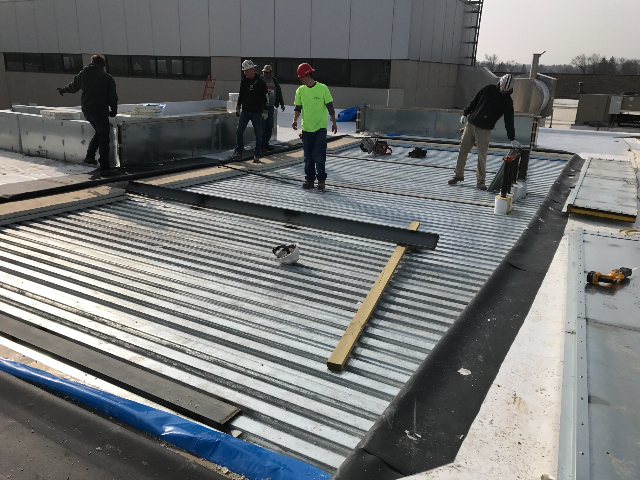
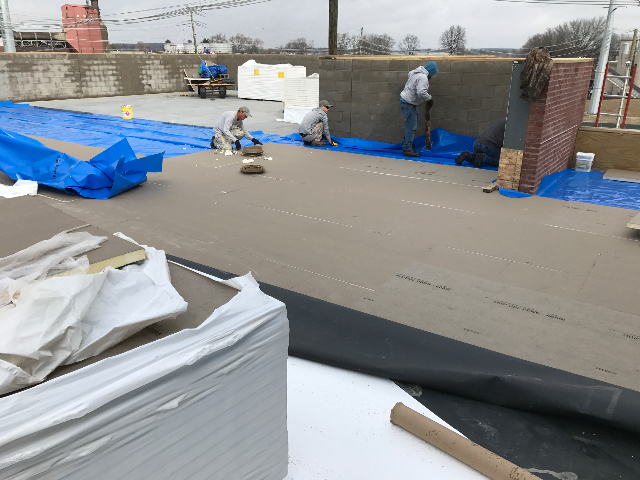
The crewmen starting to lay the vapor barrier prior to the polyiso insulation. 10/04/2016
|
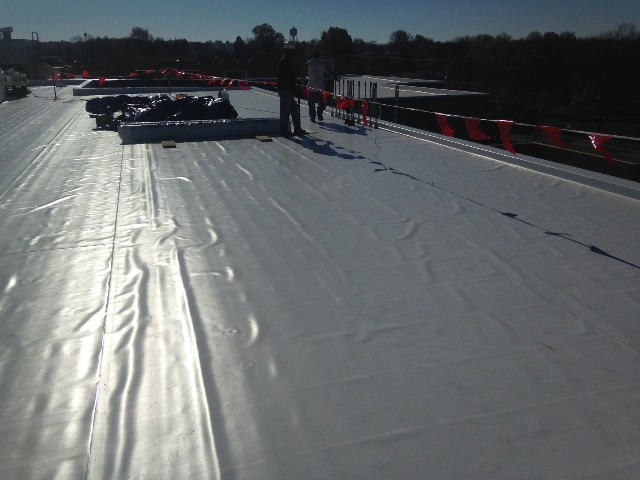
The vapor barrier being installed over the metal deck. 10/04/2016
|
 |  |
|
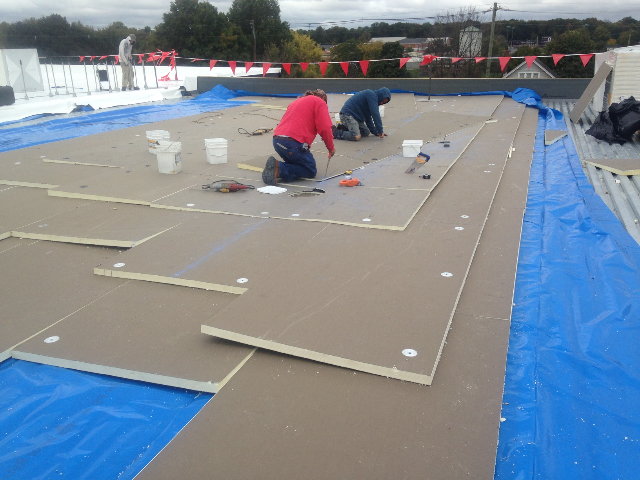
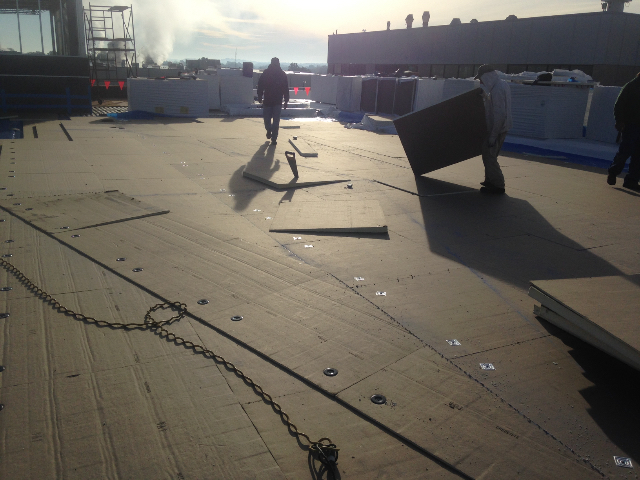
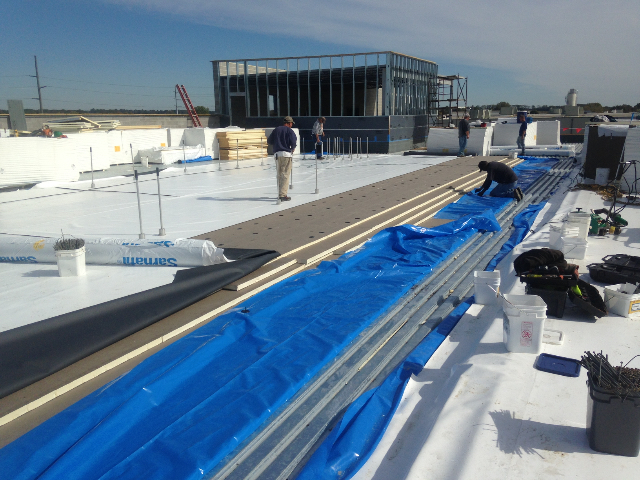
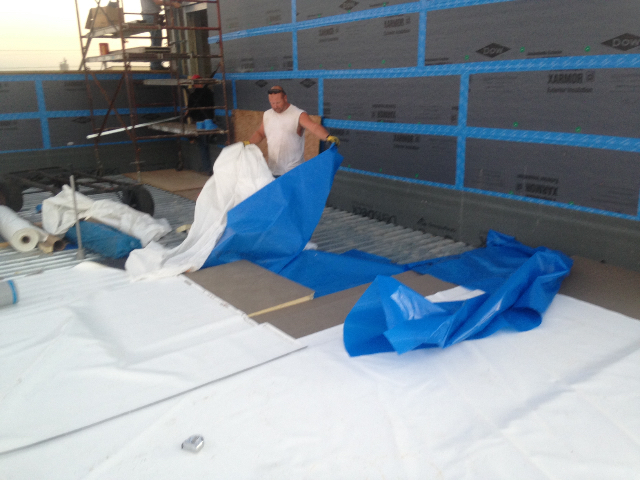
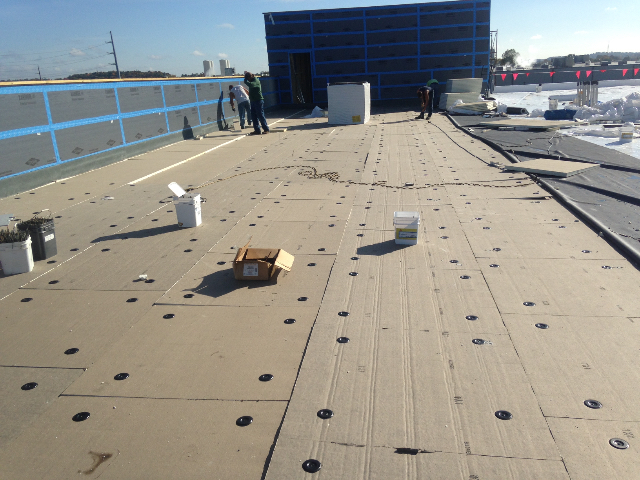
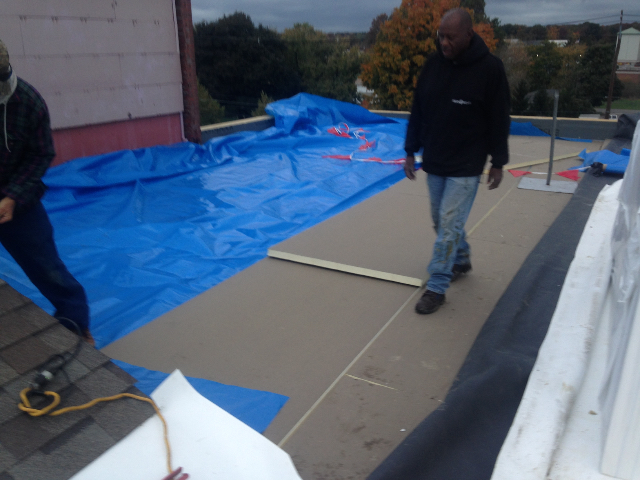
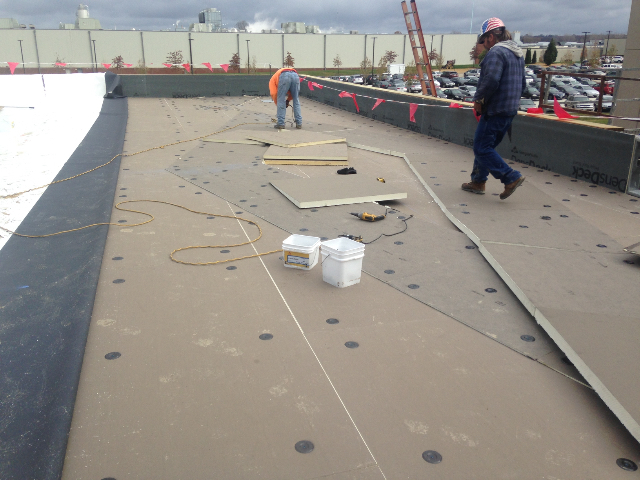
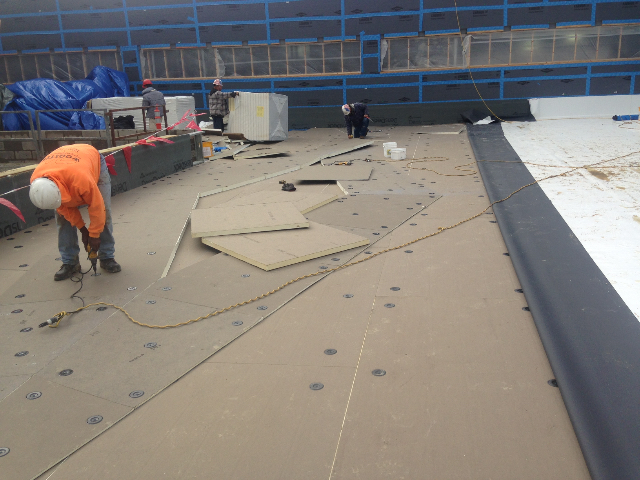
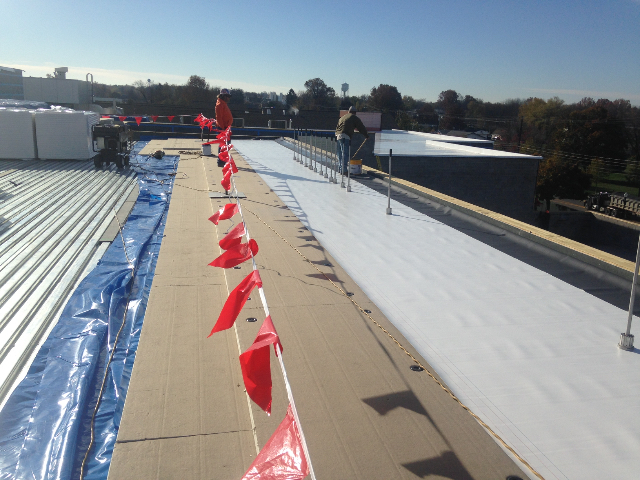
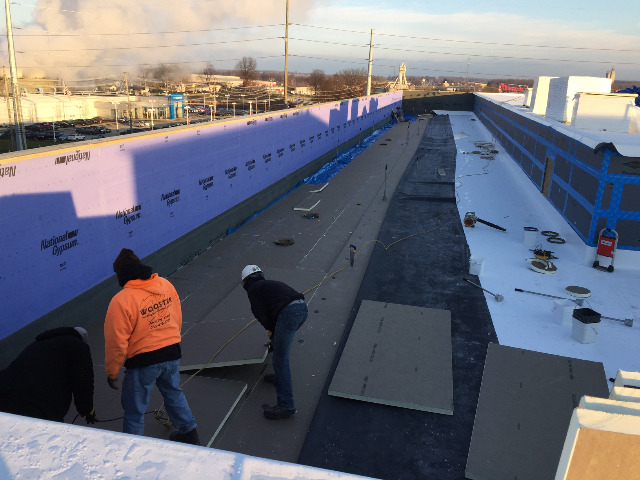
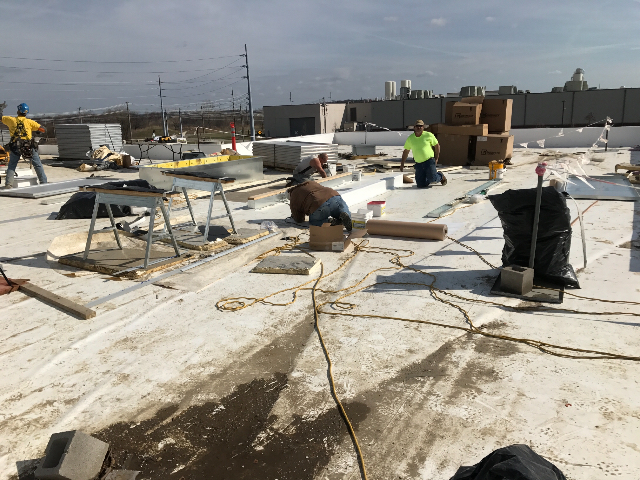
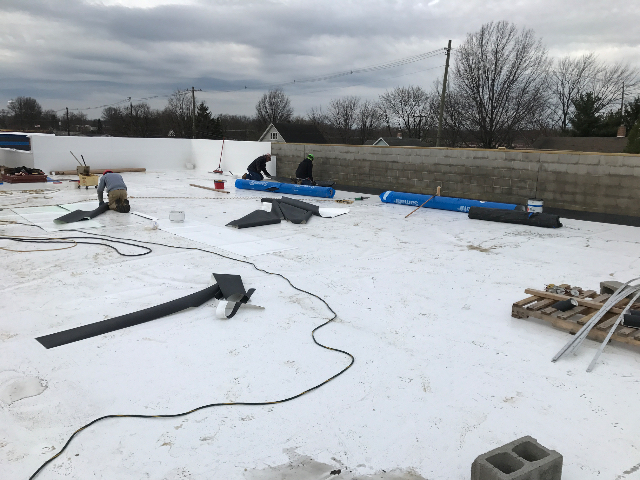
The new polyiso insulation being cut in around the roof curbs and installed over the vapor barrier. 10/04/2016
|
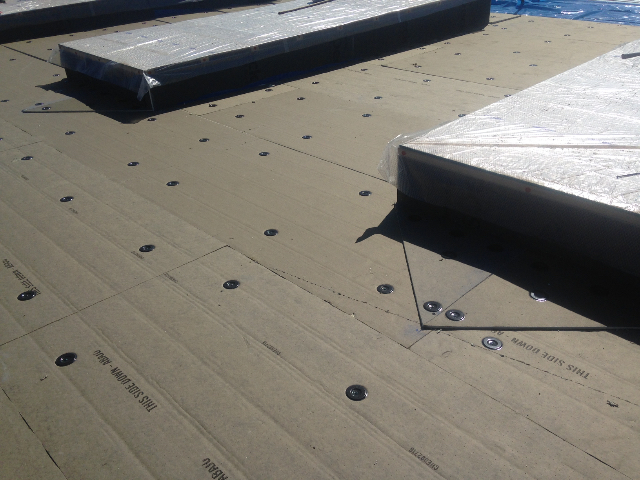
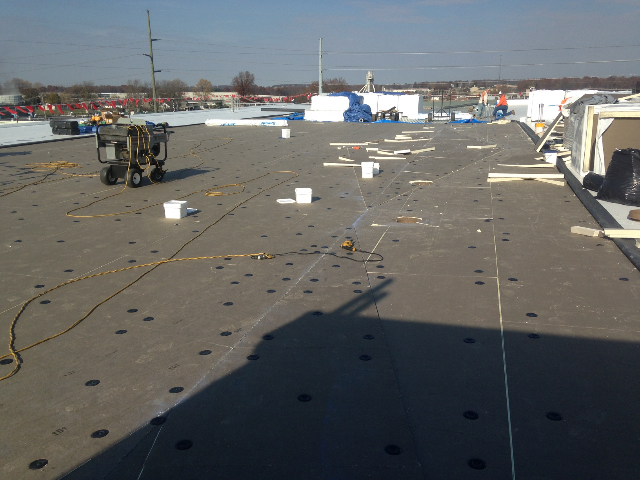
The new polyiso insulation and crickets around the curbs are being secured with rhinobond plates and screws. 10/04/2016
|
 |  |
|
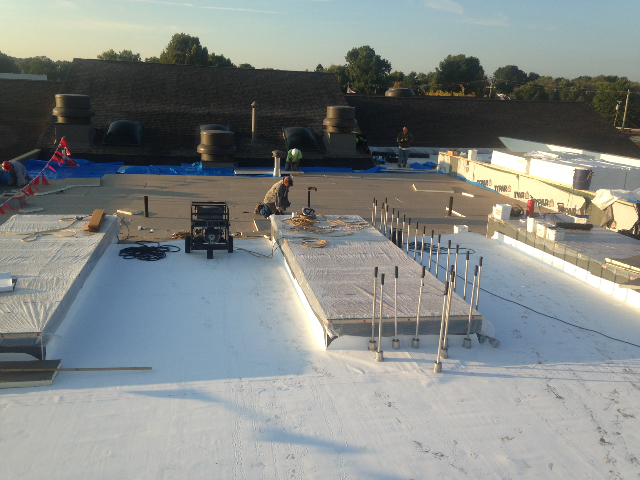
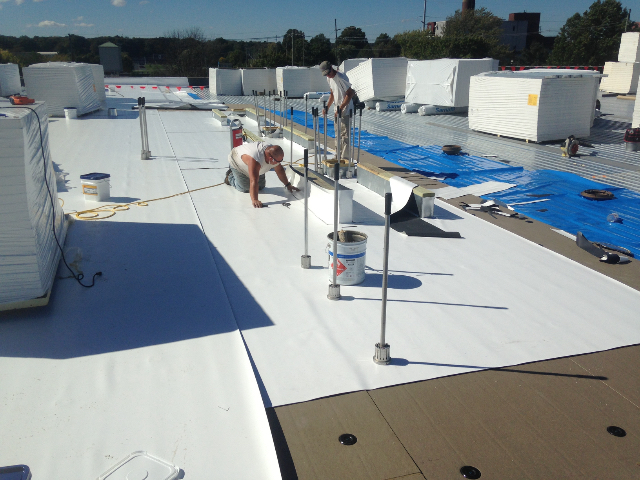
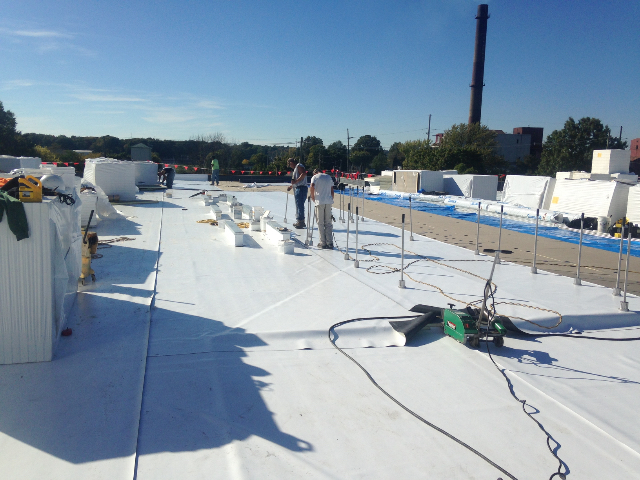
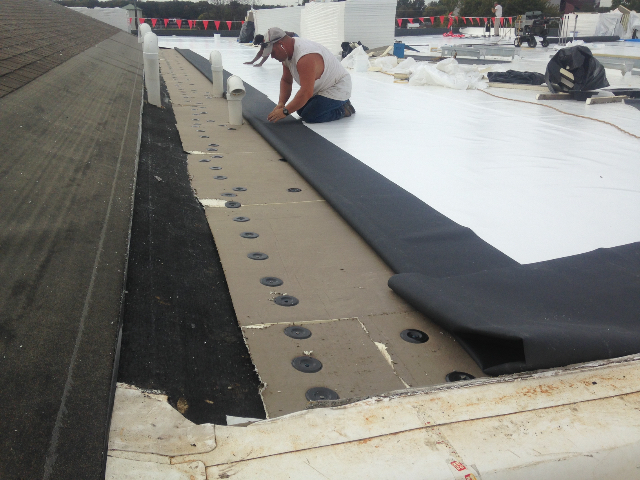
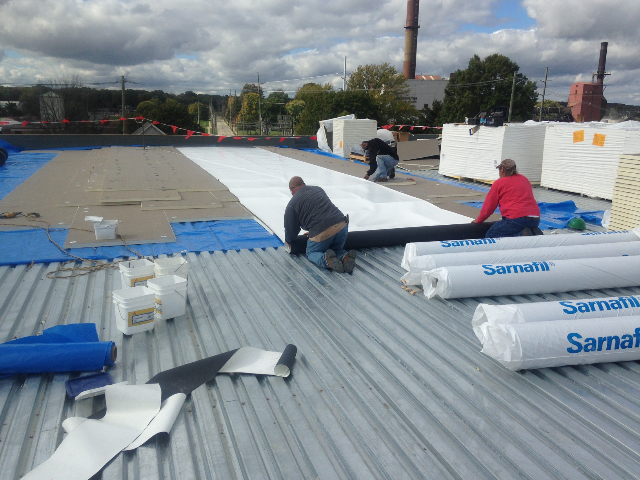
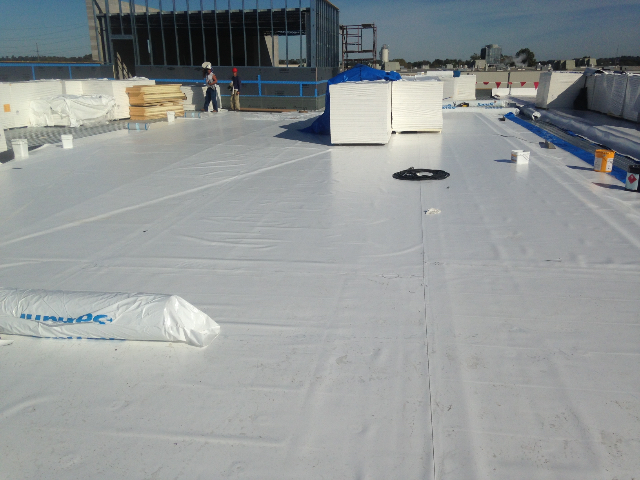
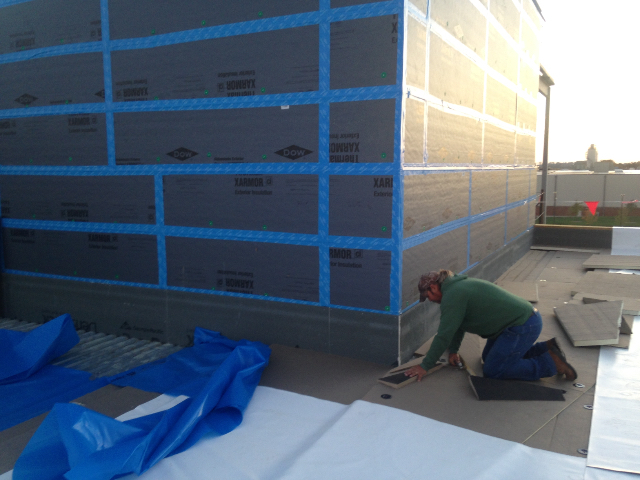
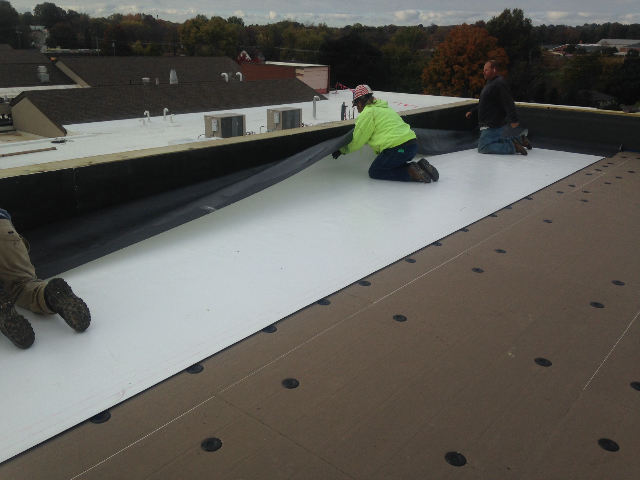
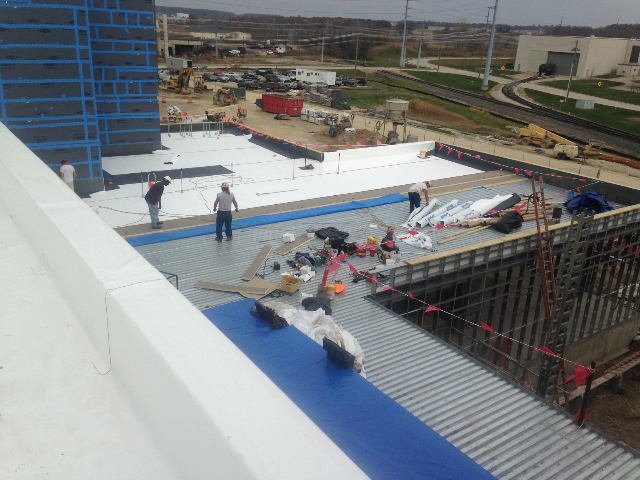
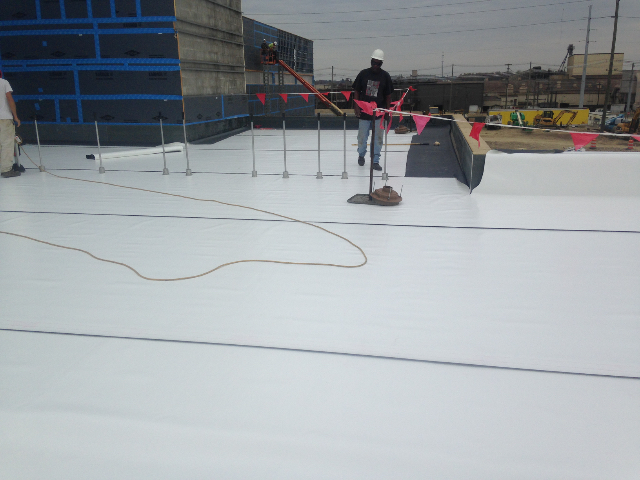
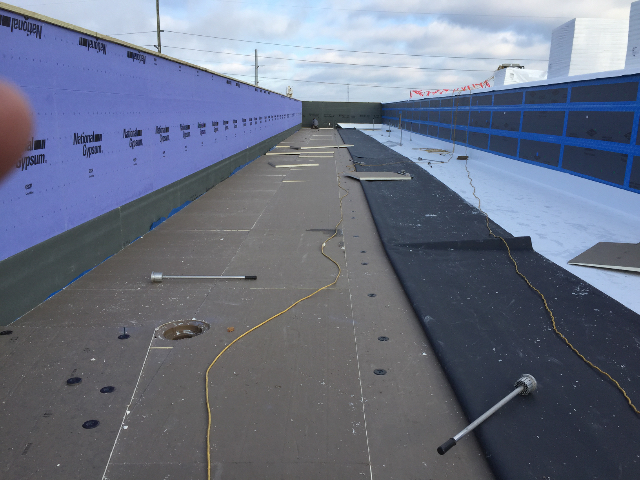
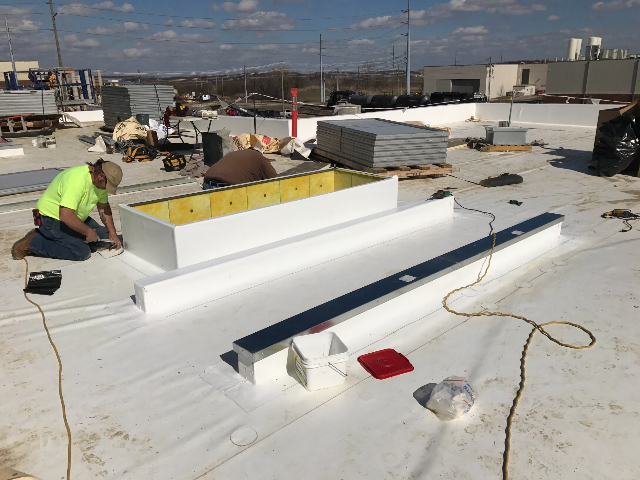
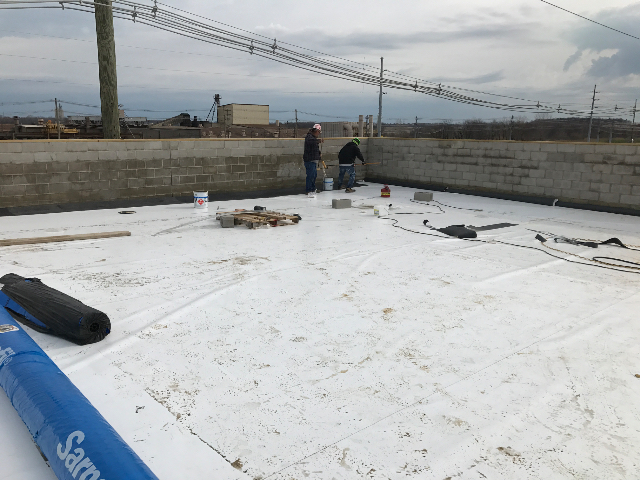
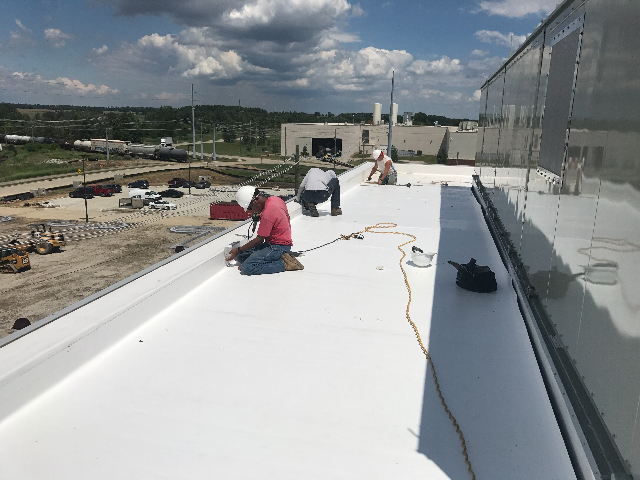
The rhinobond plates are being secured to the Sarnafil membrane and the laps are being heat welded. 10/04/2016
|
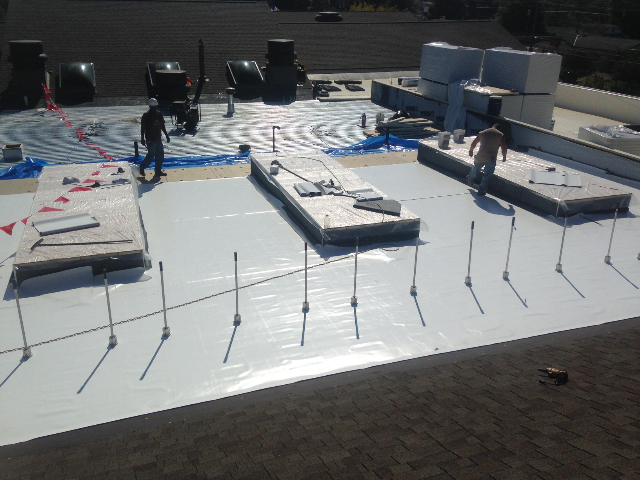
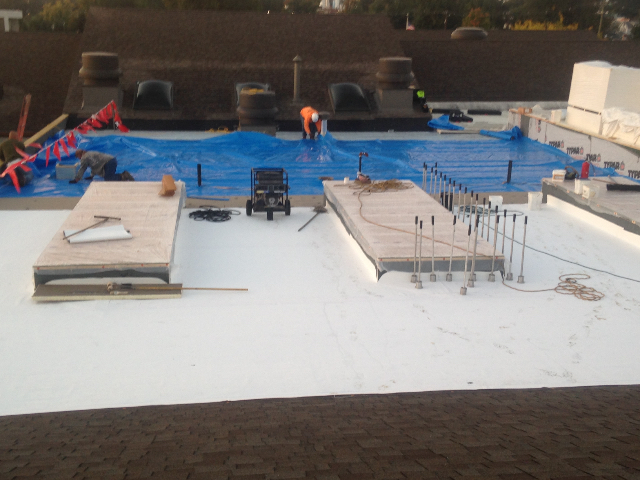
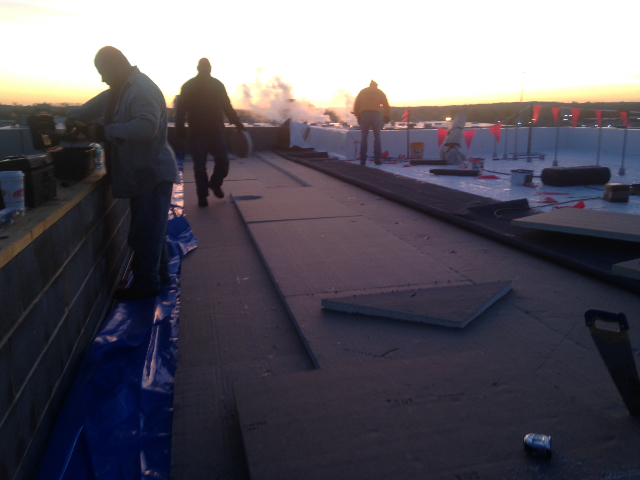
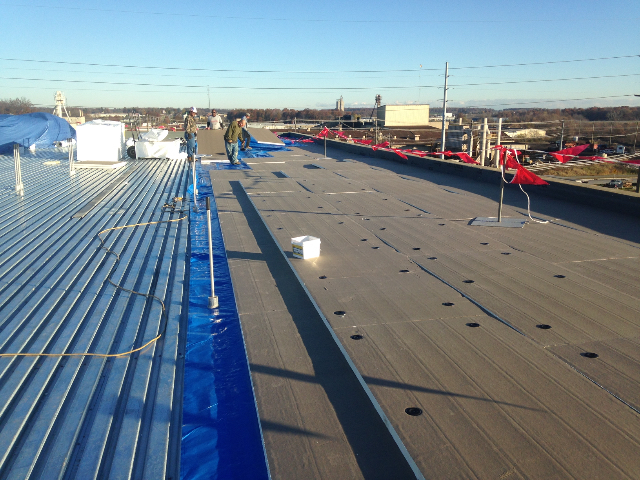
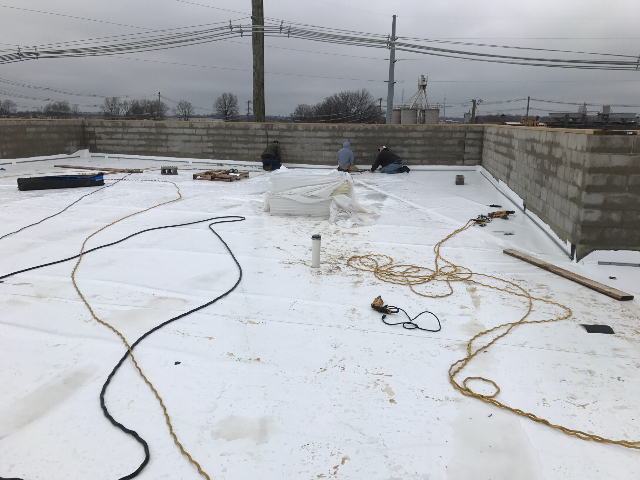
An overview of the first day of production over the courtyard area. 10/04/2016
|
 |  |
|
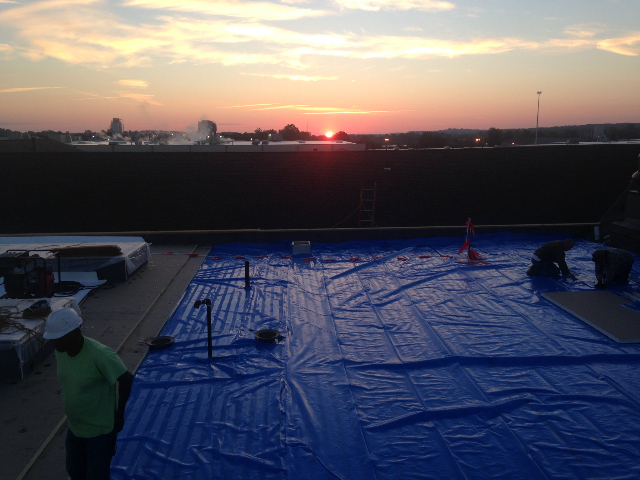
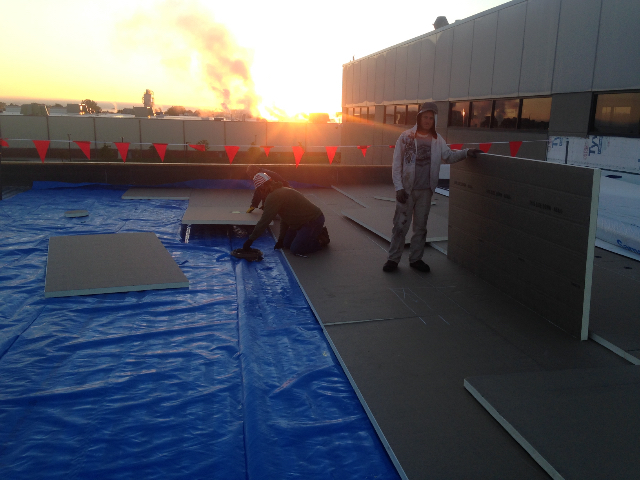
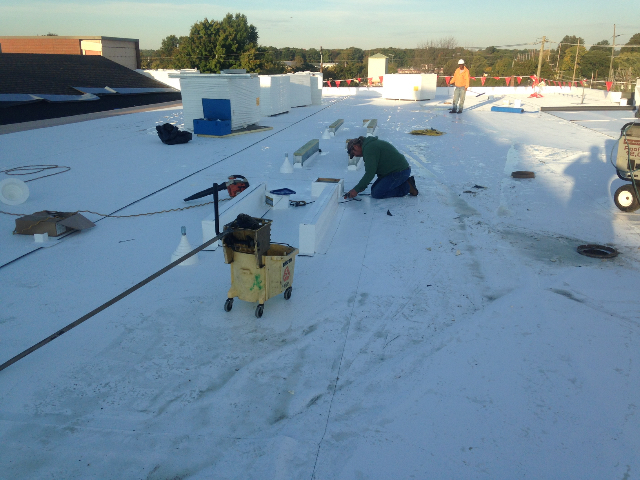
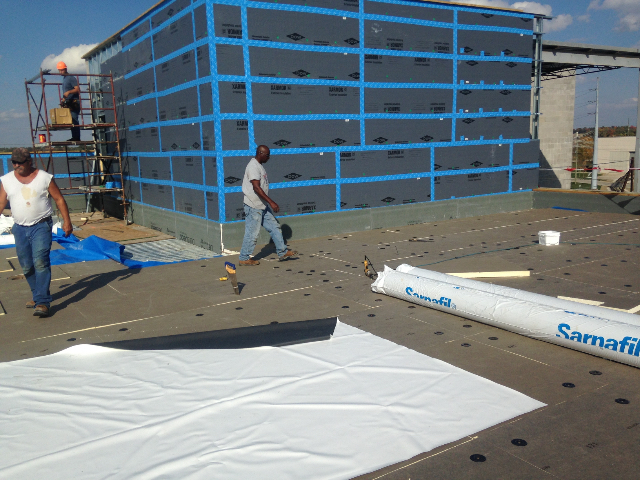
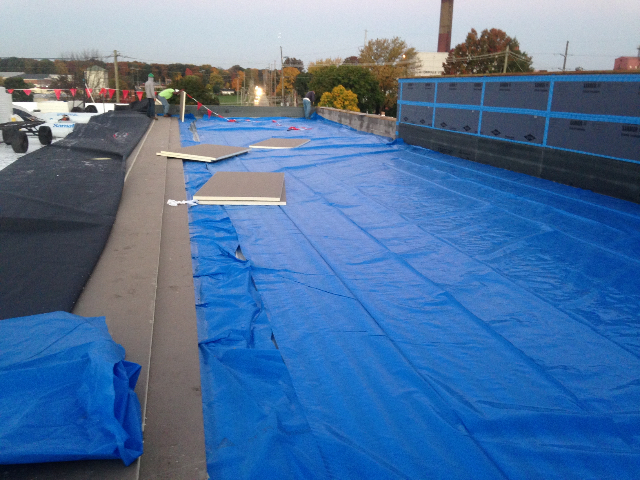
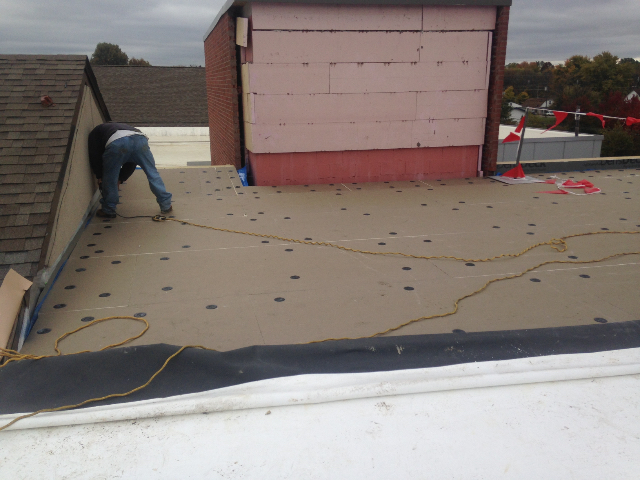
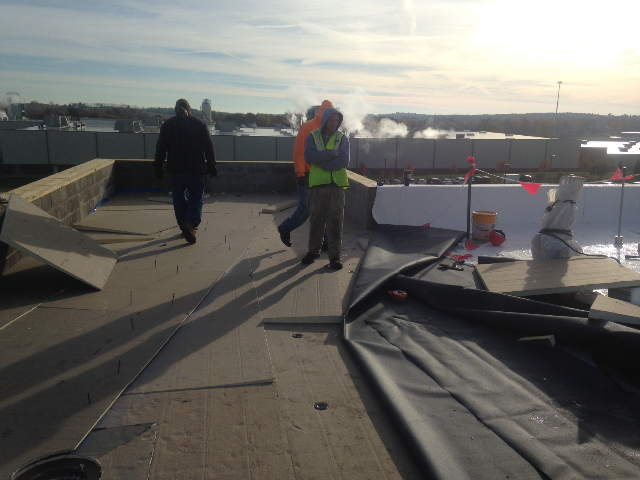
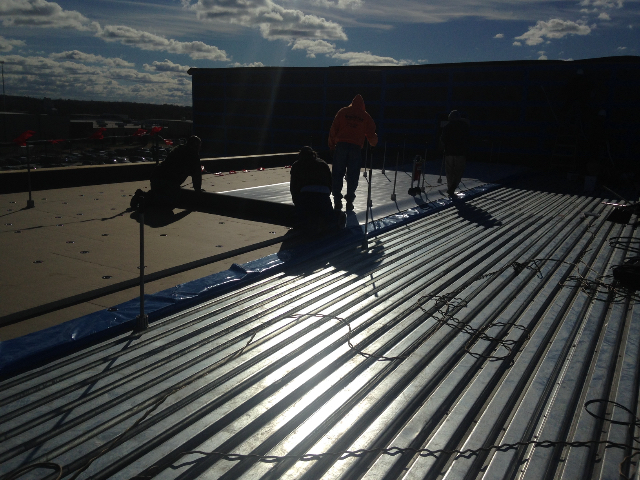
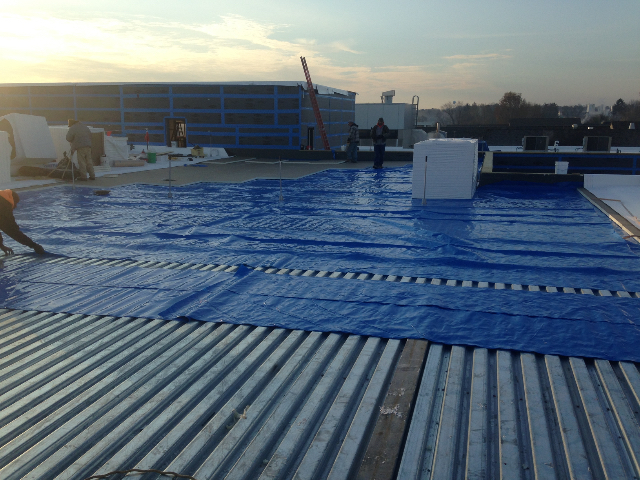
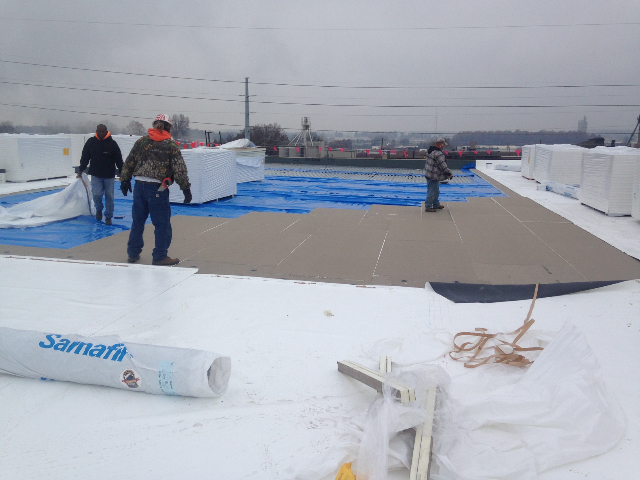
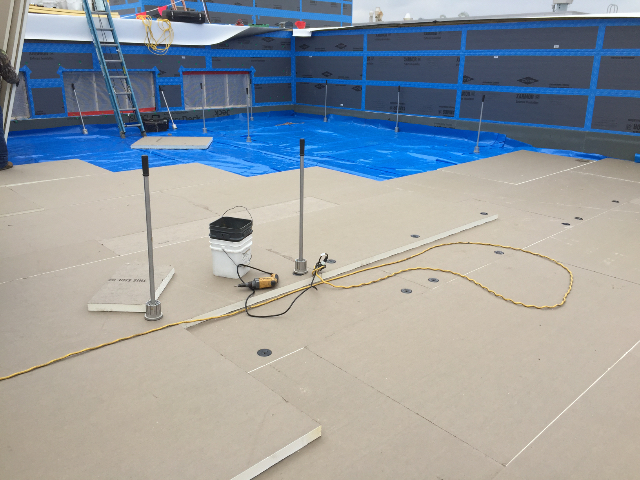
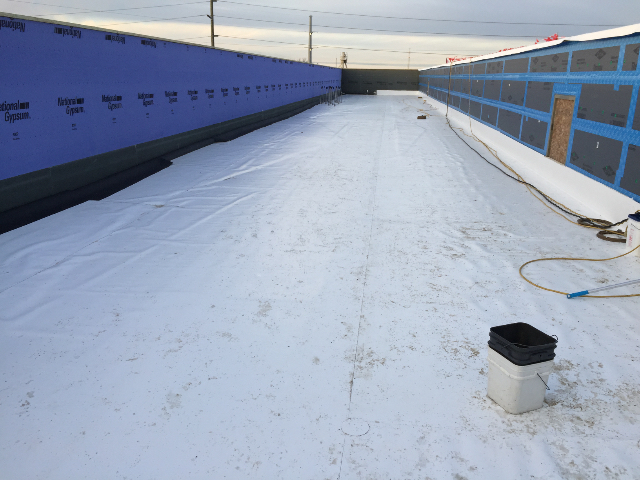
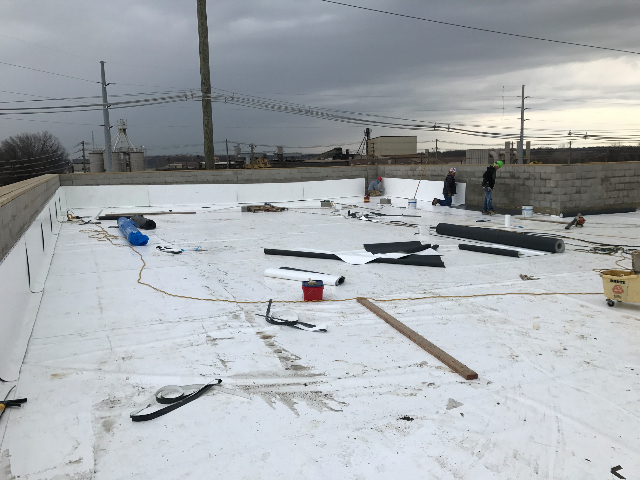
The crewmen covering the deck with a vapor barrier before insulating with new polyiso insulation. 10/05/2016
|
The new vapor barrier has been installed and the area is ready for the new polyiso insulation. 10/05/2016
|
 |  |
|
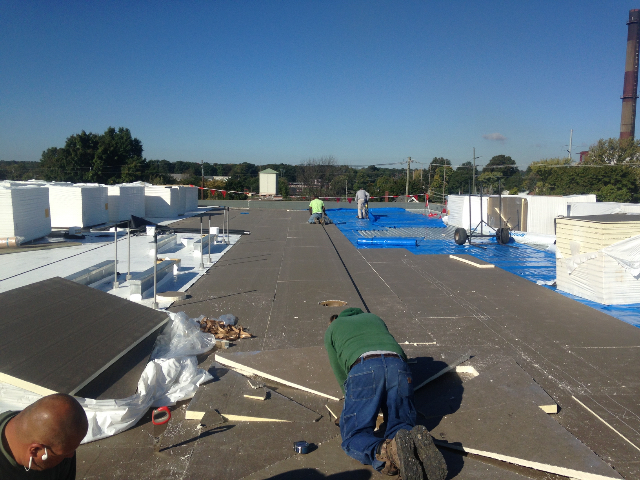
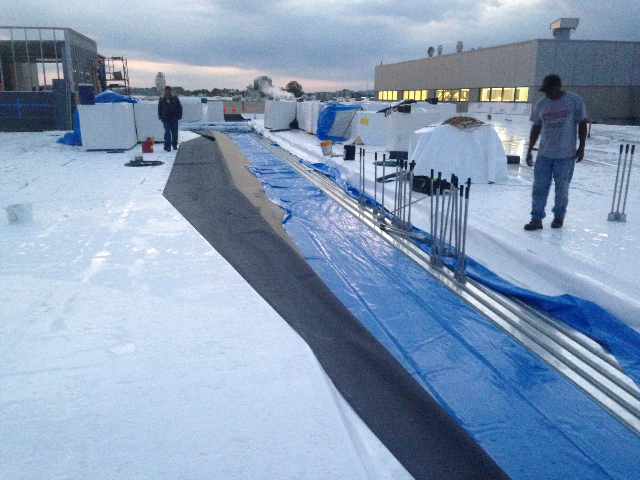
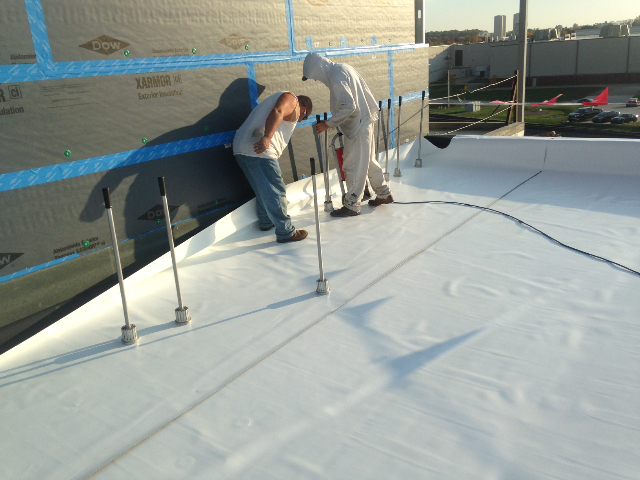
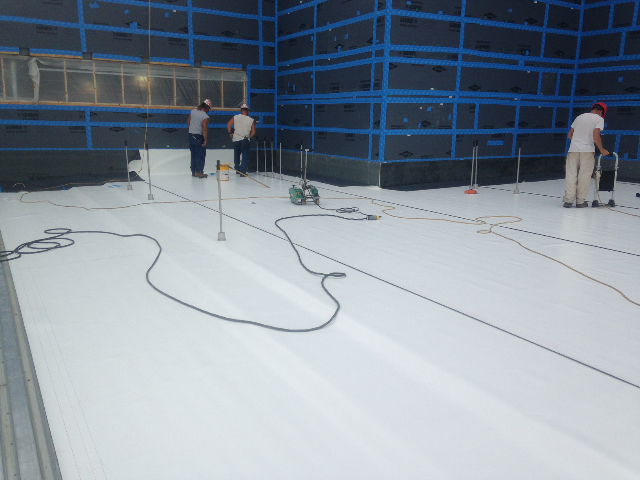
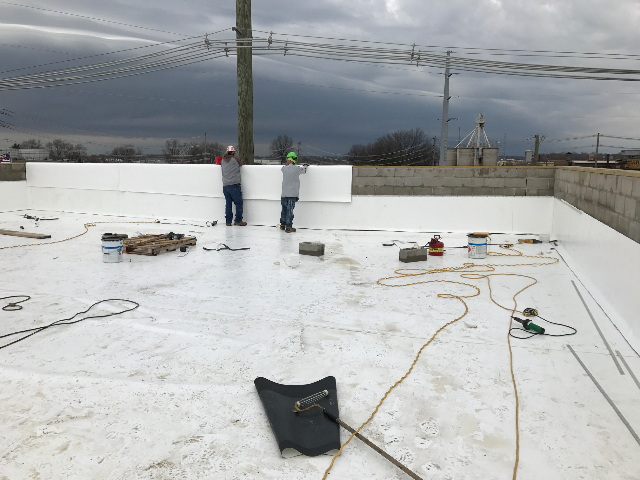
The new polyiso insulation being installed over the vapor barrier. 10/05/2016
|
The new polyiso insulation being installed over the vapor barrier. 10/05/2016
|
 |  |
|
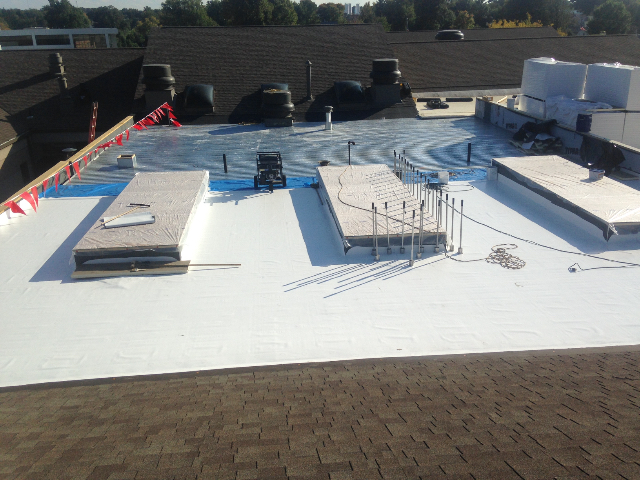
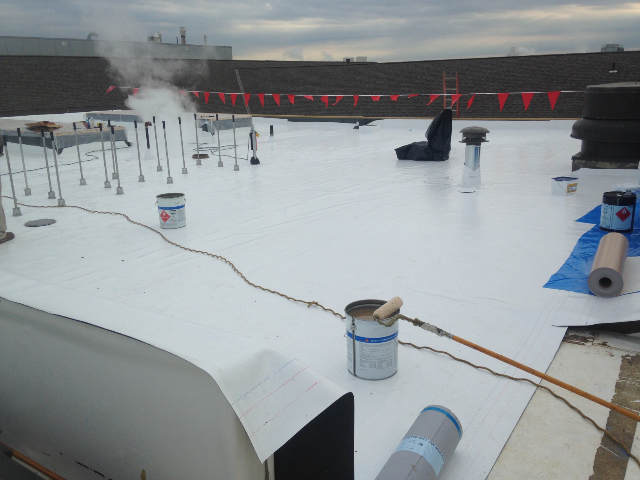
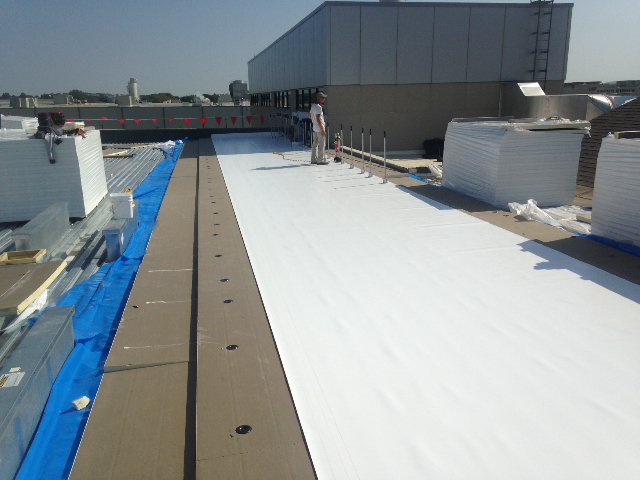
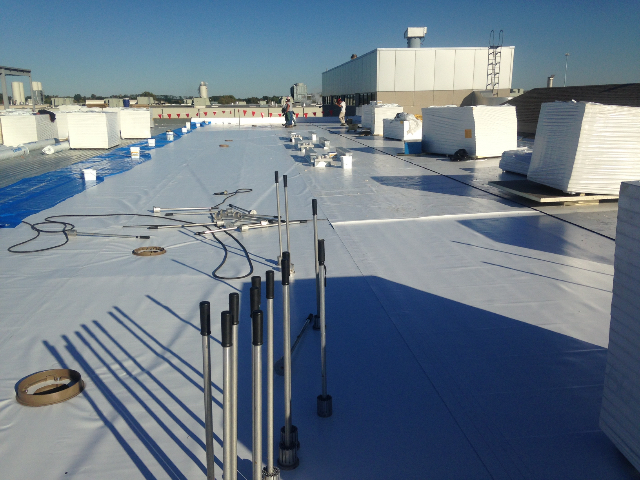
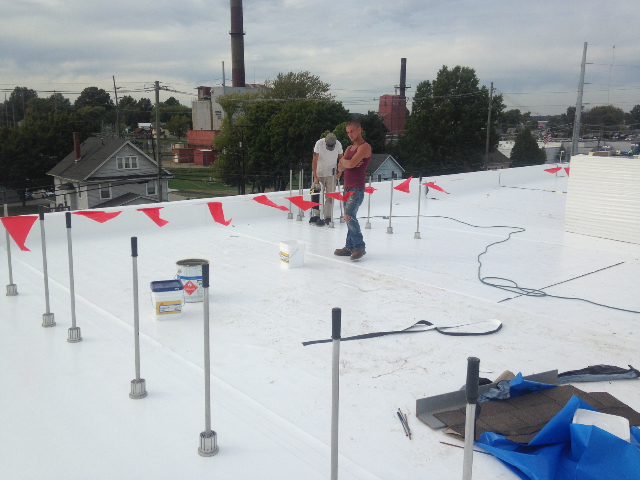
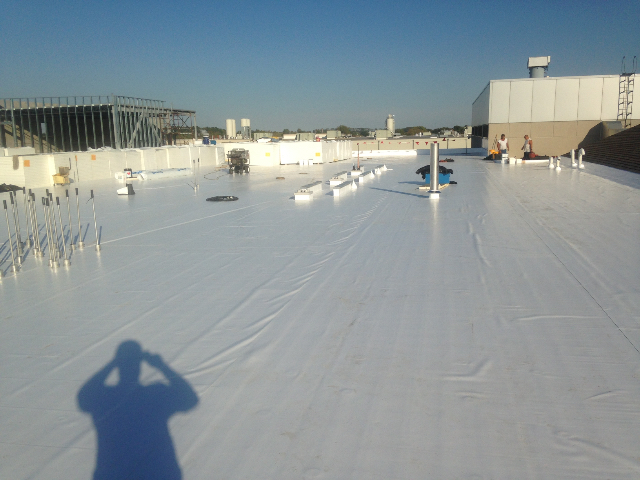
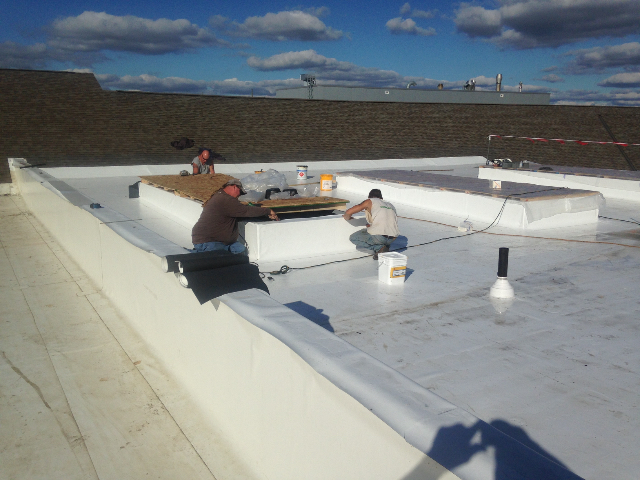
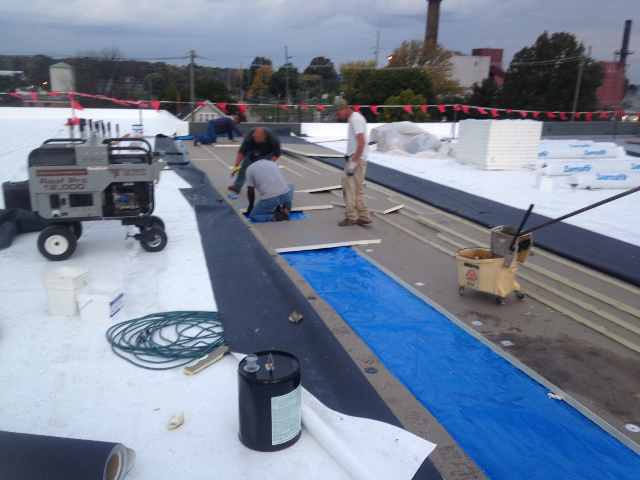
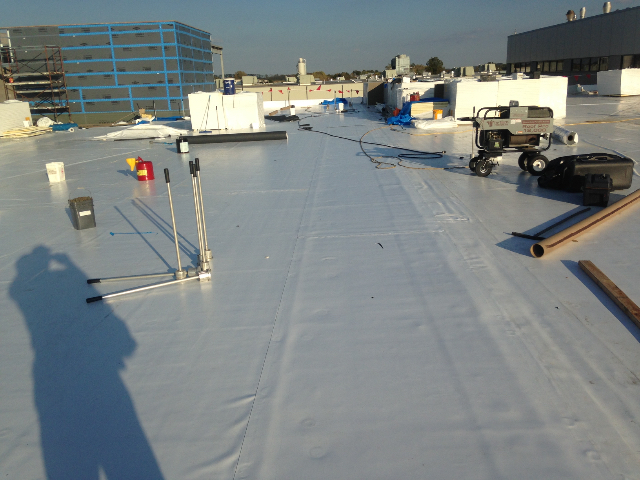
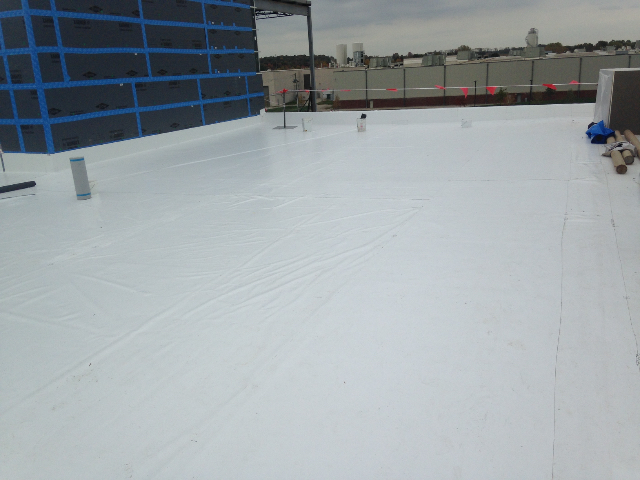
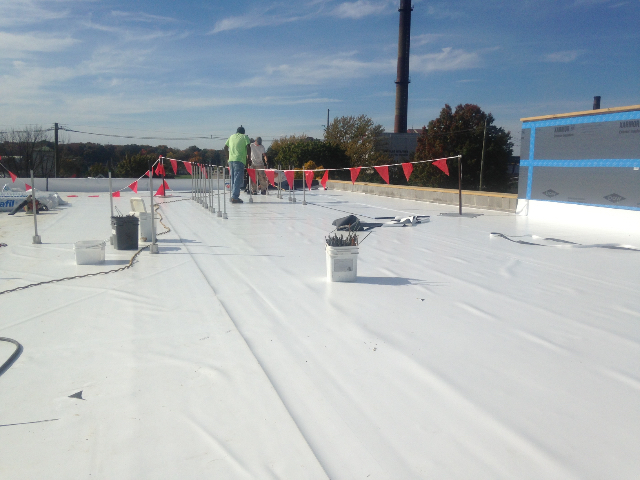
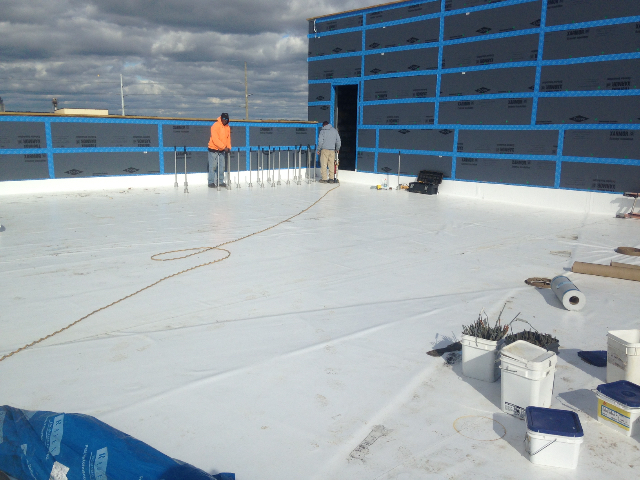
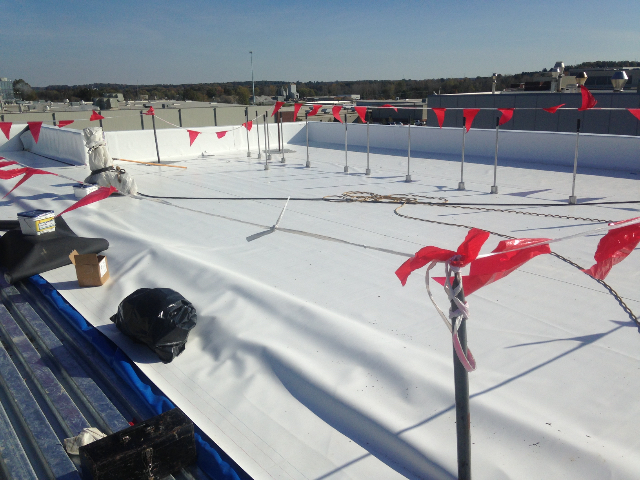
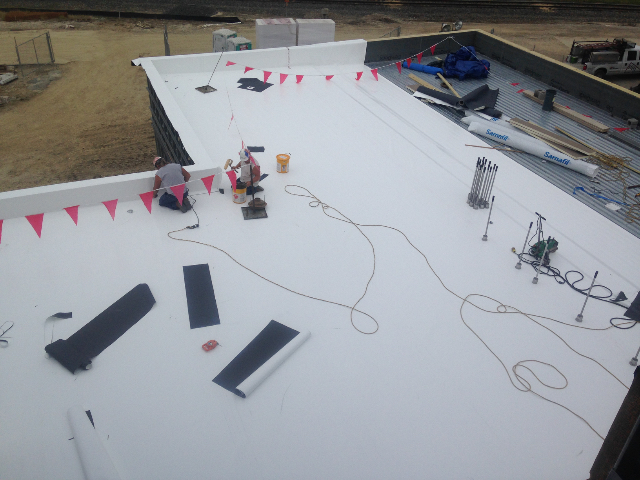
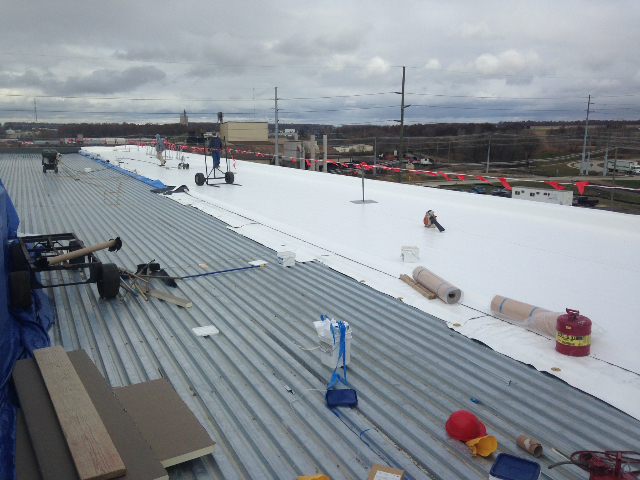
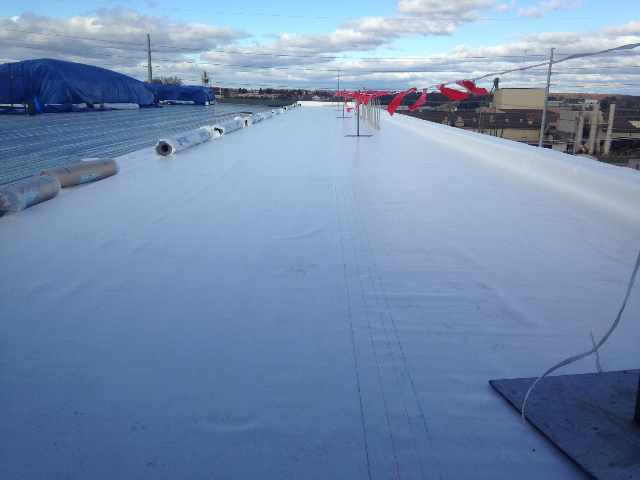
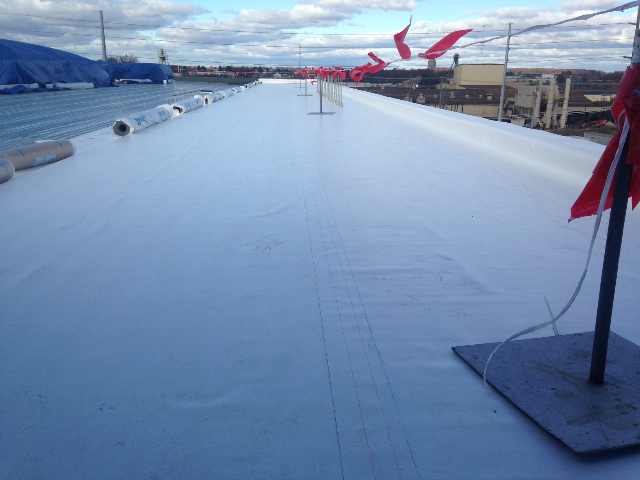
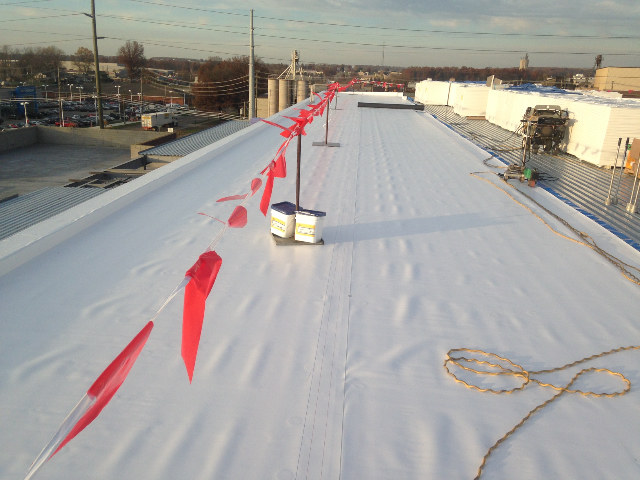
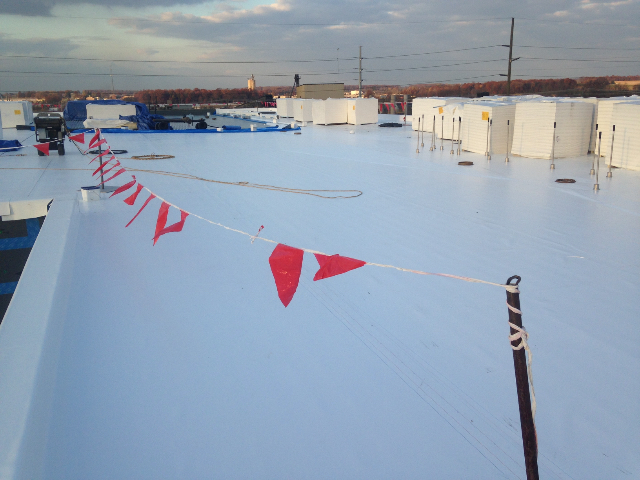
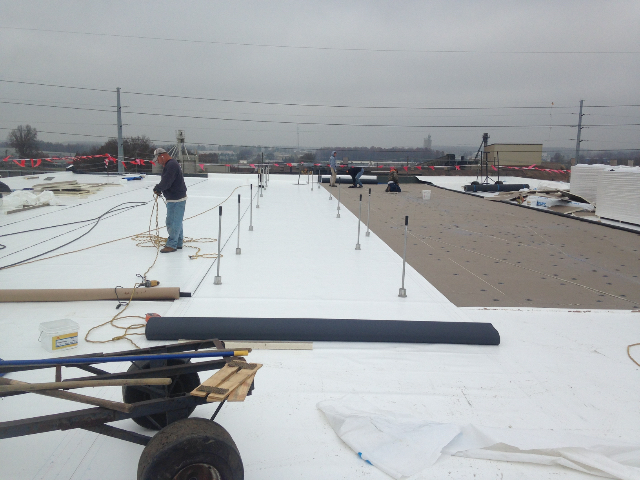
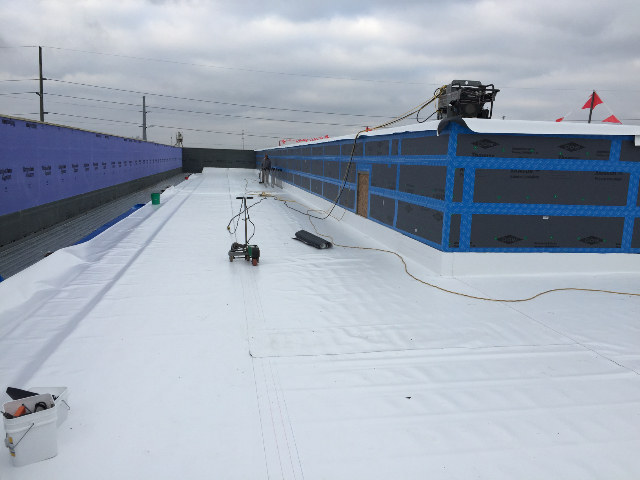
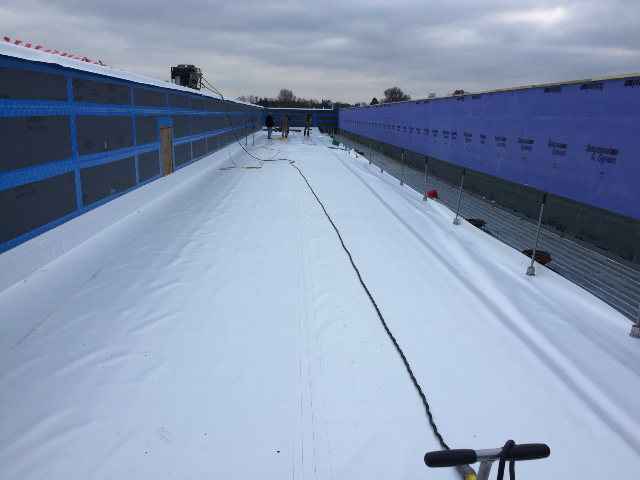
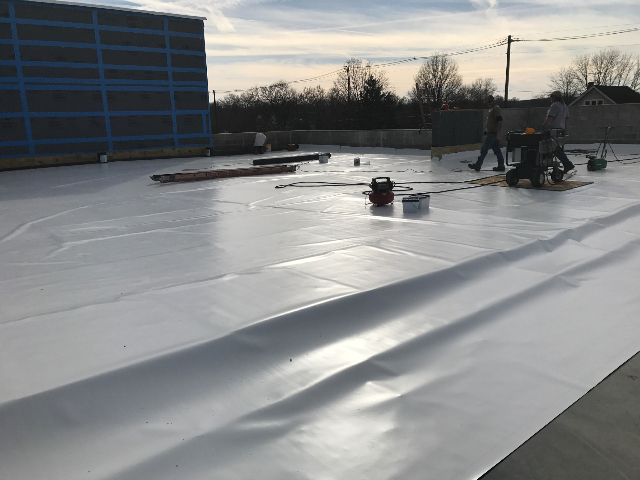
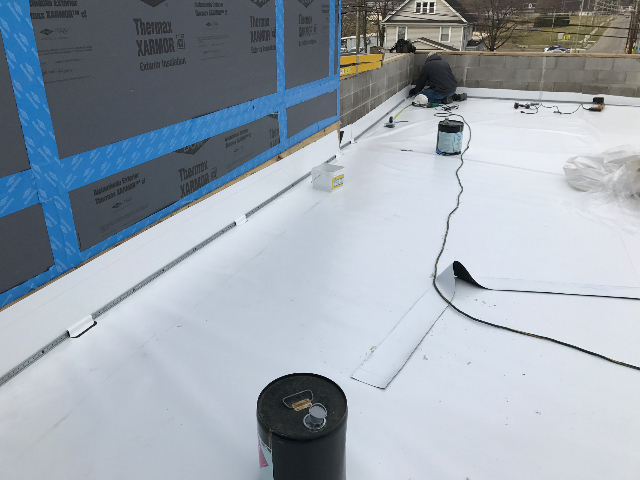
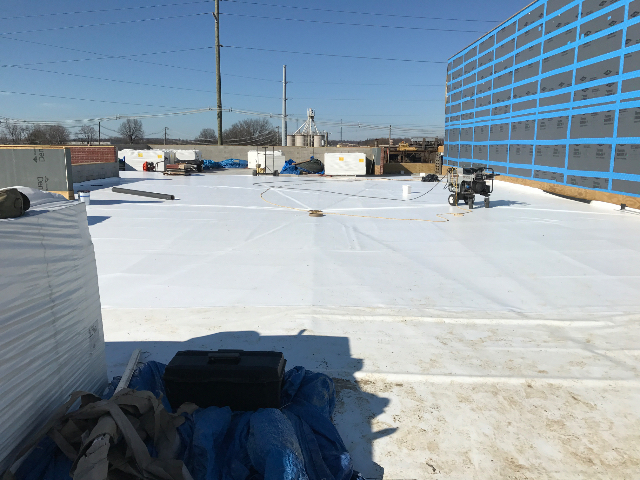
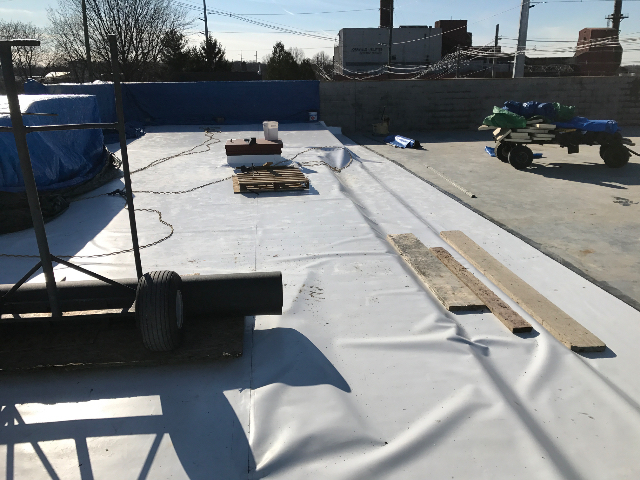
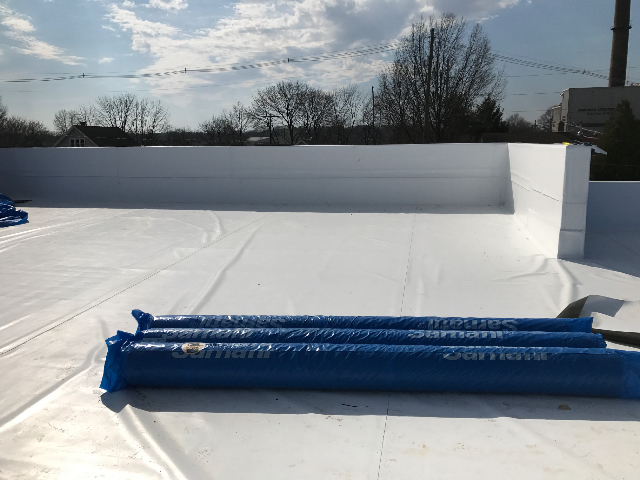
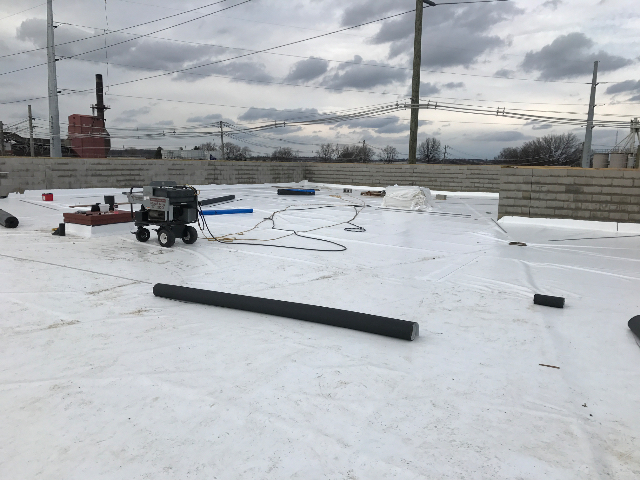
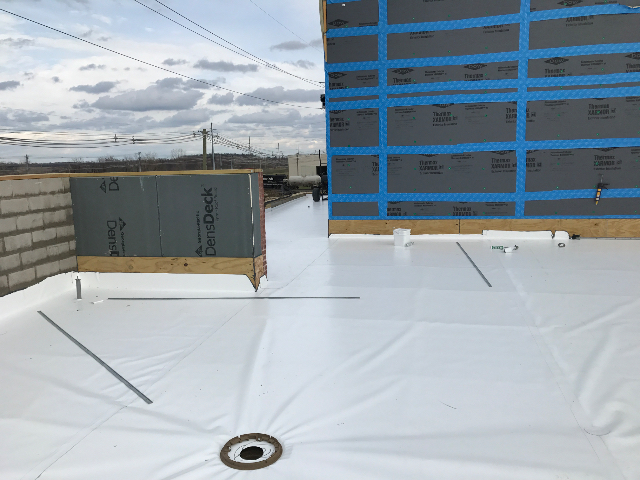
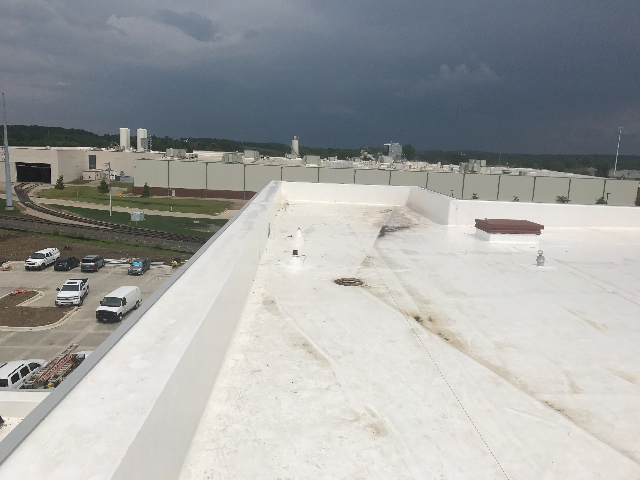
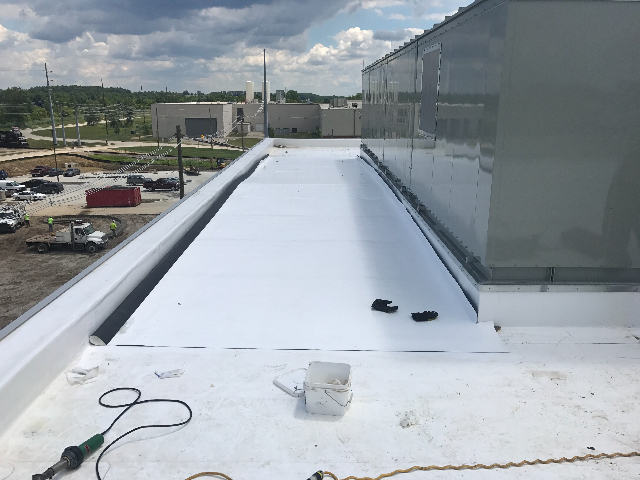
A view of the new Sarnafil membrane roof system at the end of today's production. 10/05/2016
|
An additional view of the new Sarnafil membrane roof system at the end of today's production. 10/05/2016
|
 |  |
|
The vapor barrier is installed over the metal deck prior to the new polyiso insulation. 10/06/2016
|
The new polyiso insulation being secured using rhinobond plates and screws. 10/06/2016
|
 |  |
|
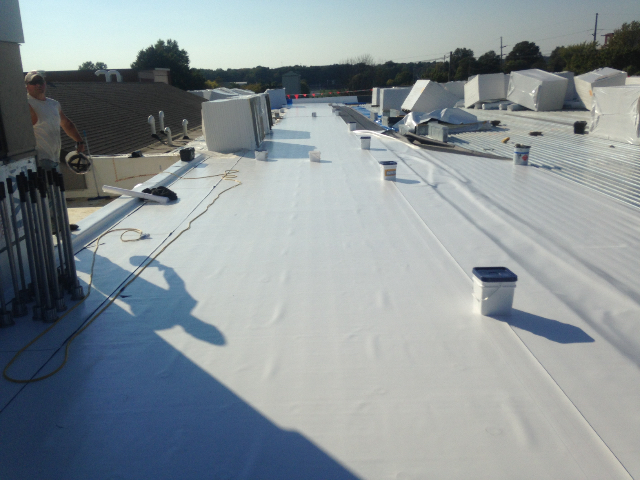
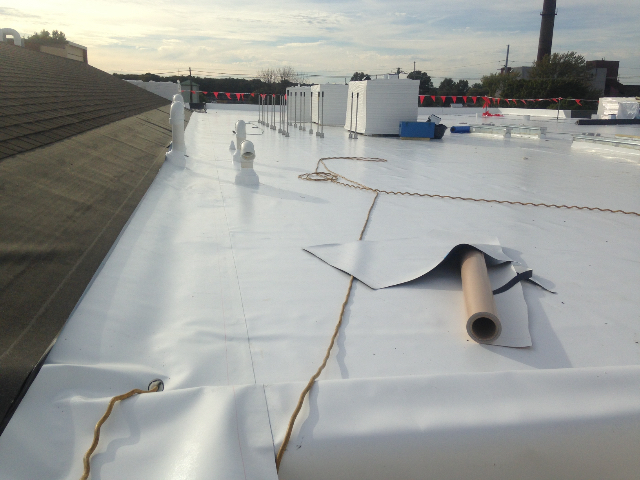
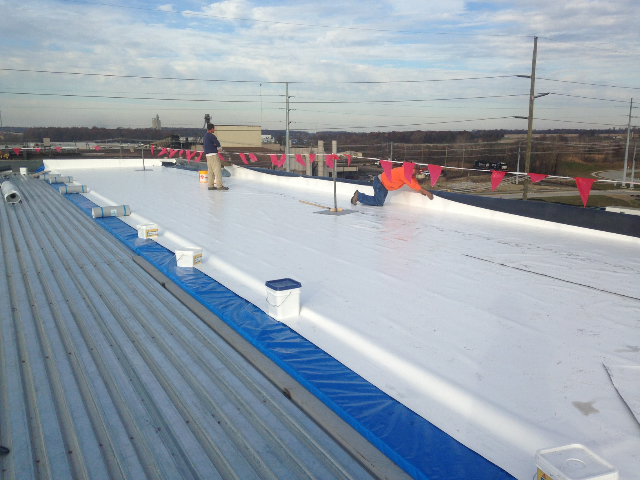
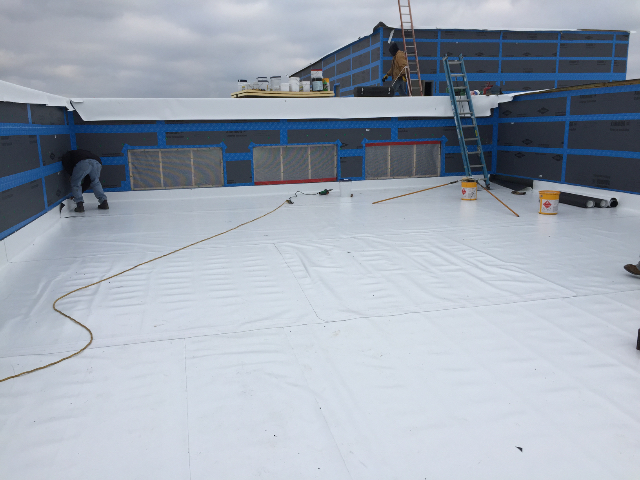
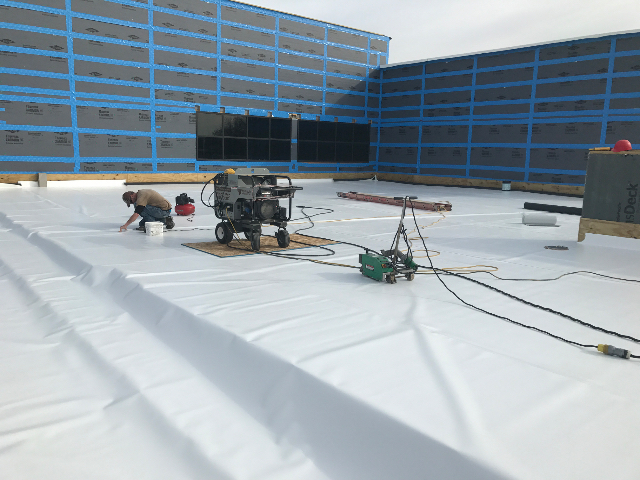
The new Sarnafil membrane being installed over the new polyiso insulation. 10/06/2016
|
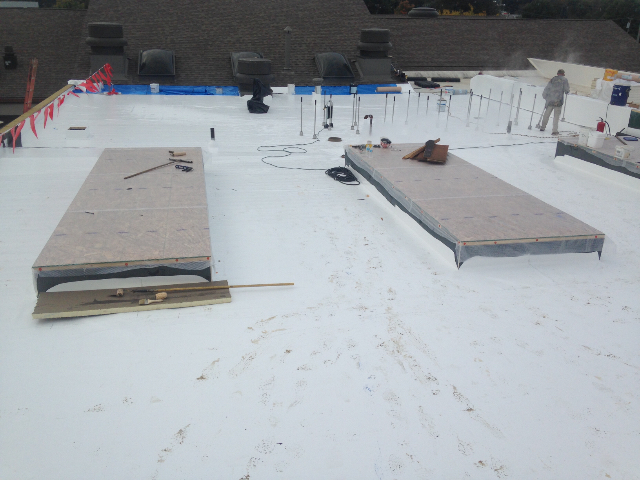
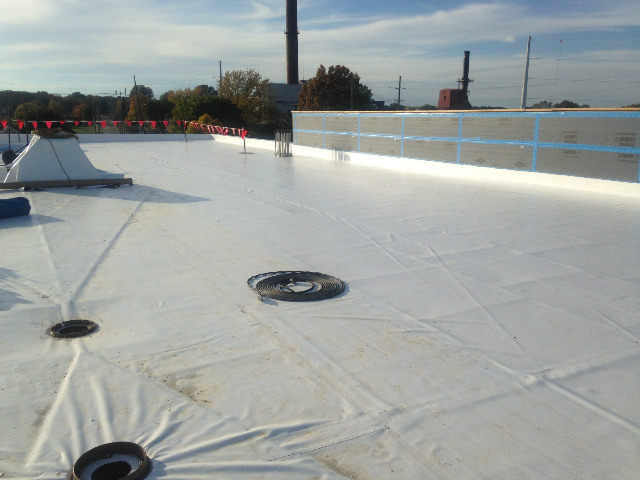
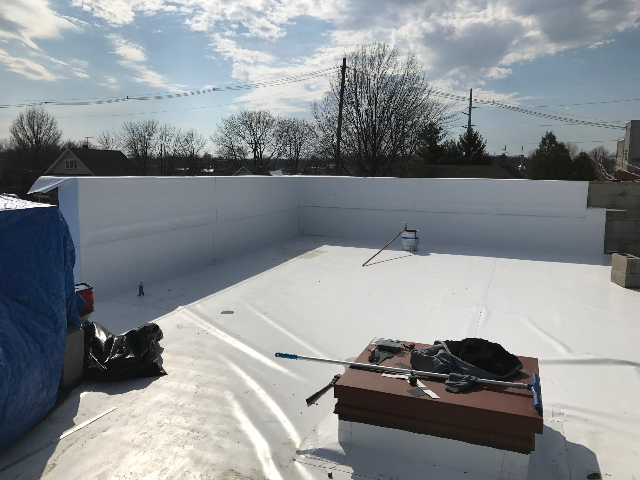
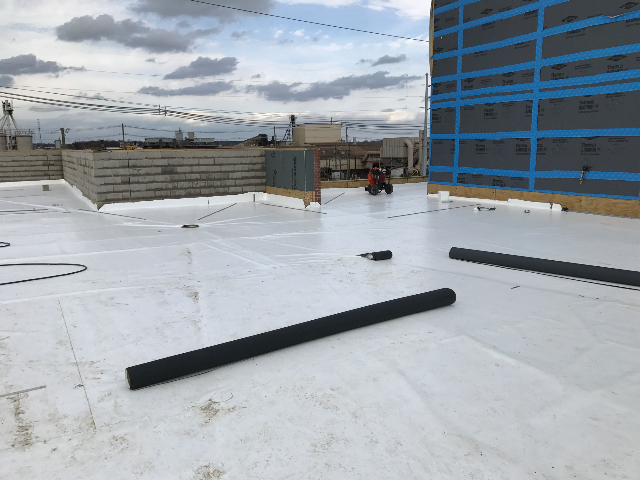
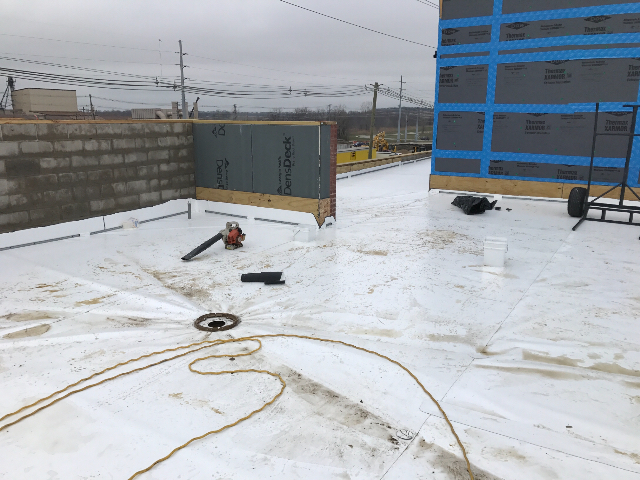
An overview of the new Sarnafil membrane roof system installed during today's production. 10/06/2016
|
 |  |
|
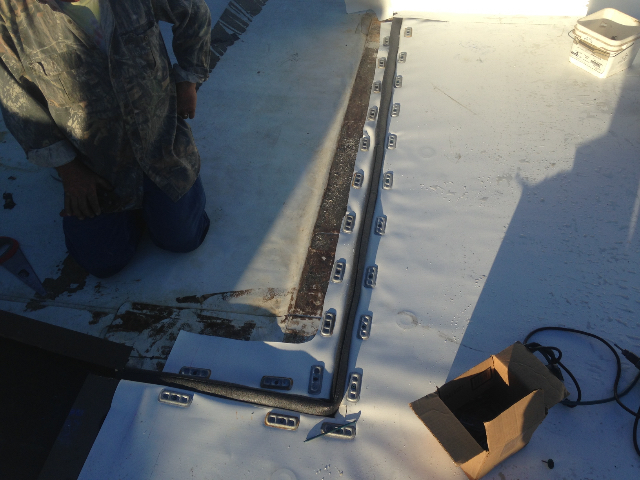
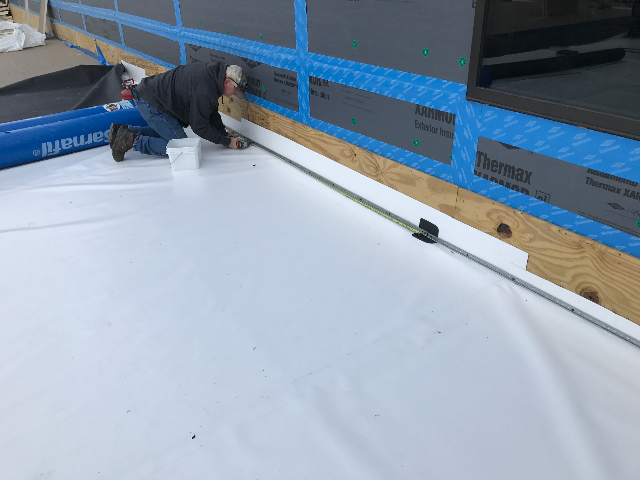
The seam plates are installed at an expansion joint detail. 10/07/2016
|
The polyisoInsulation has been cut in around the curbs. 10/07/2016
|
 |  |
|
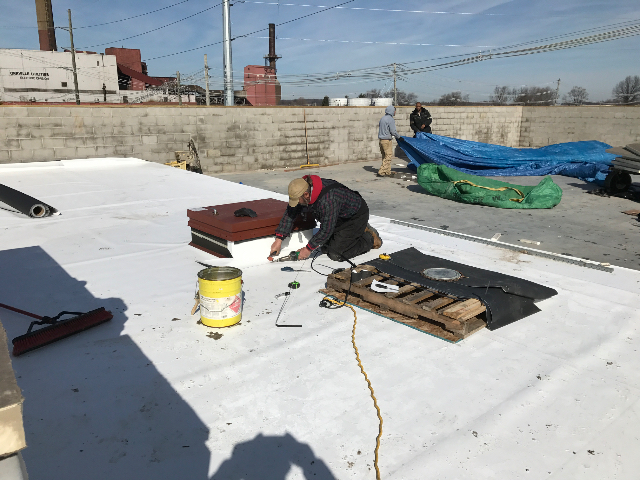
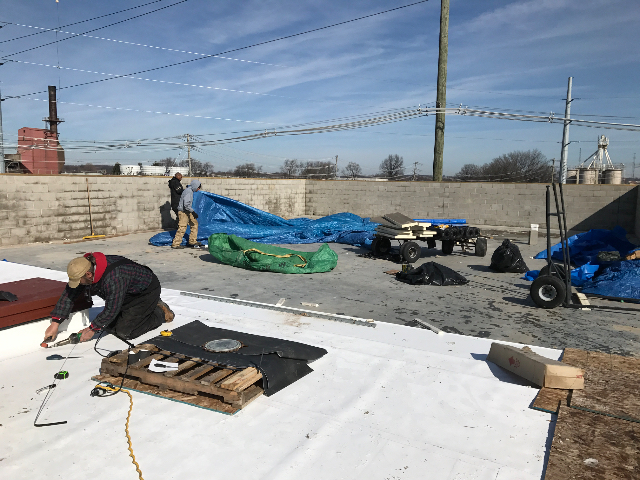
The roof technicians cutting in the new Sarnafil membrane around the units and curbs. 10/07/2016
|
 |
|
The vapor barrier being installed over the new metal deck. 10/10/2016
|
The crewmen starting to lay the new polyiso insulation over the vapor barrier. 10/10/2016
|
 |  |
|
The tapered insulation saddle being cut at the drain location. 10/10/2016
|
The roof technicians securing the rhinobond plates to the Sarnafil membrane. 10/10/2016
|
 |  |
|
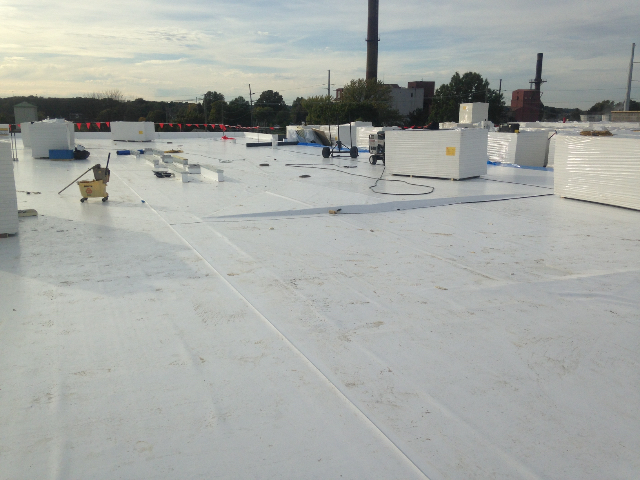
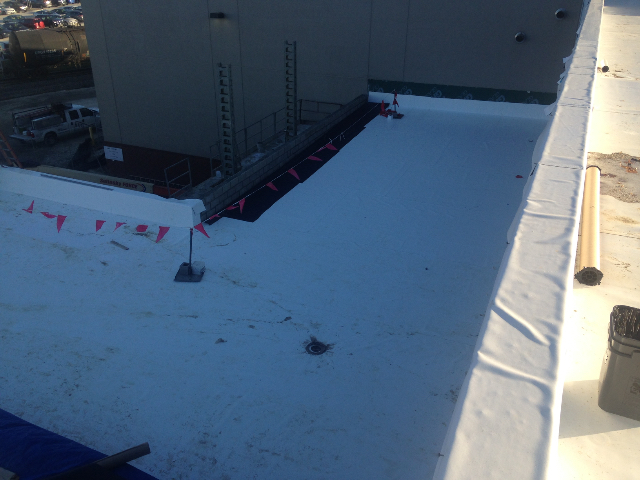
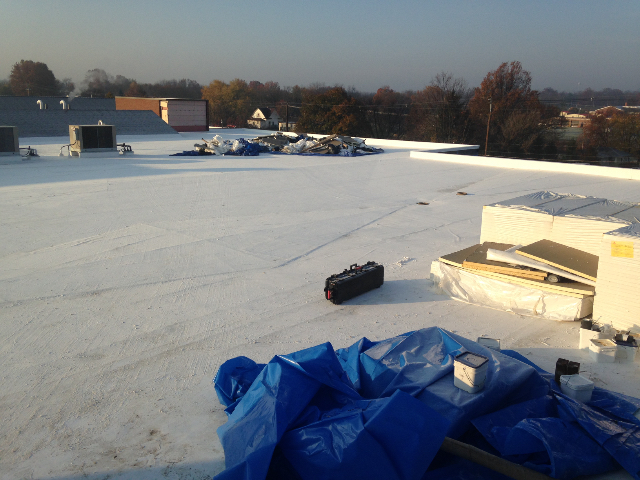
An overview of the new Sarnafil membrane roof system installed during today's production. 10/10/2016
|
 |
|
The vapor barrier being installed prior to the new polyiso insulation and Sarnafil membrane. 10/11/2016
|
The crewmen starting to lay new polyiso insulation down over the vapor barrier. 10/11/2016
|
 |  |
|
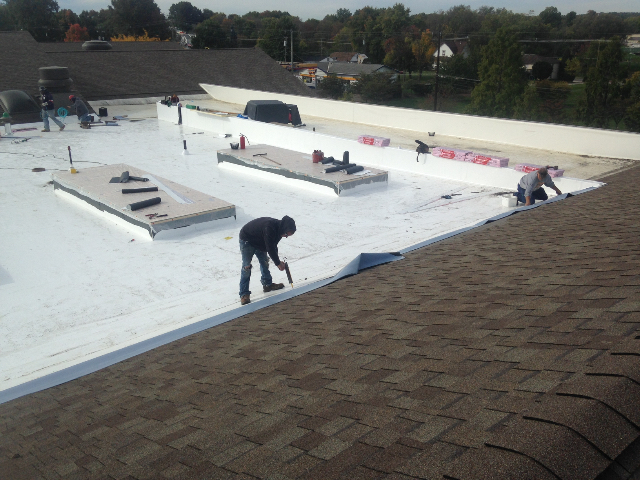
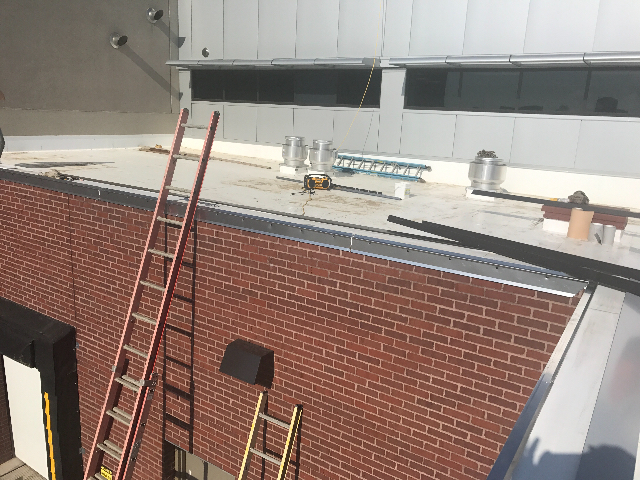
We are working on installing metal before putting shingles down. 10/11/2016
|
The roof technician attaching the new Sarnafil membrane to the rhinobond plates. 10/11/2016
|
 |  |
|
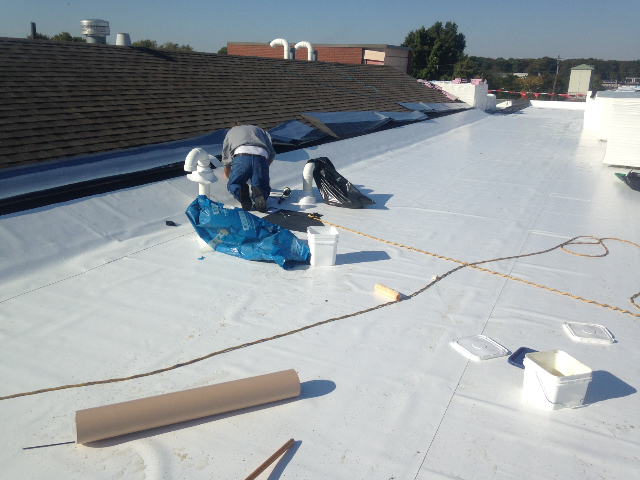
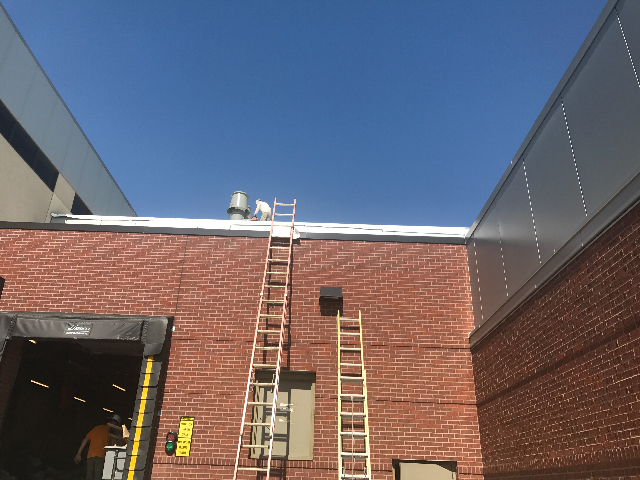
The new Sarnafil membrane being cut in around the pipe penetrations. 10/11/2016
|
The roof technician attaching the new Sarnafil membrane to the rhinobond plates. 10/11/2016
|
 |  |
|
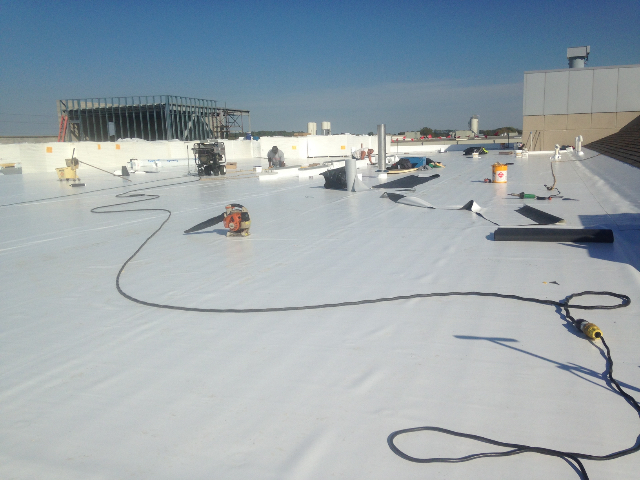
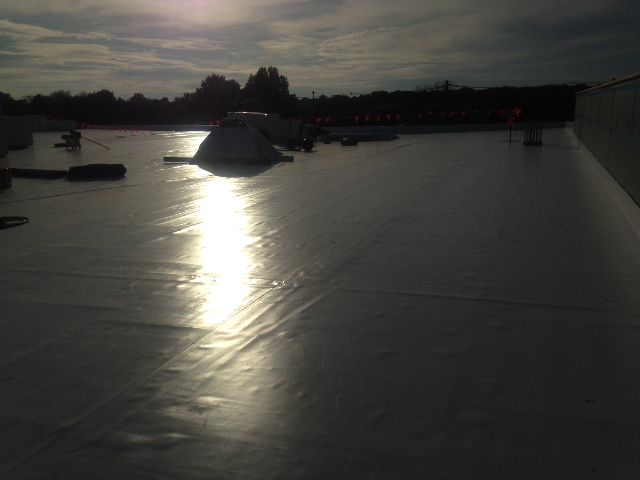
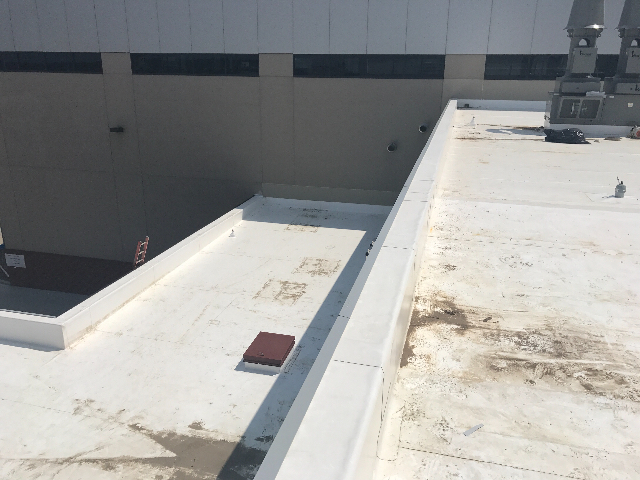
An overview of the new Sarnafil membrane roof system installed to date. 10/11/2016
|
An overview of the new Sarnafil membrane roof system installed to date. 10/11/2016
|
 |  |
|
An overview of the roof before the start of the morning. 10/12/2016
|
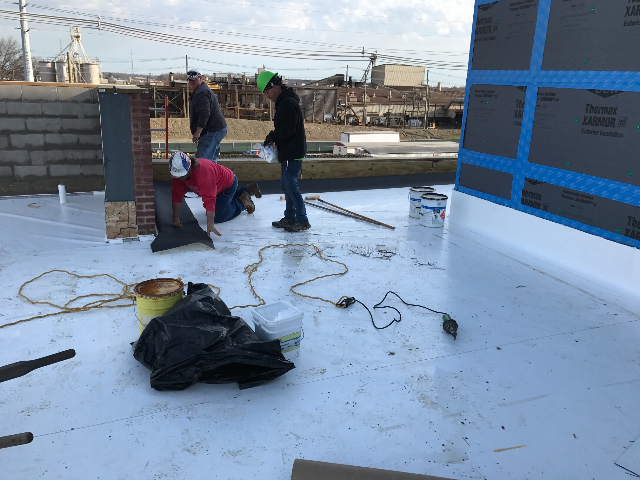
The roof technician flashing one of the roof curbs. 10/12/2016
|
 |  |
|
The pipe penetrations being flashed in with the Sarnafil membrane. 10/12/2016
|
An overview of the new Sarnafil membrane roof system installed to date. 10/12/2016
|
 |  |
|
An overview of the new Sarnafil membrane roof system installed to date. 10/12/2016
|
 |
|
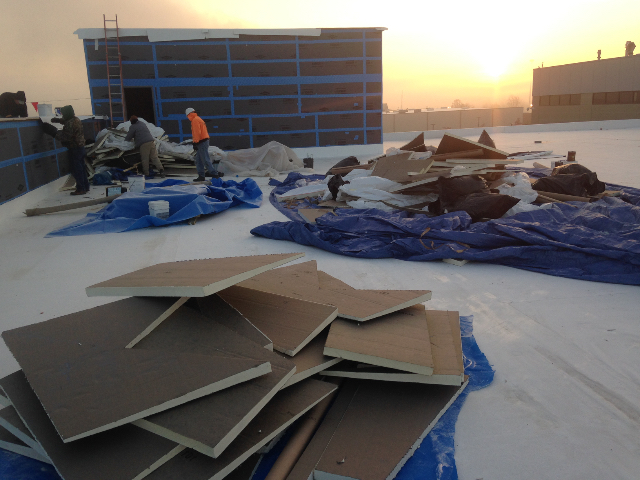
The crewmen making room for the new tapered polyiso insulation. 10/13/2016
|
We start to lay out the new tapered polyiso insulation over the vapor barrier. 10/13/2016
|
 |  |
|
The saddles are cut in between the roof drains. 10/13/2016
|
The roof technicians starting to lay the new Sarnafil membrane over the new tapered polyiso insulation. 10/13/2016
|
 |  |
|
The multiple layers of ployiso insulation and the vapor barrier. 10/13/2016
|
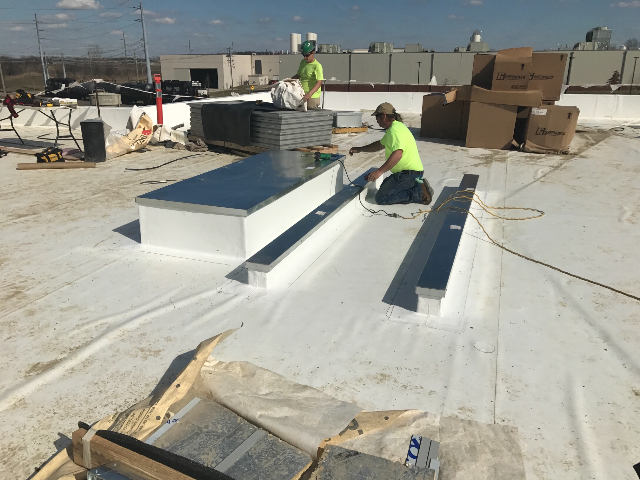
The new skylight curbs being flashed in with the Sarnafil membrane. 10/13/2016
|
 |  |
|
An overview of the work completed today and the area organized and ready to start the next day. 10/13/2016
|
 |
|
The area where the new Sarnafil membrane roof system will be installed today. 10/14/2016
|
The roof technicians installing the vapor barrier over the metal deck. 10/14/2016
|
 |  |
|
The base layers of polyiso insulation being installed over the vapor barrier. 10/14/2016
|
The laps of the vapor barrier are sealed prior to being covered with polyiso insulation. 10/14/2016
|
 |  |
|
The crewmen building the big saddle between the roof drains. 10/14/2016
|
The tapered polyiso insulation being cover with the new Sarnafil membrane. 10/14/2016
|
 |  |
|
An overview of the new Sarnafil membrane roof system at the end of today's production. 10/14/2016
|
 |
|
The crewmen starting to installed the vapor barrier over the metal deck. 10/17/2016
|
The new polyiso insulation between the two roof sections is cut into place. 10/17/2016
|
 |  |
|
The new polyiso insulation put down along with tapered board to tie the two roof sections together. 10/17/2016
|
The new polyiso insulation and tapered insulation being secured with plates and screws. 10/17/2016
|
 |  |
|
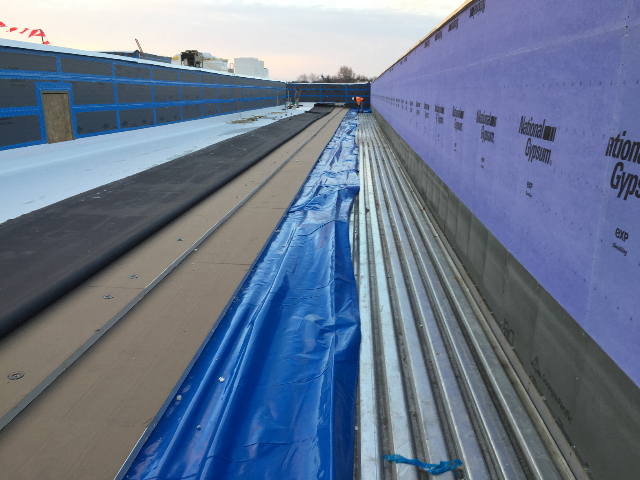
The new Sarnafil membrane being installed over the transition area between the two roof sections. 10/17/2016
|
The roof technicians getting ready to cover the new polyiso insulation with the Sarnafil membrane. 10/17/2016
|
 |  |
|
An overview of the new Sarnafil membrane roof system installed during today's production. 10/17/2016
|
 |
|
This picture shows the area we will be working on today. 10/18/2016
|
This picture shows installation of the new tapered insulation. 10/18/2016
|
 |  |
|
The Sarnafil membrane is being welded to the RhinoBond plates underneath. 10/18/2016
|
This shows the area completed at the end of the day. 10/18/2016
|
 |  |
|
The crewmen getting ready to start working on putting the vapor barrier down. 10/19/2016
|
The new vapor barrier covering the metal deck. 10/19/2016
|
 |  |
|
The new vapor barrier covering the metal deck. 10/19/2016
|
The new tapered polyiso insulation being secured with new screws and plates. 10/19/2016
|
 |  |
|
The new Sarnafil membrane being installed over the new tapered polyiso insulation. 10/19/2016
|
The new Sarnafil membrane being secured to the rhinobond plates. 10/19/2016
|
 |  |
|
The new Sarnafil membrane being secured to the rhinobond plates. 10/19/2016
|
An overview of the new Sarnafil membrane roof system installed today. 10/19/2016
|
 |  |
|
An overview of the new Sarnafil membrane roof system installed today. 10/19/2016
|
 |
|
The roof technicians starting to installed the new vapor barrier. 10/24/2016
|
The polyiso insulation being secured with rhinobond plates and screws. 10/24/2016
|
 |  |
|
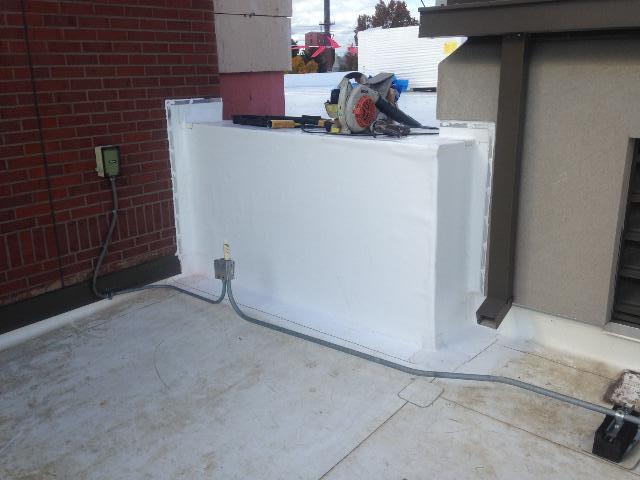
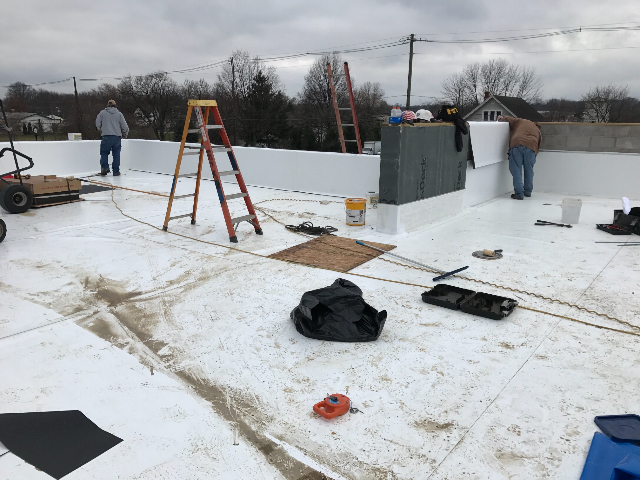
A view of the wall section after it has been detailed with the Sarnafil membrane. 10/24/2016
|
 |
|
The roof technicians securing the rhinobond plates to the Sarnafil membrane. 10/25/2016
|
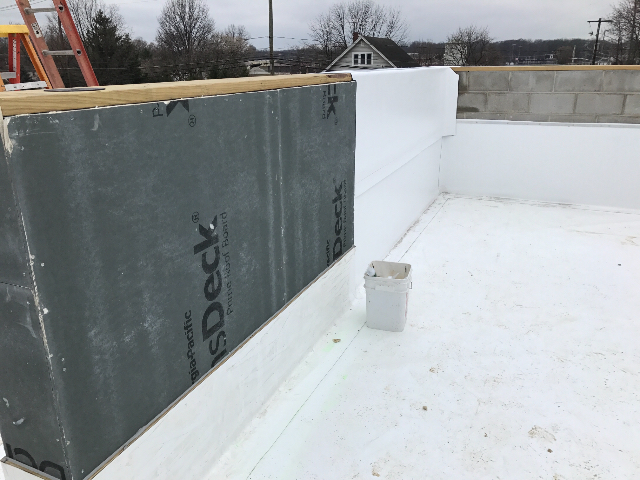
The wall has been flashed in with the new Sarnafil membrane. 10/25/2016
|
 |  |
|
An overview of the roof section at the end of the day. 10/25/2016
|
 |
|
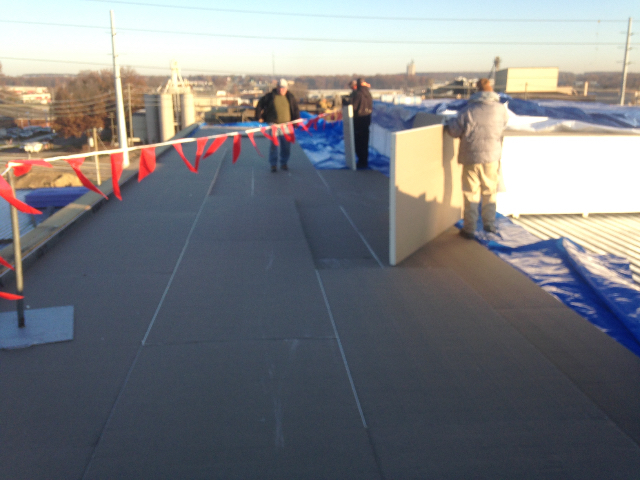
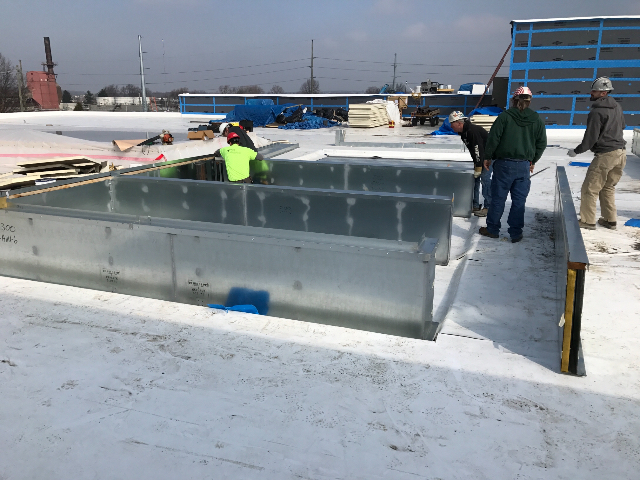
The stairway roof area before we started. 10/28/2016
|
The new vapor barrier has been installed over the new metal deck. The new polyiso insulation is now being set into place. 10/28/2016
|
 |  |
|
The crewmen laying out the new Sarnafil membrane before securing it to the rhinobond plates. 10/28/2016
|
The area covered with the new Sarnafil membrane. 10/28/2016
|
 |  |
|
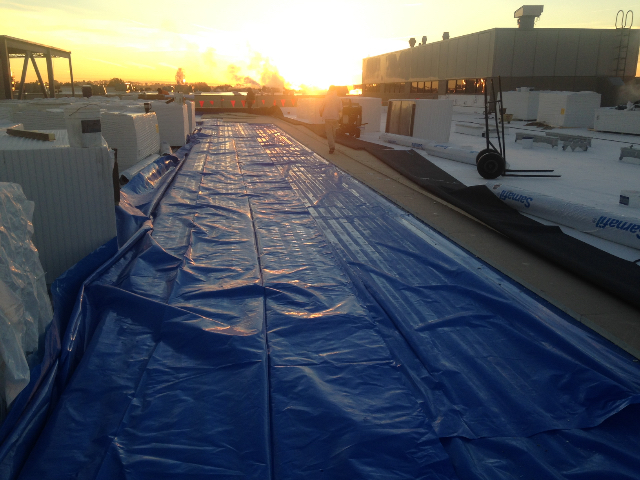
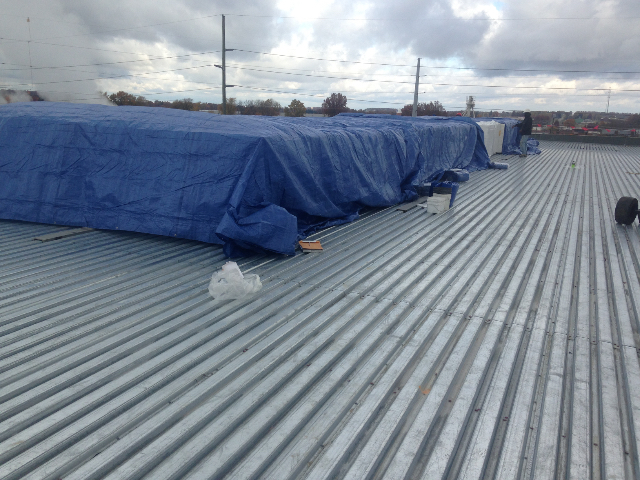
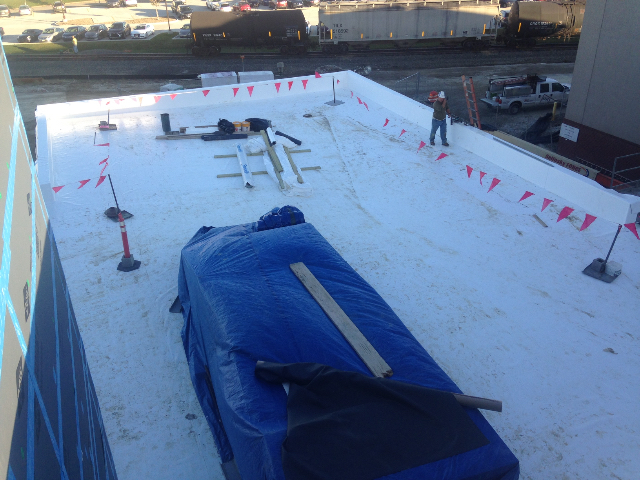
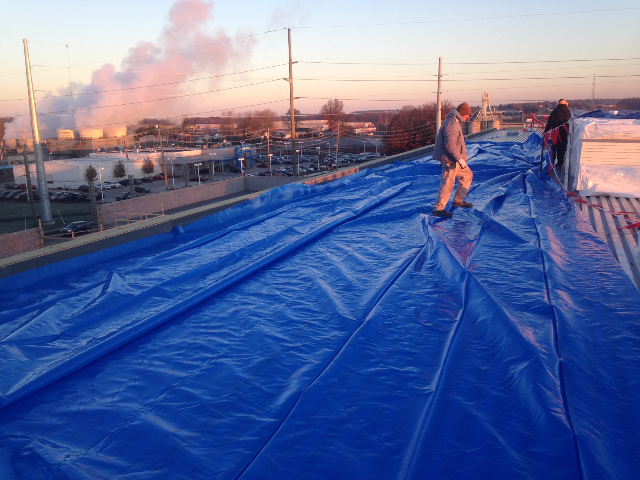
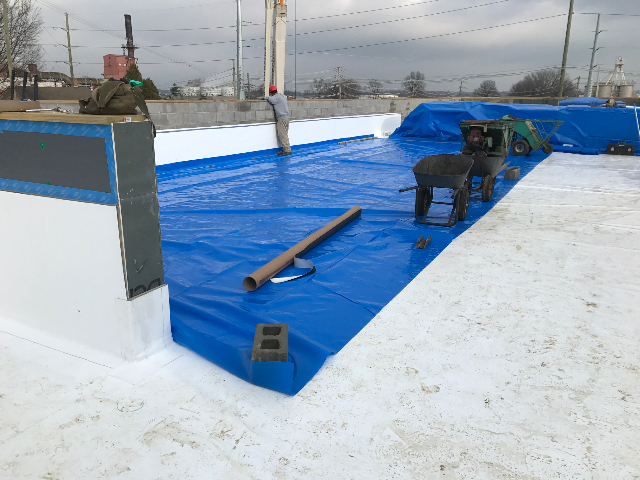
The Sarnafil materials covered with tarps. 10/28/2016
|
 |
|
The roof technicians covering the vapor barrier with the new polyiso insulation. 10/31/2016
|
Building a big saddle to the roof drain before covering with the new Sarnafil membrane. 10/31/2016
|
 |  |
|
Building a big saddle to the roof drain before covering with the new Sarnafil membrane. 10/31/2016
|
The crewmen securing the Sarnafil membrane to the rhinobond plates in the polyiso insulation. 10/31/2016
|
 |  |
|
An overview of the new Sarnafil membrane roof system installed today. 10/31/2016
|
 |
|
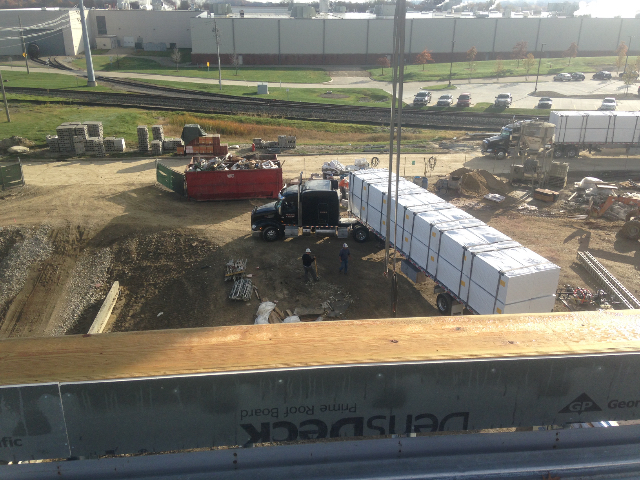
The trucks with the new polyiso insulation waiting to be off loaded. 11/04/2016
|
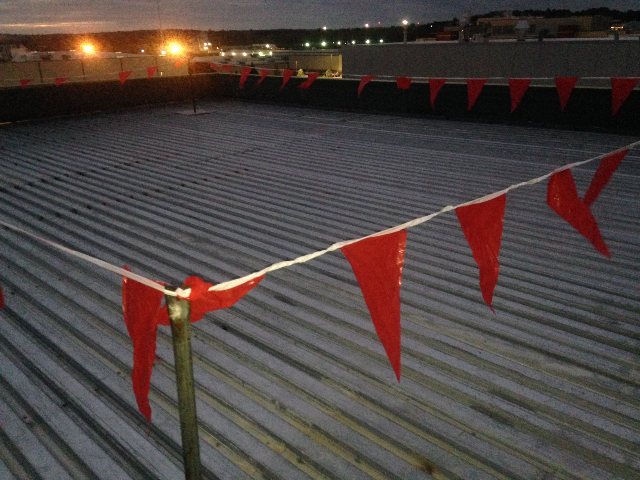
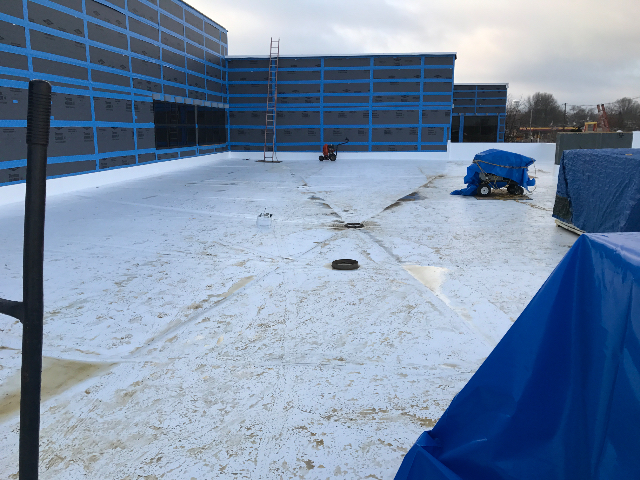
The new deck area of Phase 2 before loading with new materials. 11/04/2016
|
 |  |
|
The new Sarnafil materials covered with tarps. 11/04/2016
|
The trucks with the new polyiso insulation waiting to be off loaded. 11/04/2016
|
 |  |
|
The trucks with the new polyiso insulation waiting to be off loaded. 11/04/2016
|
 |
|
The crewmen starting to lay the new vapor barrier down before installing the new polyiso insulation. 11/08/2016
|
The vapor barrier is now ready for the new polyiso insulation. 11/08/2016
|
 |  |
|
The new polyiso insulation is being secured with rhinobond plates and screws. 11/08/2016
|
The new Sarnafil membrane is being installed and secured to the rhinobond plates. 11/08/2016
|
 |  |
|
The new Sarnafil membrane is being installed and secured to the rhinobond plates. 11/08/2016
|
The roof technician securing the rhinobond plates to the Sarnafil membrane. 11/08/2016
|
 |  |
|
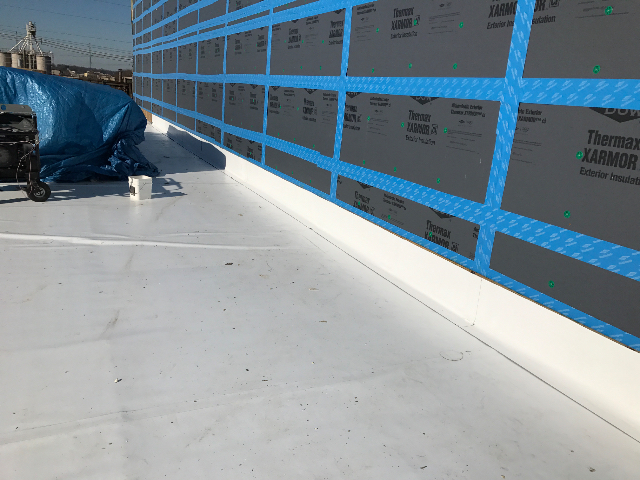
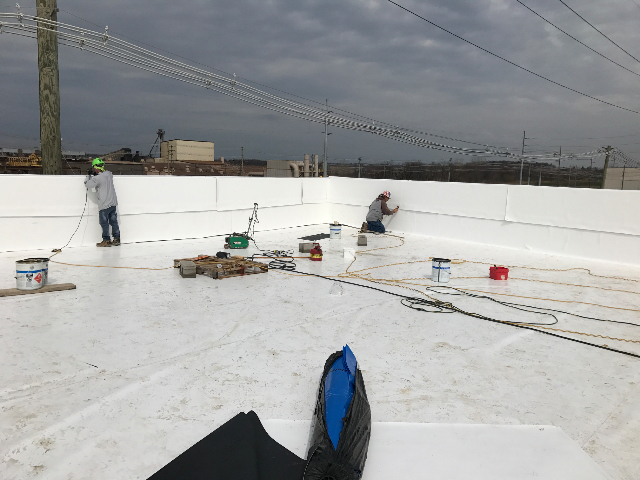
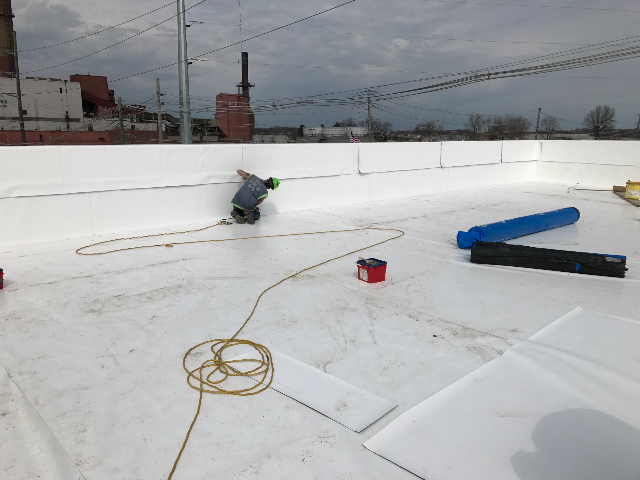
The Sarnafil membrane being adhered to the parapet walls. 11/08/2016
|
 |
|
The roof technician starting to lay new vapor barrier down before the polyiso insulation is installed. 11/09/2016
|
The new polyiso insulation and tapered saddle being installed over the vapor barrier. 11/09/2016
|
 |  |
|
The new polyiso insulation and tapered saddle being installed over the vapor barrier. 11/09/2016
|
The new Sarnafil membrane roof system at the end of today's production. 11/09/2016
|
 |  |
|
The roof technician starting to lay new vapor barrier down before the polyiso insulation is installed. 11/10/2016
|
We start to setting up today's production. 11/10/2016
|
 |  |
|
Repositioning the polyiso insulation so we can being installation. 11/10/2016
|
The new Sarnafil membrane being installed over the new polyiso insulation. 11/10/2016
|
 |  |
|
The new Sarnafil membrane is being installed and secured to the rhinobond plates. 11/10/2016
|
The new Sarnafil membrane has been installed over the new polyiso insulation. 11/10/2016
|
 |  |
|
The new Sarnafil membrane roof system has been installed and the roof area cleaned and organized. 11/10/2016
|
 |
|
The first section of phase 2 before we started production. 11/11/2016
|
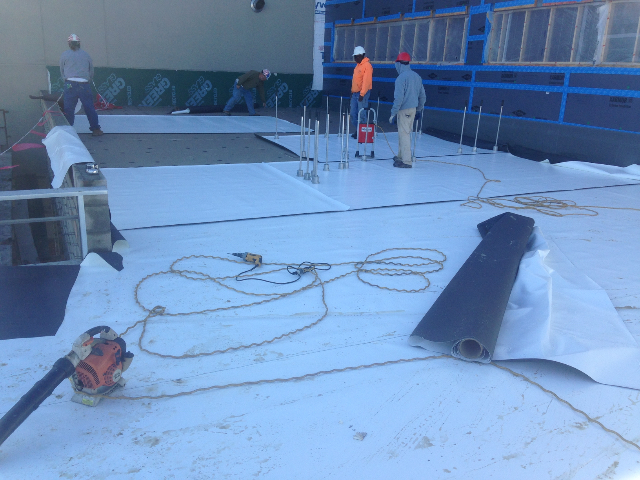
The crewmen starting to roll out the vapor barrier. 11/11/2016
|
 |  |
|
The new polyiso insulation being installed over the vapor barrier. 11/11/2016
|
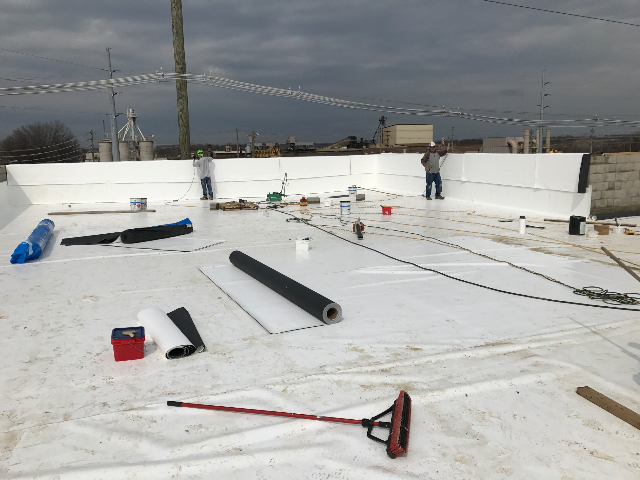
The new Sarnafil membrane being lined up so it can be rolled out. 11/11/2016
|
 |  |
|
The neew polyiso insulation covered with the new Sarnafil membrane. 11/11/2016
|
An overview of the new Sarnafil membrane roof system at the end of the day. 11/11/2016
|
 |  |
|
An overview of the new Sarnafil membrane roof system at the end of the day. 11/11/2016
|
 |
|
The crewmen starting to roll out the vapor barrier. 11/14/2016
|
The new polyiso insulation being installed over the vapor barrier. 11/14/2016
|
 |  |
|
The new polyiso insulation covered with the new Sarnafil membrane. 11/14/2016
|
An overview of the new Sarnafil membrane roof system at the end of the day. 11/14/2016
|
 |  |
|
The roof technicians flashing in the walls with the Sarnafil membrane. Note a safety monitor system is being utilized. 11/14/2016
|
 |
|
An overview of the area before we started today's production. 11/15/2016
|
We start installing a vapor barrier before covering it with the new polyiso insulation. 11/15/2016
|
 |  |
|
The crewmen starting to roll out the vapor barrier. 11/15/2016
|
The new polyiso insulation and saddles being installed along the drain line. 11/15/2016
|
 |  |
|
The roof technician being to layout the new Sarnafil membrane. 11/15/2016
|
An overview of the new Sarnafil membrane roof system at the end of today's production. 11/15/2016
|
 |  |
|
We start installing a vapor barrier before covering it with the new polyiso insulation. 11/16/2016
|
The new polyiso insulation being installed along the drain line. 11/16/2016
|
 |  |
|
The new polyiso insulation being installed along the drain line. 11/16/2016
|
The roof technician beginning to layout the new Sarnafil membrane. 11/16/2016
|
 |  |
|
An overview of the new Sarnafil membrane roof system at the end of today's production. 11/16/2016
|
 |
|
The roof technicians getting ready to remove all the trash and debris. 11/17/2016
|
The construction trash being removed from the roof area. 11/17/2016
|
 |  |
|
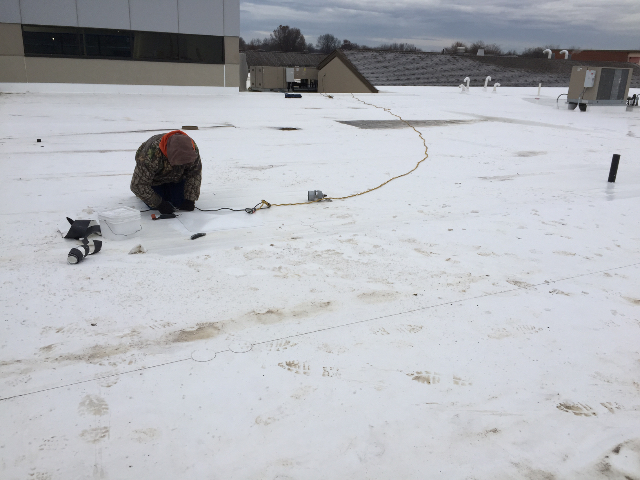
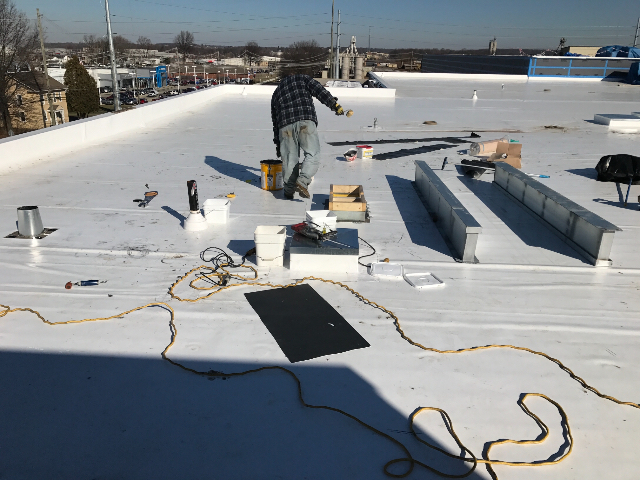
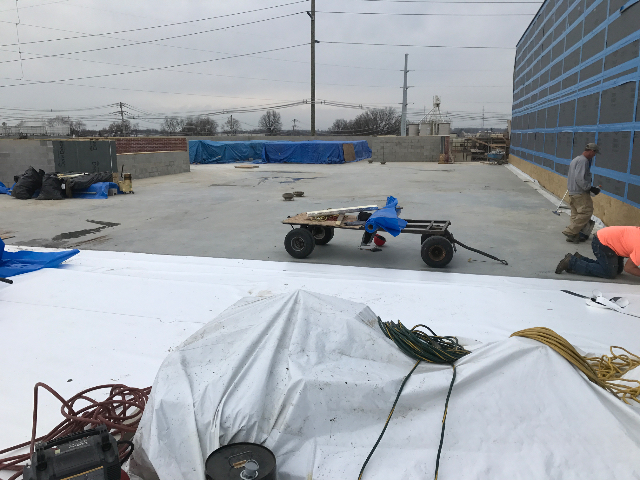
The crewmen working on securing the Sarnafil membrane to the rhinobond plates. 11/17/2016
|
The safety monitor observes as the crewman work on securing the membrane to the rhinobond plates. 11/17/2016
|
 |  |
|
The roof area has been cleared of all debris and organized. 11/17/2016
|
 |
|
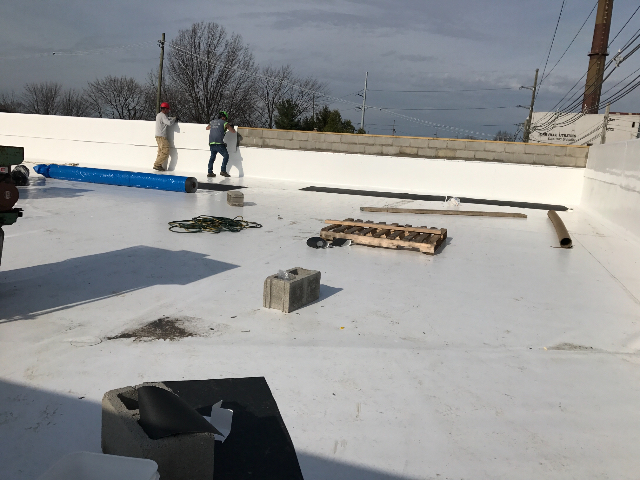
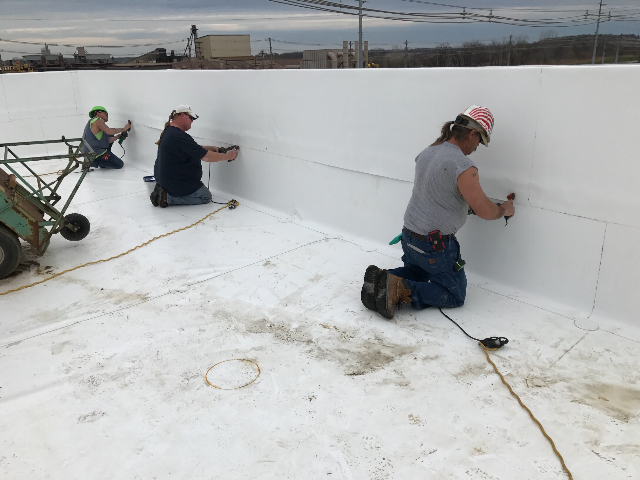
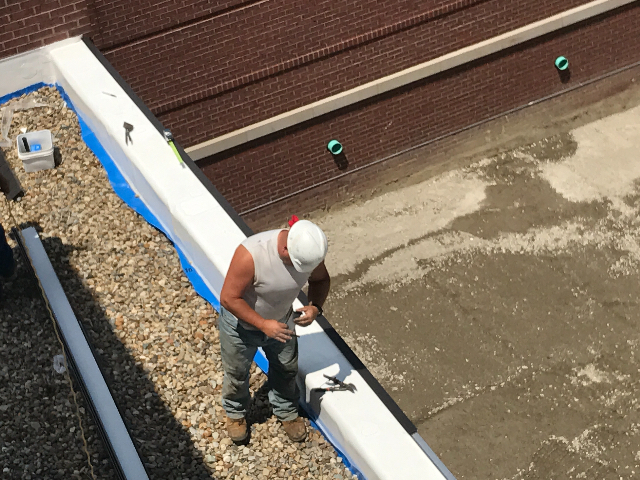
The roof technicians working on outside edge parapet walls. 11/18/2016
|
The crewmen working on securing the Sarnafil membrane to the rhinobond plates. 11/18/2016
|
 |  |
|
The roof area has been cleared of all debris and organized. 11/18/2016
|
The roof area has been cleared of all debris and organized. 11/18/2016
|
 |  |
|
Starting to bring insulation up on to the roof 11/23/2016
|
Starting to cover the insulatin 11/23/2016
|
 |  |
|
Guys are still working on theirwalls 11/23/2016
|
Insulation being covered with tarps 11/23/2016
|
 |  |
|
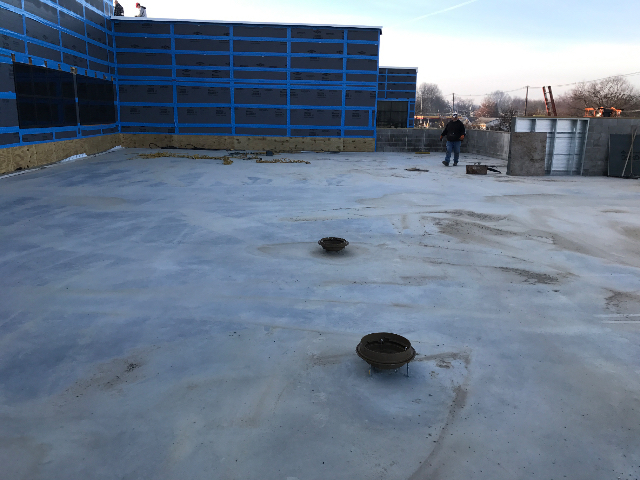
The roof area before production began for the day. 12/05/2016
|
The roof area before production began for the day. 12/05/2016
|
 |  |
|
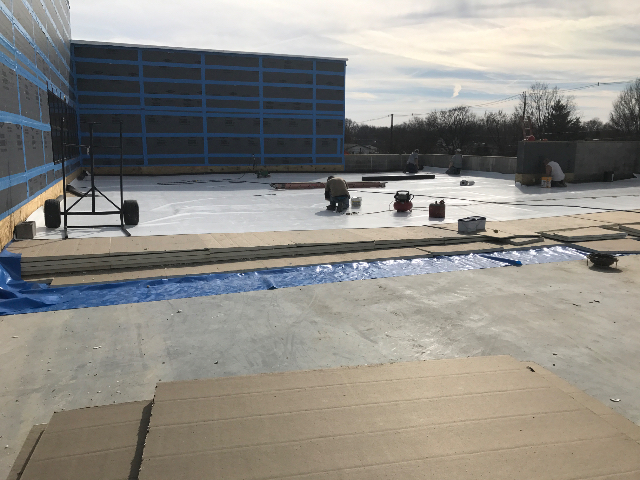
The roof technicians applying a vapor barrier over the metal deck. 12/05/2016
|
New insulation over the vapor barrier 12/05/2016
|
 |  |
|
The new polyiso insulation being installed over the vapor barrier. 12/05/2016
|
An overview of the new Sarnafil membrane roof system. 12/05/2016
|
 |  |
|
An overview of the new Sarnafil membrane roof system. 12/05/2016
|
An overview of the new Sarnafil membrane roof system. 12/05/2016
|
 |  |
|
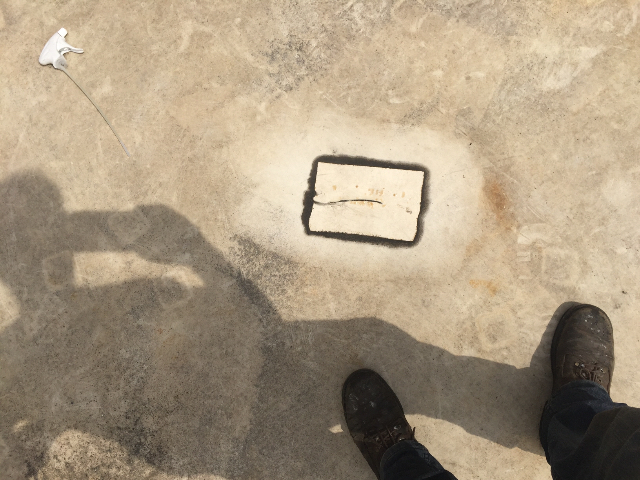
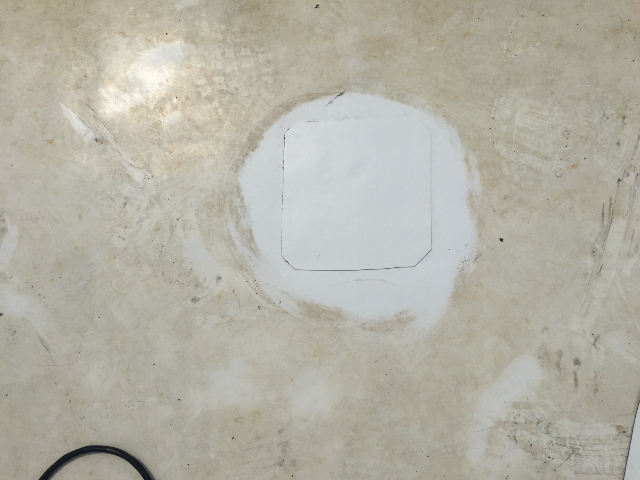
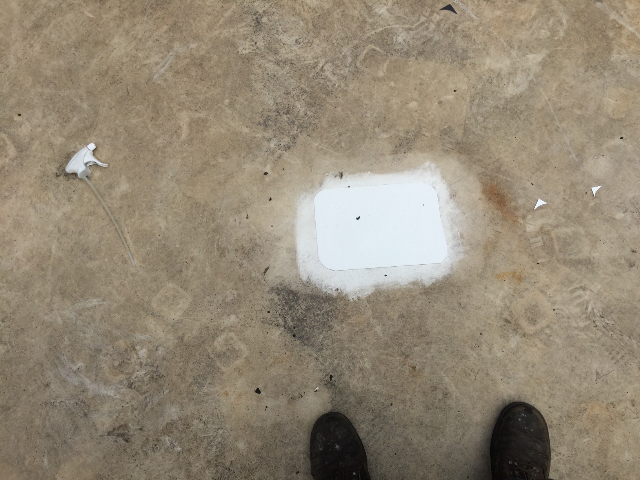
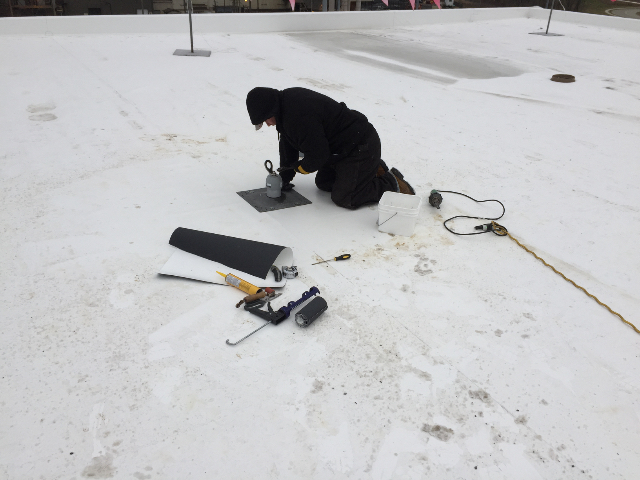
The roof technician working on sealing the roof anchors. 12/06/2016
|
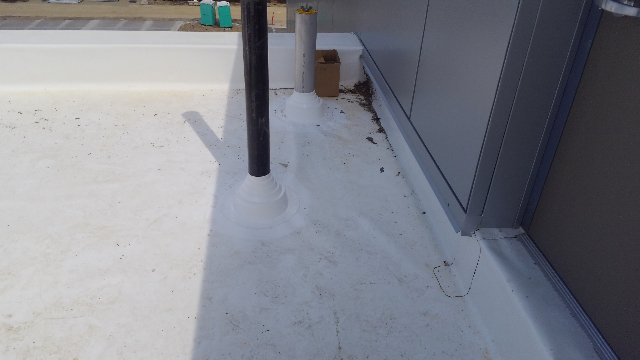
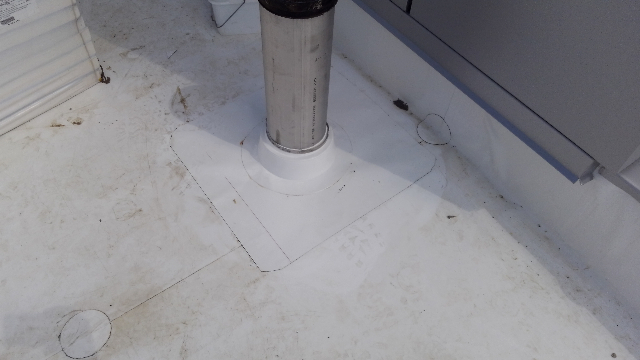
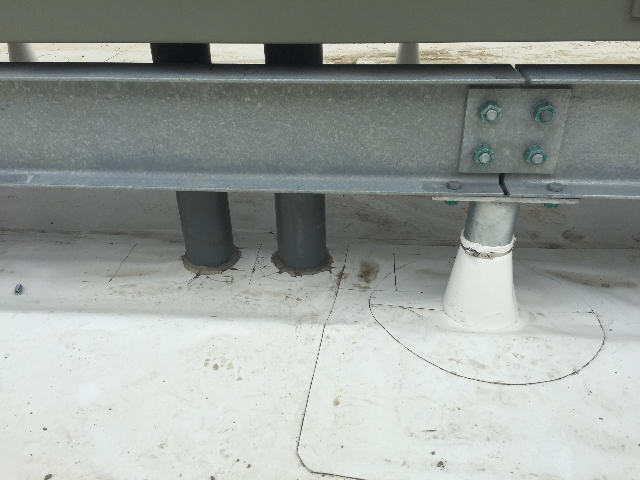
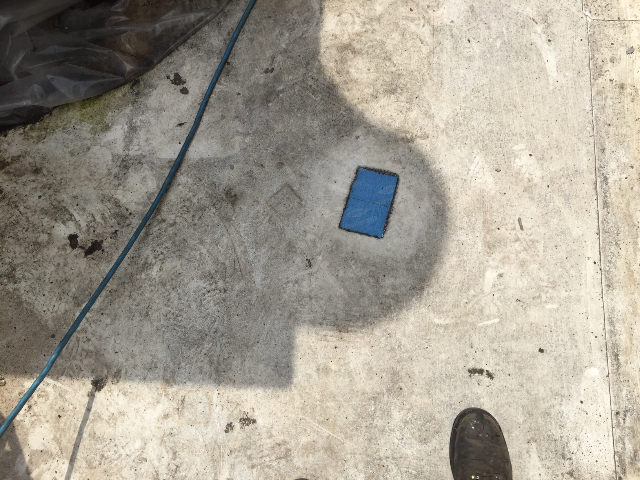
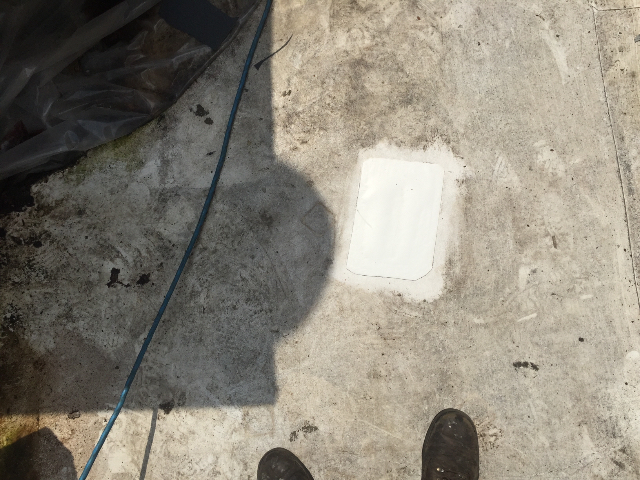
The pipe boot flashings being welded on the Sarnafil membrane roof system. 12/06/2016
|
 |  |
|
The crewmen preparing to install the vapor barrier. 12/07/2016
|
Once the vapor barrier has been installed we began to cut in the new polyiso insulation. 12/07/2016
|
 |  |
|
The new tapered saddles being installed along the roof drain line. 12/07/2016
|
The tapered saddles being cut in. 12/07/2016
|
 |  |
|
An overview of the new Sarnafil membrane roof system at the end of the day. 12/07/2016
|
 |
|
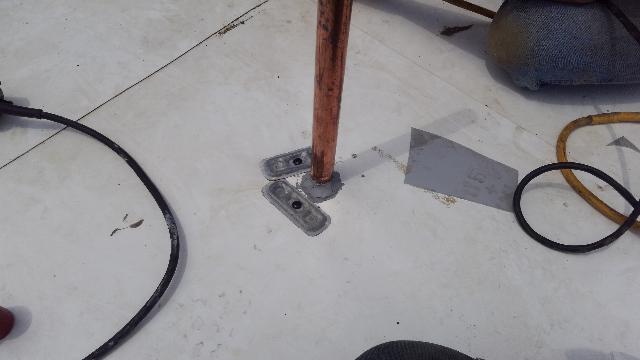
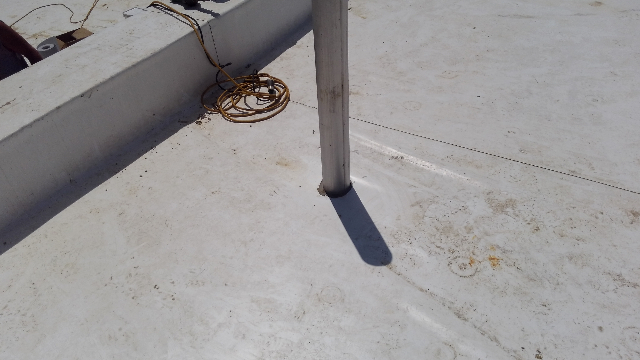
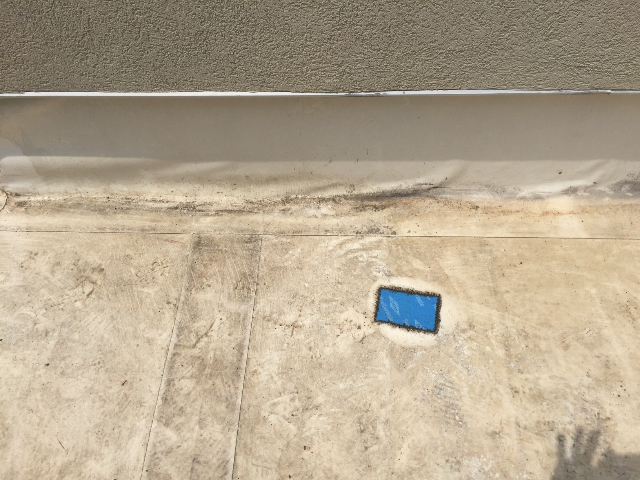
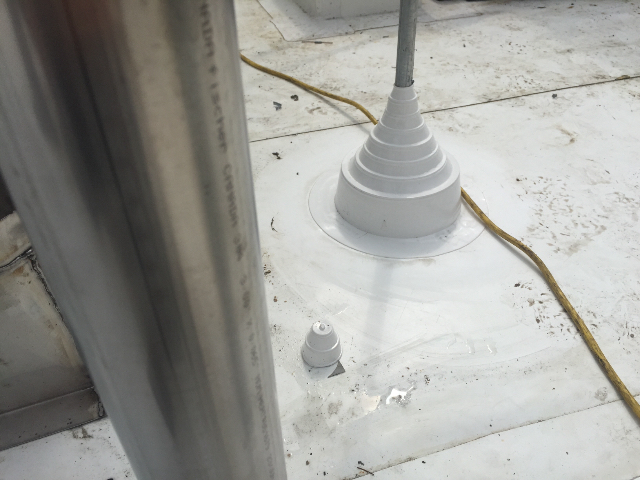
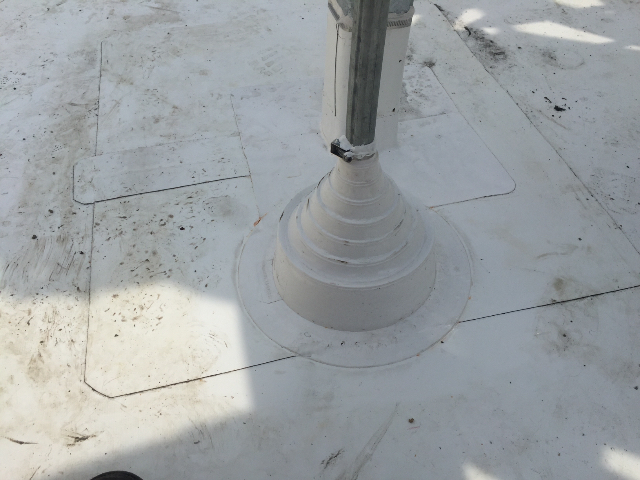
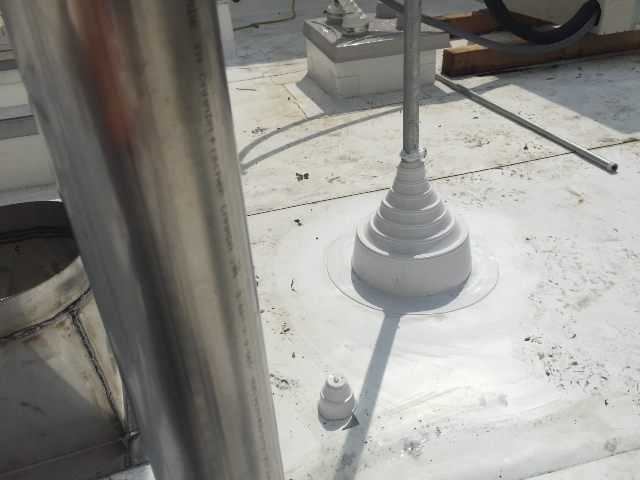
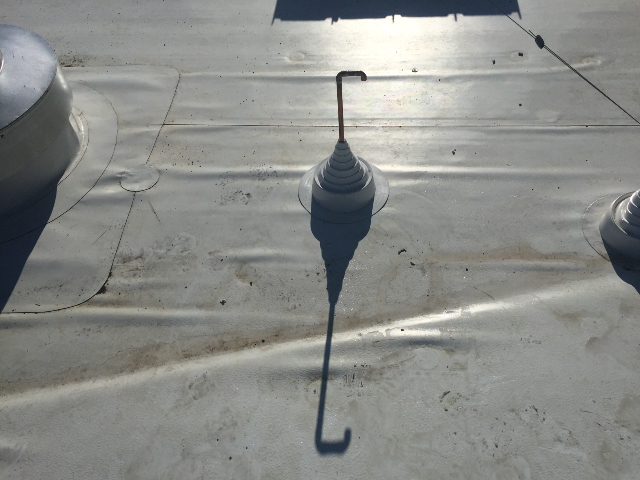
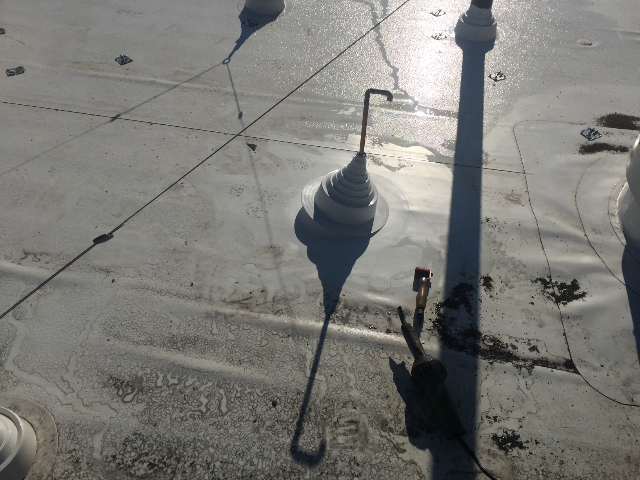
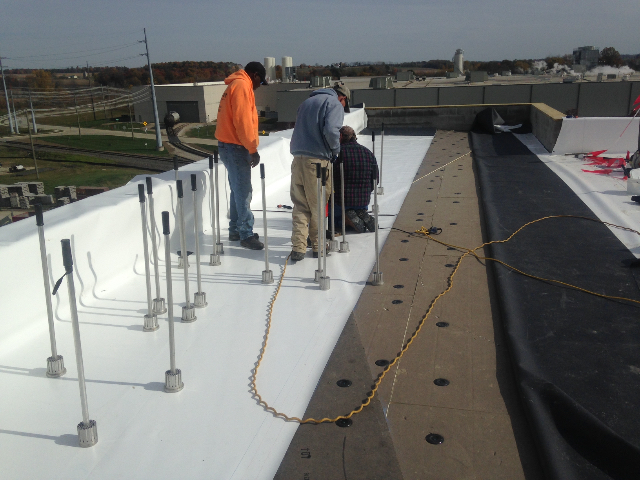
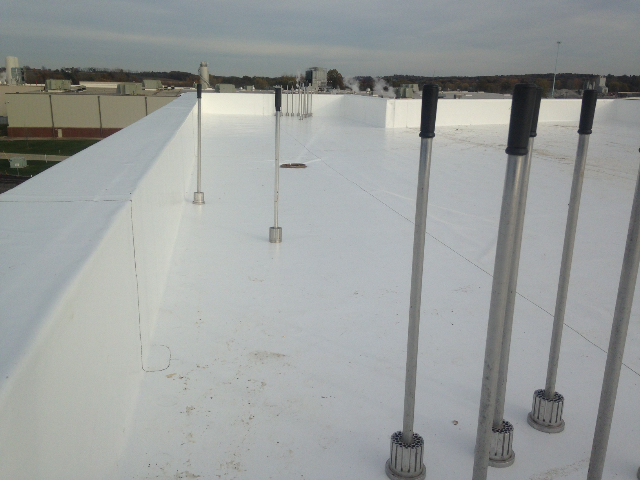
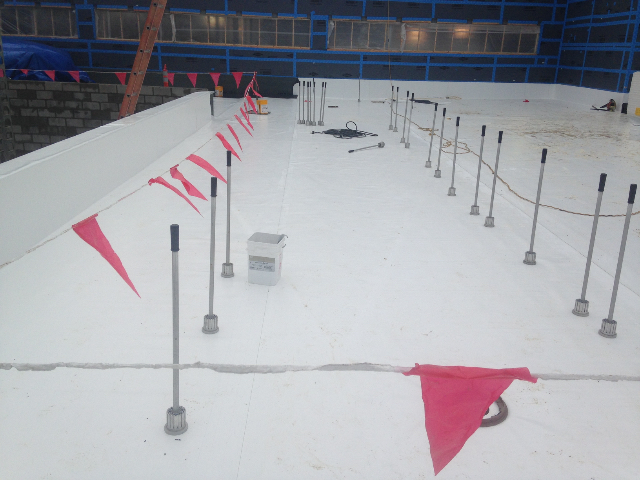
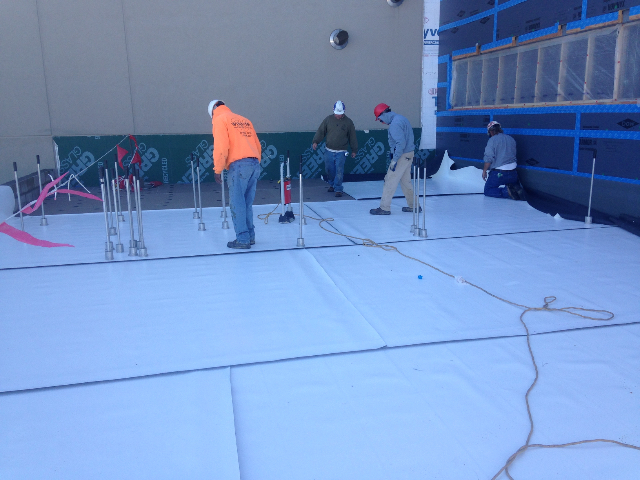
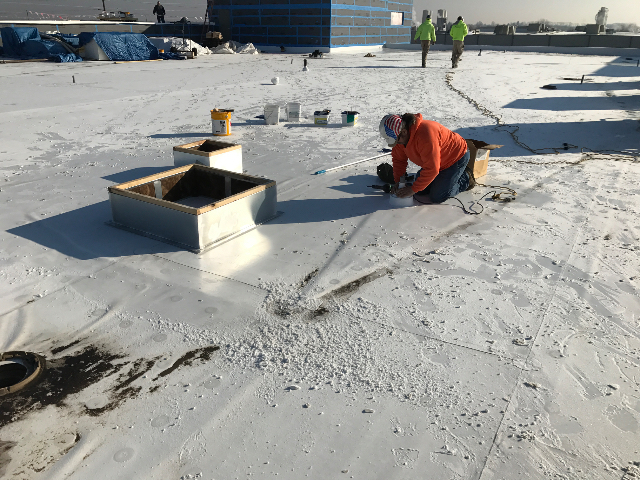
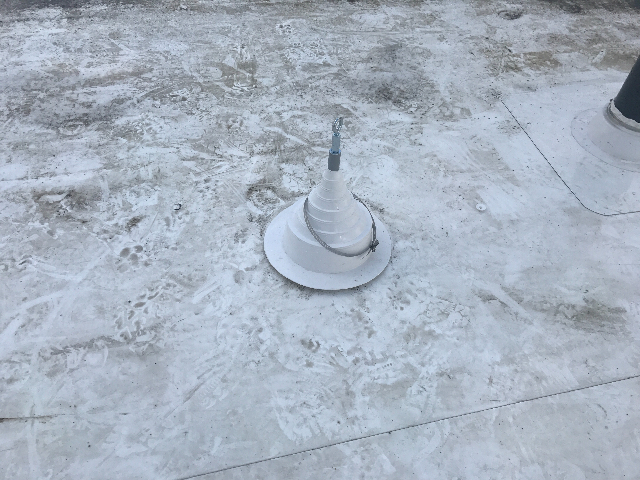
The crewman working on flashing the lightning rod posts. 02/06/2017
|
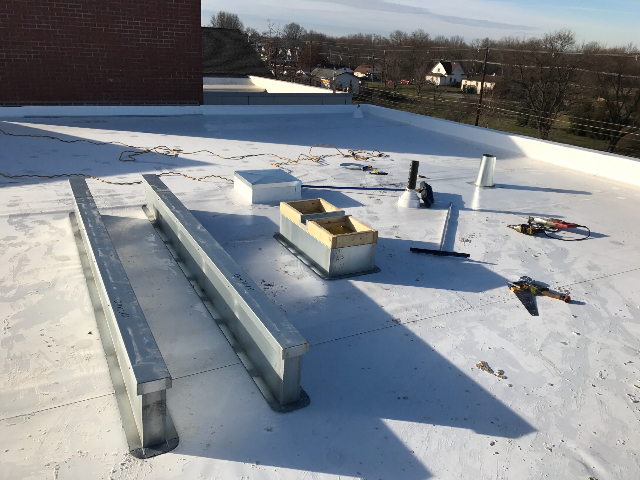
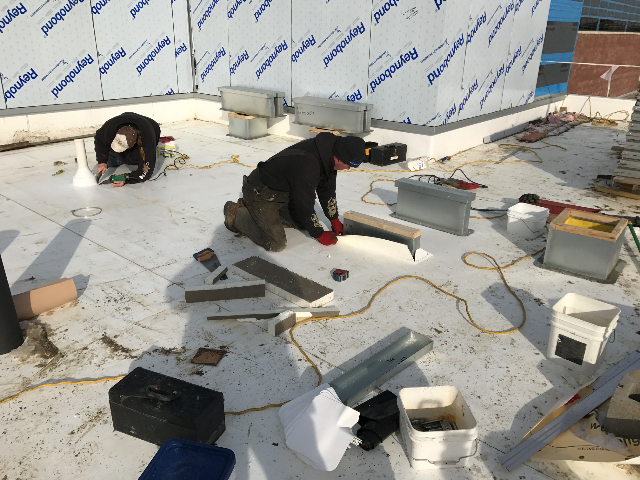
The roof curbs being set into place. 02/06/2017
|
 |  |
|
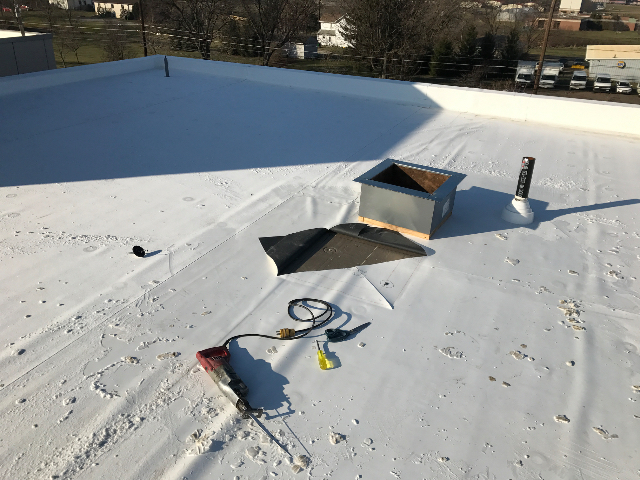
The curbs being insulated and flashed in. 02/06/2017
|
The curbs have been flashed with the Sarnafil membrane. 02/06/2017
|
 |  |
|
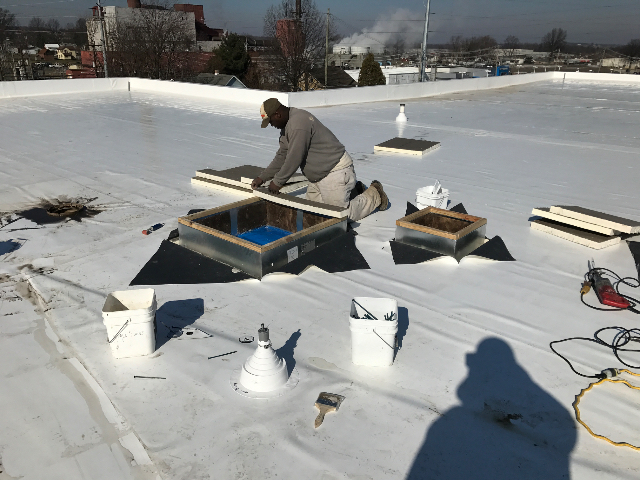
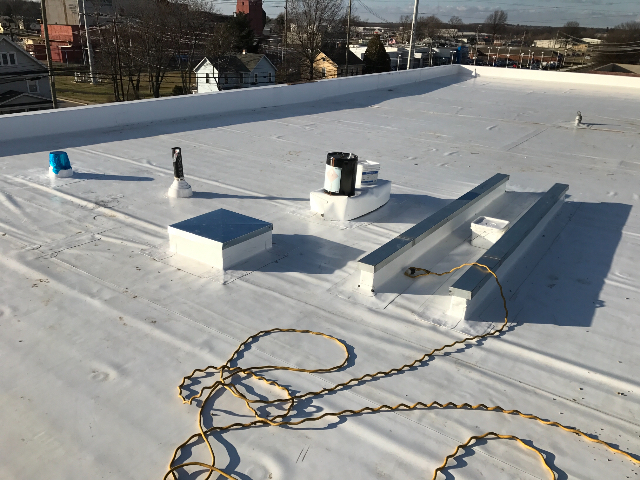
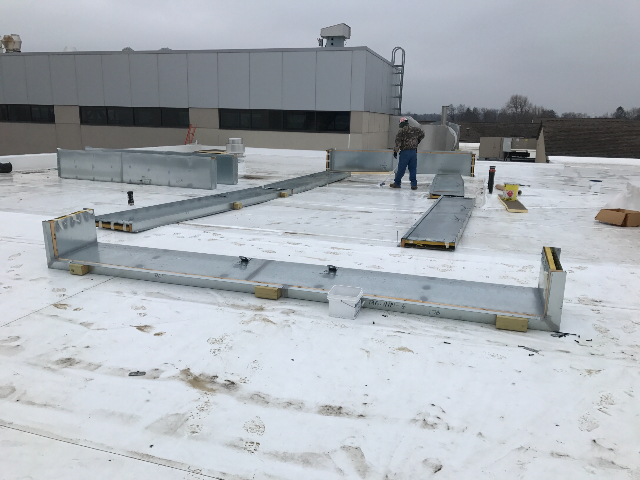
The pate rails and curbs that required flashing. 02/14/2017
|
The roof technician getting ready to flash the curbs. 02/14/2017
|
 |  |
|
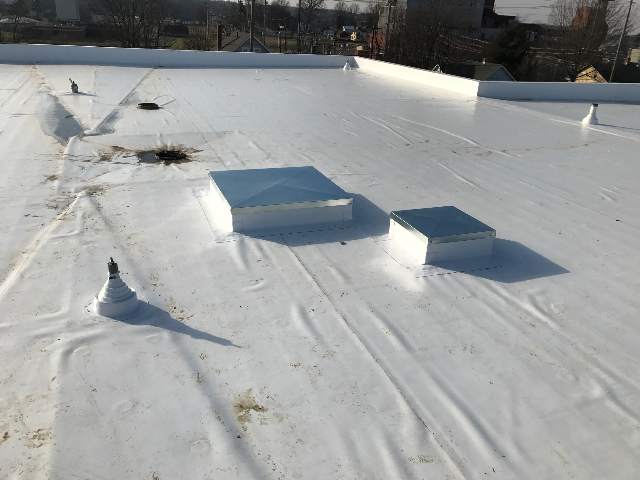
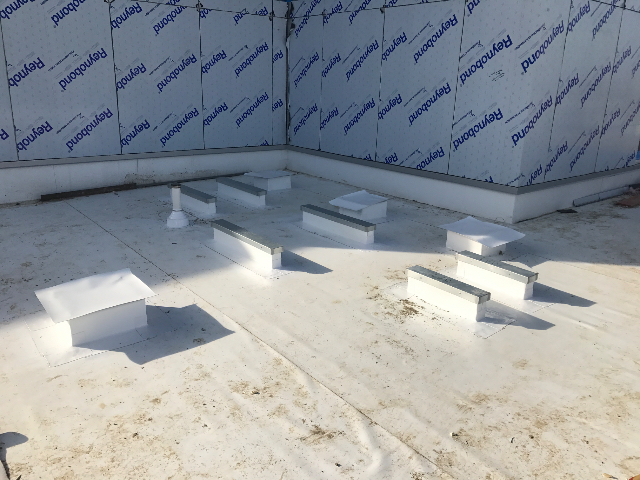
The curbs after they have been properly flashed with the Sarnafil membrane. 02/14/2017
|
 |
|
The roof penetration locations are being marked out. 02/15/2017
|
The curbs after that have been properly flashed in. 02/15/2017
|
 |  |
|
The curbs after that have been properly flashed in. 02/15/2017
|
The curbs after that have been properly flashed in. 02/15/2017
|
 |  |
|
The curbs after that have been properly flashed in. 02/15/2017
|
 |
|
The roof curbs are being cut into the Sarnafil membrane roof system. 02/17/2017
|
An overview of some of the roof curbs flashed during today's production. 02/17/2017
|
 |  |
|
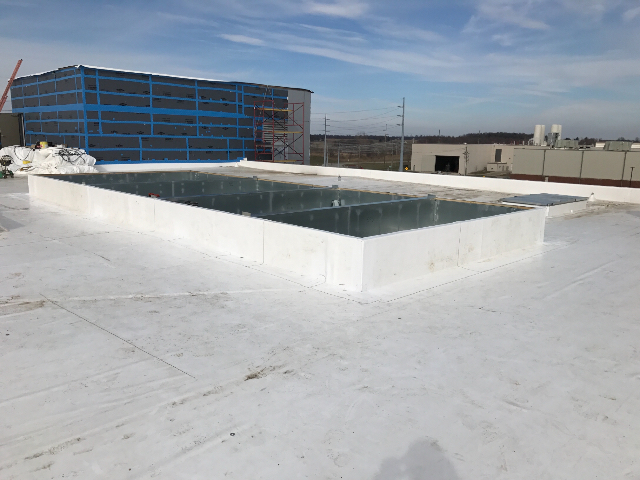
A section of roof before covering with new insulation and new Sarnafil membrane. 02/20/2017
|
The new tapered polyiso insulation and Sarnafil membrane being installed over the concrete deck. 02/20/2017
|
 |  |
|
The new tapered polyiso insulation and Sarnafil membrane being installed over the concrete deck. 02/20/2017
|
An overview of the new Sarnafil membrane roof system as the end of today's production. 02/20/2017
|
 |  |
|
An overview of the new Sarnafil membrane roof system as the end of today's production. 02/20/2017
|
 |
|
The roof technician working on the wall detail. 02/21/2017
|
The new tapered polyiso insulation being installed over the concrete deck. 02/21/2017
|
 |  |
|
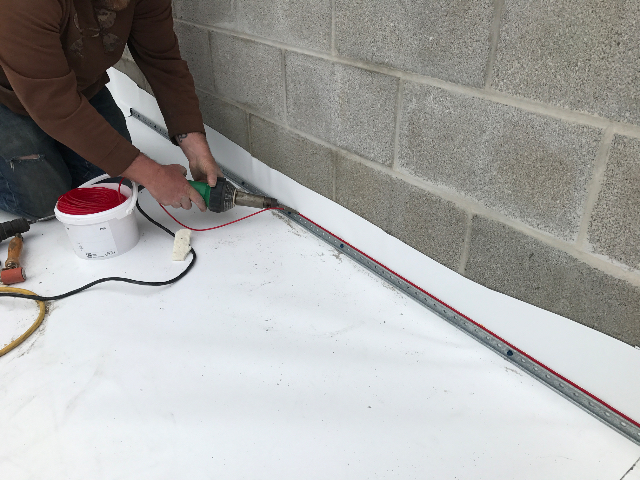
The angle change bar being installed along the walls. 02/21/2017
|
The crewman applying the red cord above the termination bar. 02/21/2017
|
 |  |
|
The roof area has been organized and ready for the start of the next day. 02/21/2017
|
 |
|
The crewmen removing debris from the roofs. 02/22/2017
|
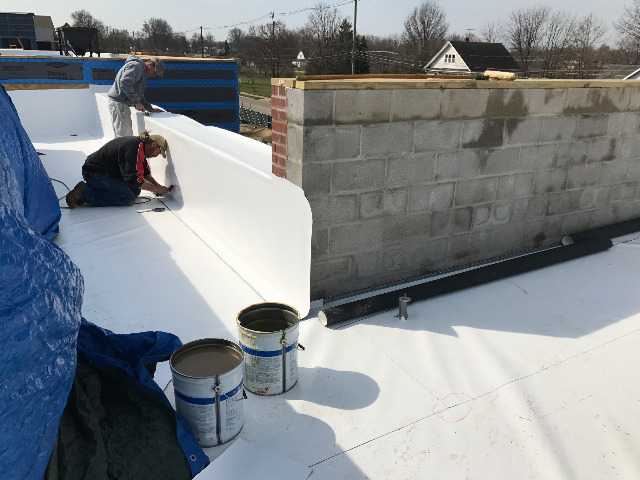
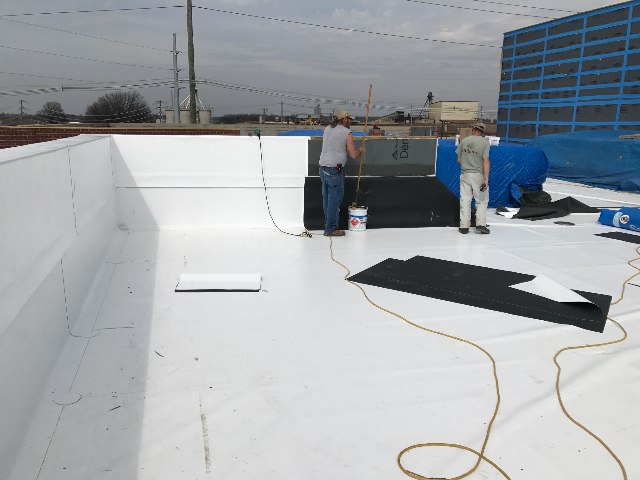
The Sarnafil membrane being adhered to the parapet walls. 02/22/2017
|
 |  |
|
The Sarnafil membrane being adhered to the parapet walls. 02/22/2017
|
The Sarnafil membrane being adhered to the parapet walls. 02/22/2017
|
 |  |
|
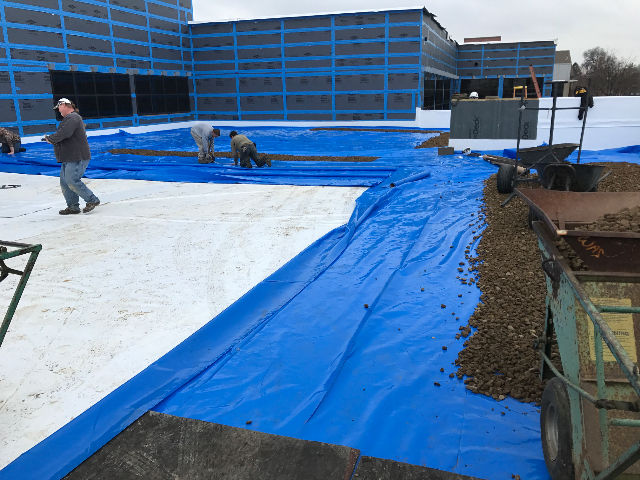
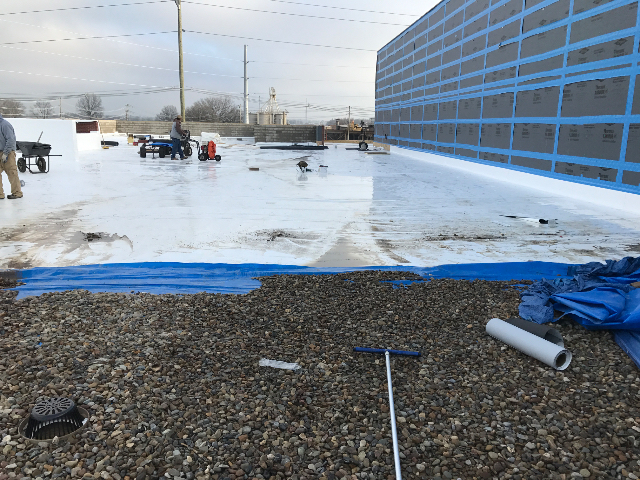
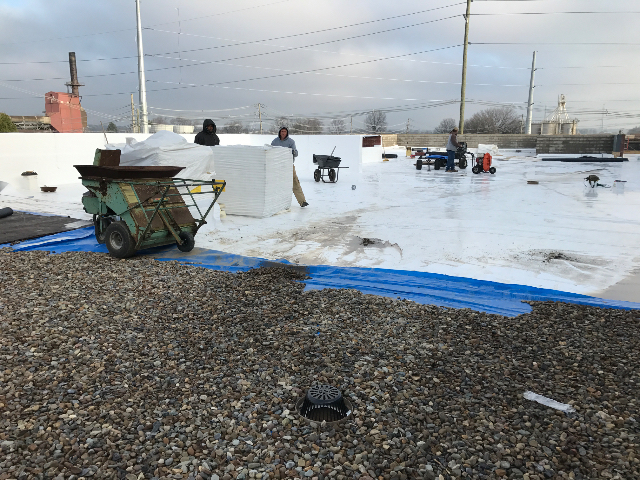
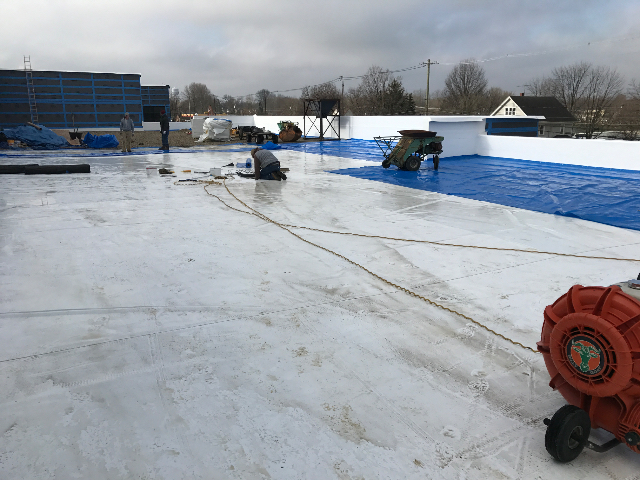
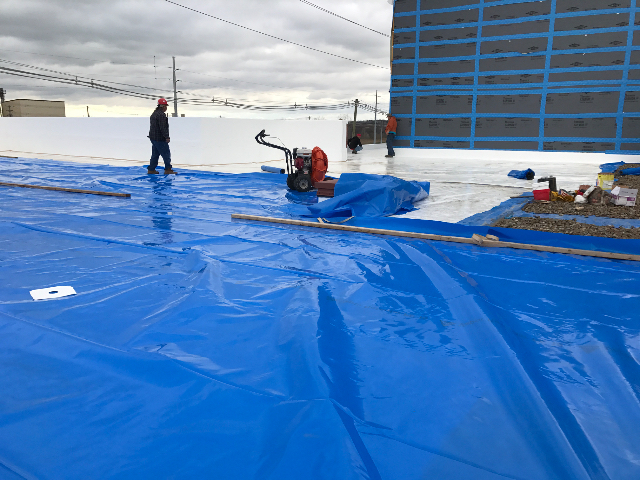
An overview of the Sarnafil membrane roof system prior to installation of the gravel ballast. 02/23/2017
|
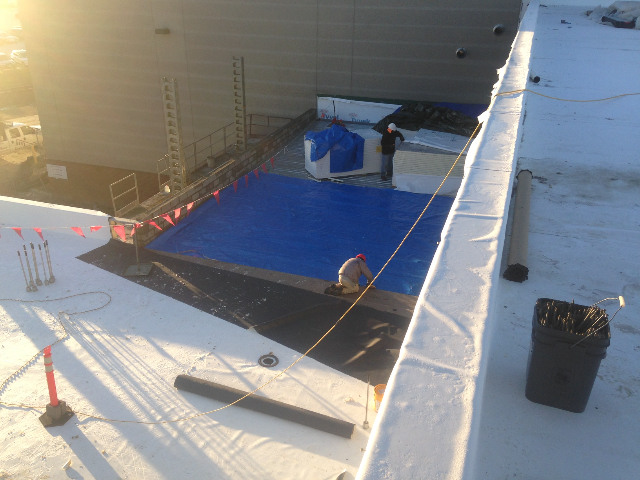
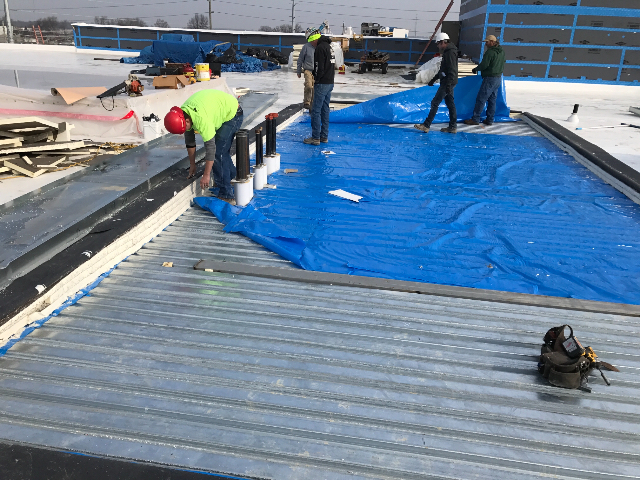
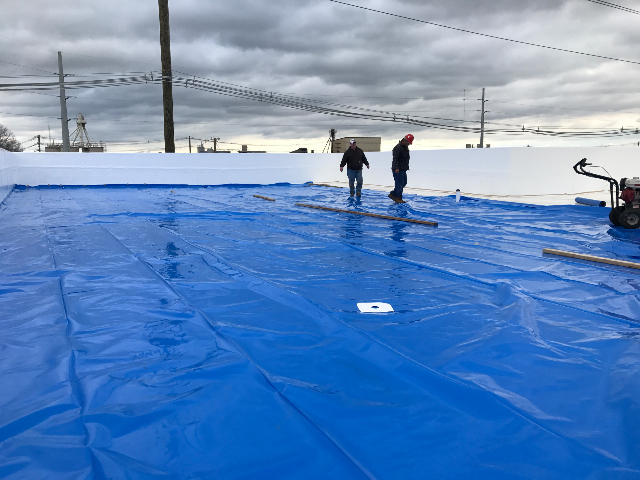
The crewmen installing a plastic barrier before the gravel ballast. 02/23/2017
|
 |  |
|
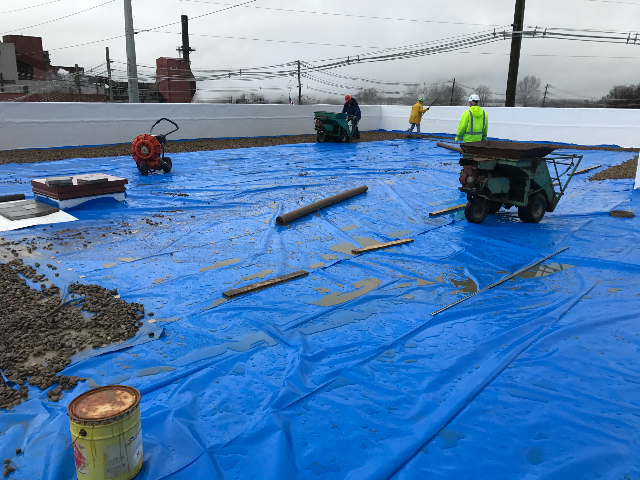
All laps in the barrier are taped before the ballast is applied. 02/23/2017
|
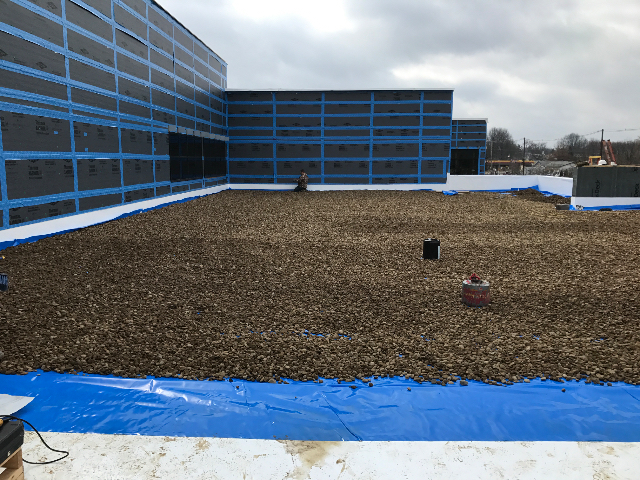
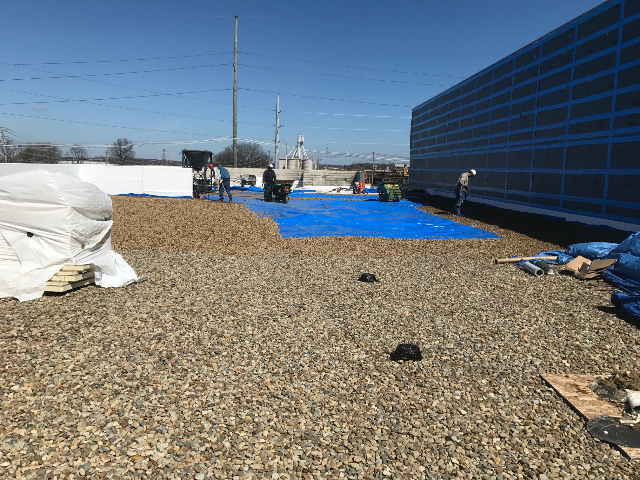
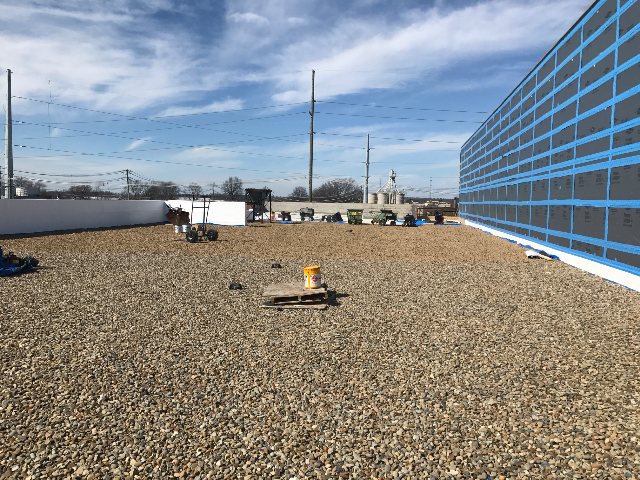
An overview of the gravel ballast after is has been installed over the plastic barrier. 02/23/2017
|
 |  |
|
An overview of the gravel ballast after is has been installed over the plastic barrier. 02/23/2017
|
 |
|
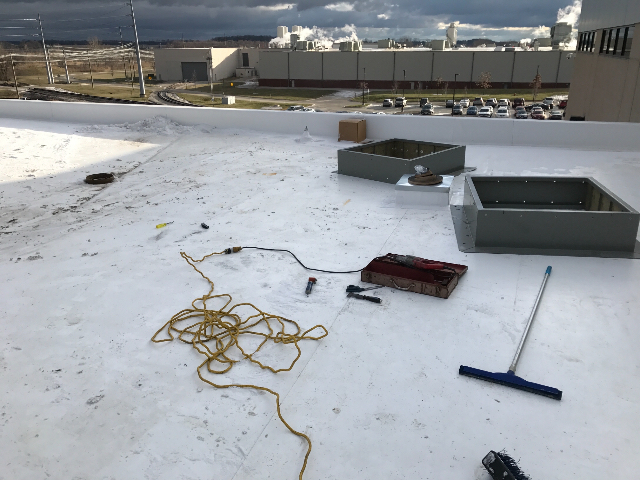
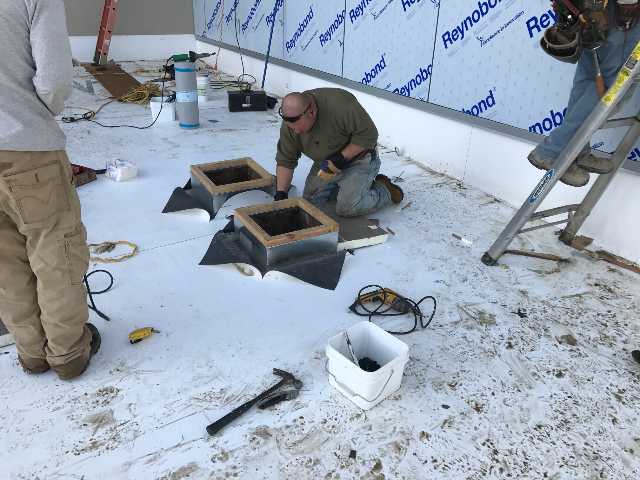
The crewmen putting insulation around two (2) roof curbs before flashing. 02/24/2017
|
The roof curbs being flashed with the Sarnafil membrane. 02/24/2017
|
 |  |
|
The roof curbs are being marked out prior to installation. 02/24/2017
|
The roof technicians flashing the 12' long pate rails. 02/24/2017
|
 |  |
|
The corner flashings being heat welded on the roof curbs. 02/24/2017
|
An overview of the roof curbs flashed with the Sarnafil membrane during today's production. 02/24/2017
|
 |  |
|
An overview of the roof curbs flashed with the Sarnafil membrane during today's production. 02/24/2017
|
 |
|
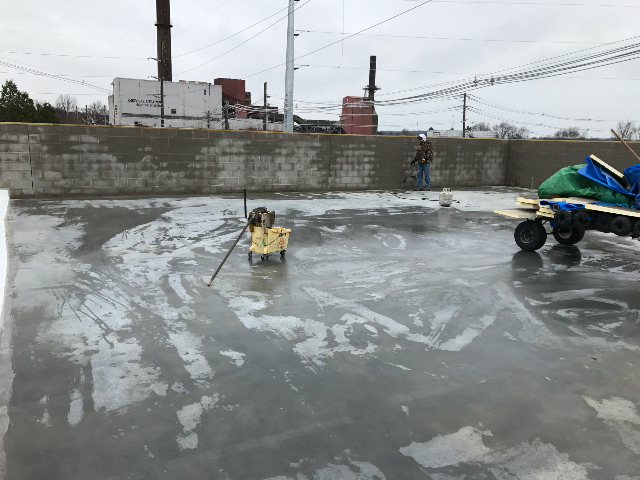
Moving water before starting 03/21/2017
|
Removing the insulation where the curb will sit 03/21/2017
|
 |  |
|
Resetting the steal because it was set in wrong location 03/21/2017
|
Building the curb 03/21/2017
|
 |  |
|
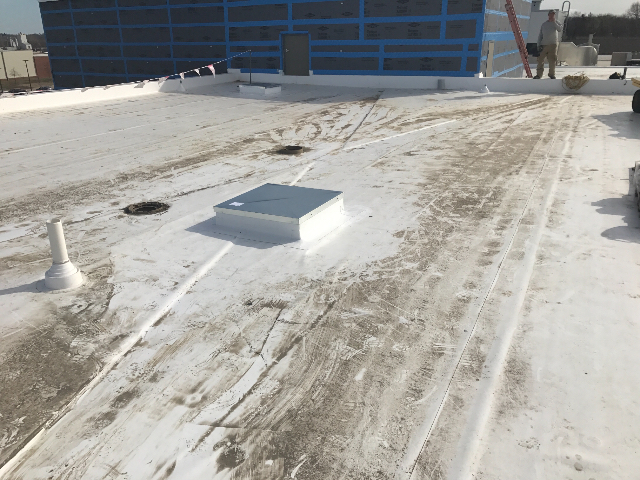
Finished curb 03/21/2017
|
 |
|
A section of roof before covering with new insulation and new Sarnafil membrane. 03/22/2017
|
The crewmen installing the new tapered polyiso insulation over the vapor barrier. 03/22/2017
|
 |  |
|
An overview of the new Sarnafil membrane roof system as the end of today's production. 03/22/2017
|
 |
|
The roof technician flashing in a roof hatch on the Sarnafil membrane roof system. 03/23/2017
|
The crewmen moving the materials in preparation for the next day's production. 03/23/2017
|
 |  |
|
The Sarnafil membrane being secured along the wall. 03/23/2017
|
A view of the tie off on the concrete deck section. 03/23/2017
|
 |  |
|
The crewmen working on the wall flashing details on the Sarnafil membrane roof system. 03/24/2017
|
The crewmen working on the wall flashing details on the Sarnafil membrane roof system. 03/24/2017
|
 |  |
|
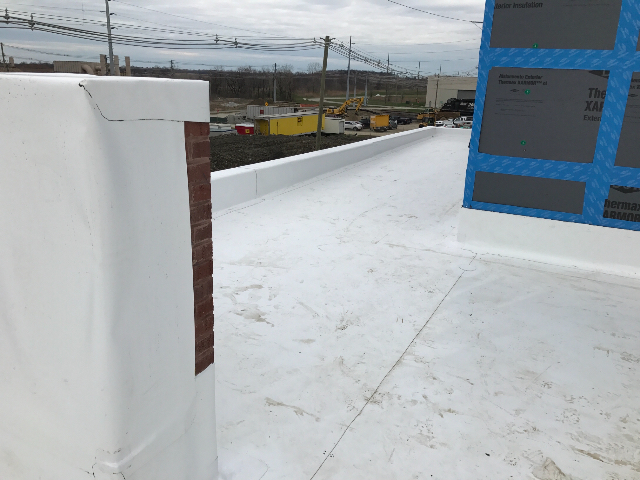
The new Sarnafil membrane after it has been installed on the walls. 03/24/2017
|
The new Sarnafil membrane after it has been installed on the walls. 03/24/2017
|
 |  |
|
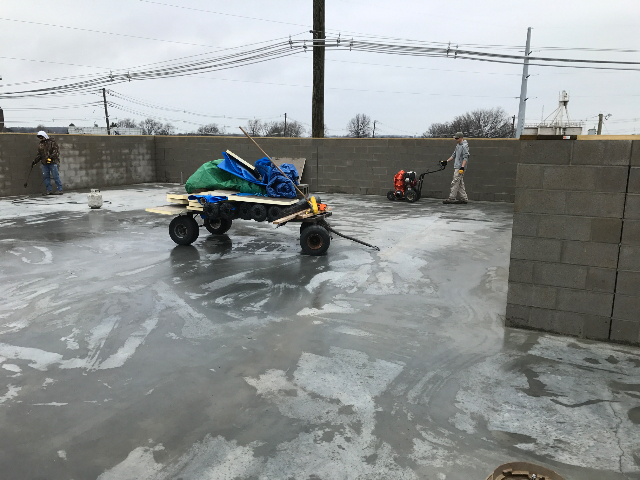
The concrete deck is dried before starting to lay the vapor barrier. 03/27/2017
|
The concrete deck is dried before starting to lay the vapor barrier. 03/27/2017
|
 |  |
|
The crewmen putting a vapor barrier down before covering it with the new polyiso insulation. 03/27/2017
|
The new polyiso insulation being installed over the vapor barrier. 03/27/2017
|
 |  |
|
An overview of the new Sarnafil membrane roof system installed during today's production. 03/27/2017
|
An overview of the new Sarnafil membrane roof system installed during today's production. 03/27/2017
|
 |  |
|
An overview of the new Sarnafil membrane roof system installed during today's production. 03/27/2017
|
 |
|
The roof technicians installed the sarnabar. 03/28/2017
|
The roof technicians installed the sarnabar. 03/28/2017
|
 |  |
|
We removed all equipment and debris in preparation of the installation of the gravel ballast. 03/29/2017
|
The roof area is cleared of all equipment and debris. 03/29/2017
|
 |  |
|
The crewman working on the installation of the roof drains. 03/29/2017
|
The gravel ballast being installed on the Sarnafil membrane roof system. 03/29/2017
|
 |  |
|
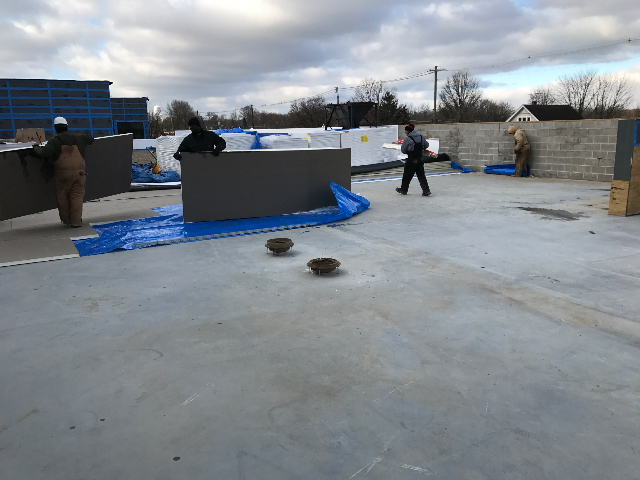
We worked on getting the walls ready for the Sarnafil membrane. 03/29/2017
|
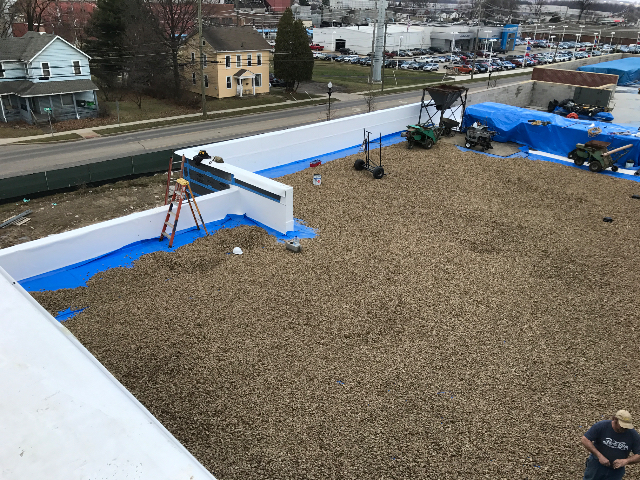
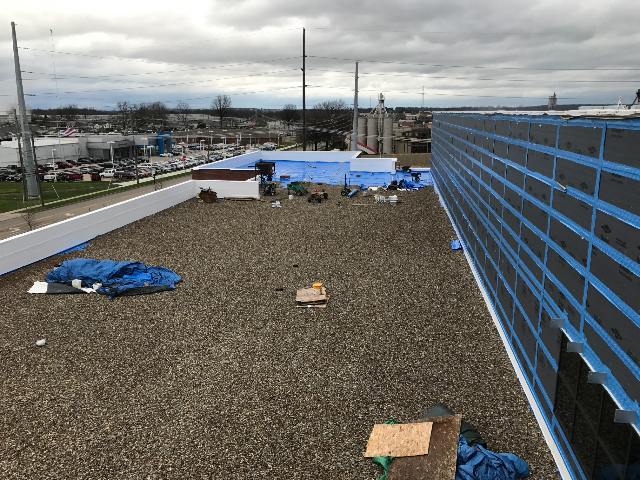
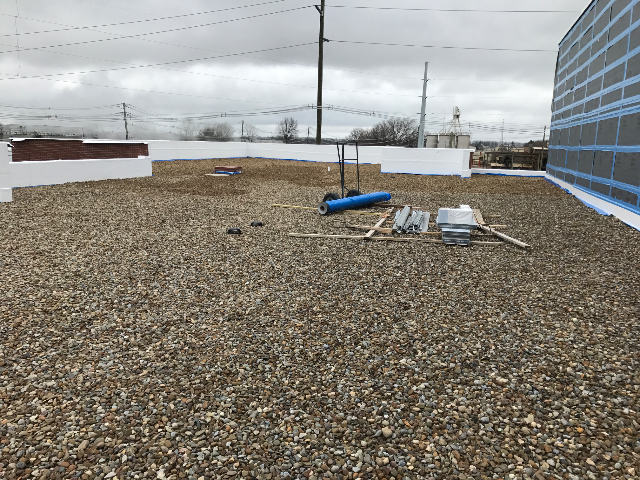
An overview of the roof area after the gravel ballast has been installed. 03/29/2017
|
 |  |
|
The crewmen getting ready to put wall flashings on to the walls. 03/30/2017
|
The roof technicians applying adhesive to the wall flashings. 03/30/2017
|
 |  |
|
The Sarnafil membrane being installed on the walls. 03/30/2017
|
The Sarnafil membrane being installed on the walls. 03/30/2017
|
 |  |
|
The Sarnafil membrane wall flashing laps being heat welded. 03/30/2017
|
The Sarnafil membrane wall flashing laps being heat welded. 03/30/2017
|
 |  |
|
The roof technicians getting ready to start the installation of the Sarnafil wall flashings. 04/03/2017
|
The roof technicians getting ready to start the installation of the Sarnafil wall flashings. 04/03/2017
|
 |  |
|
The crewmen heat welding the laps in the Sarnafil wall flashing detail. 04/03/2017
|
The crewmen heat welding the laps in the Sarnafil wall flashing detail. 04/03/2017
|
 |  |
|
An overview of the completed wall flashing details. 04/03/2017
|
An overview of the completed wall flashing details. 04/03/2017
|
 |  |
|
The crewmen installing the plastic before putting the gravel ballast down. 04/06/2017
|
The last section of plastic being laid into place. 04/06/2017
|
 |  |
|
The roof area is now ready for the gravel ballast. 04/06/2017
|
The roof technicians installing the gravel ballast. 04/06/2017
|
 |  |
|
An overview of the completed ballasted Sarnafil membrane roof system. 04/06/2017
|
 |
|
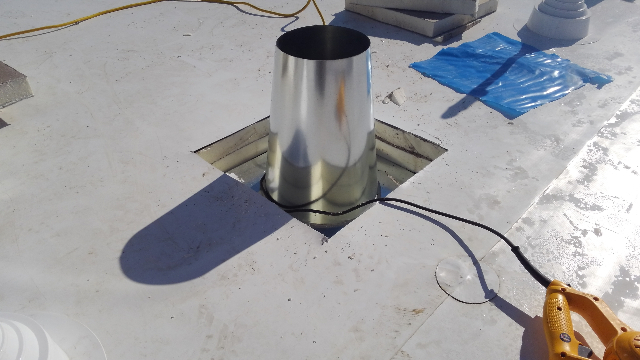
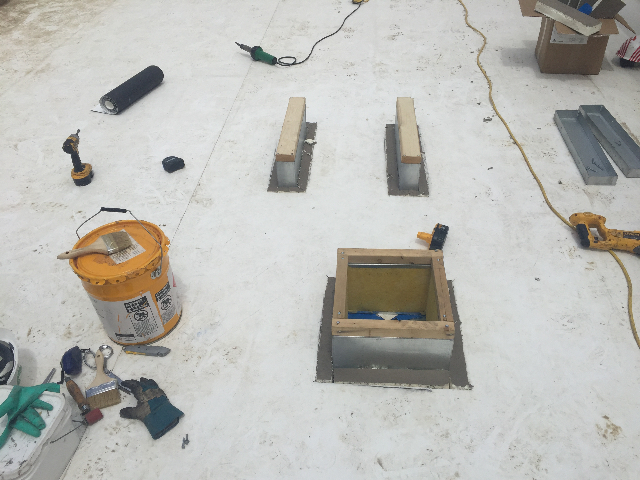
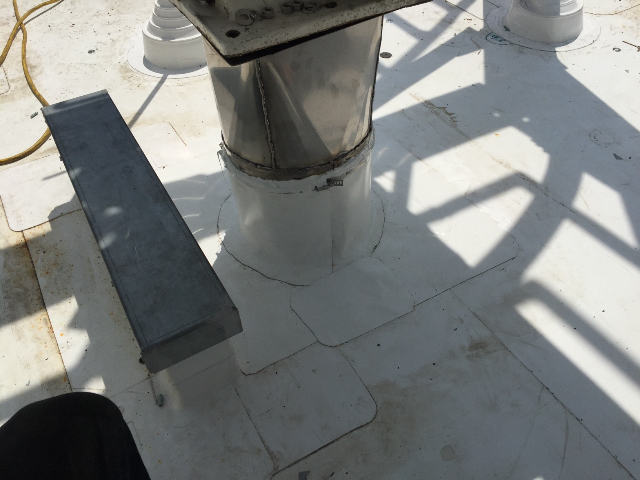
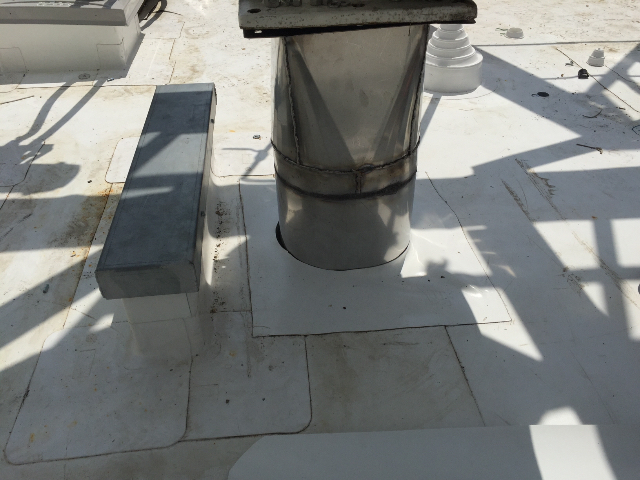
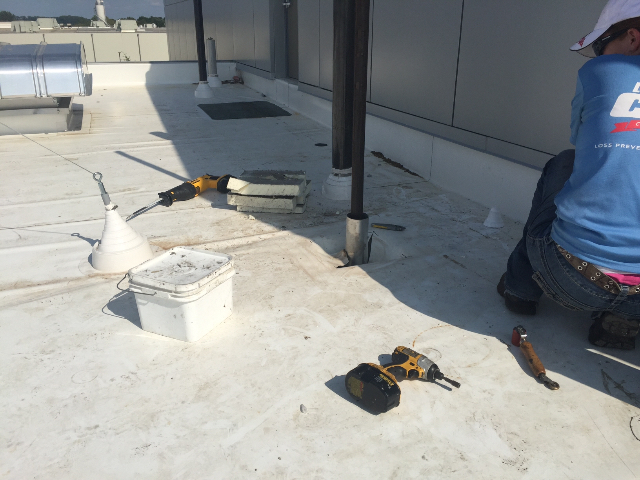
The crewmen installing the 24" pipe flashings by fastening them to the metal deck. 06/02/2017
|
The 24" pipe flashing has bee installed and flashed in. 06/02/2017
|
 |  |
|
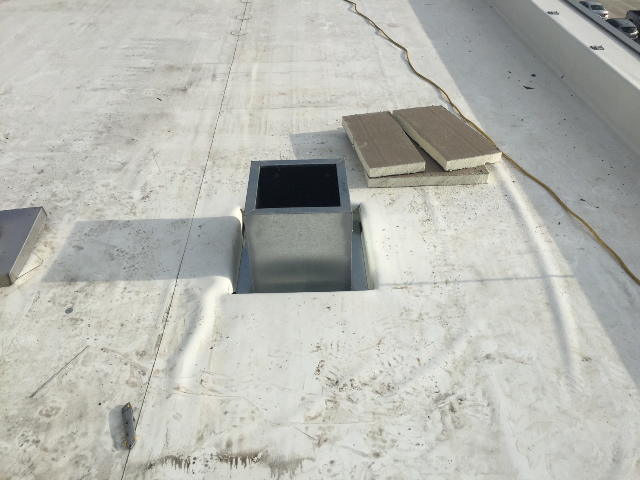
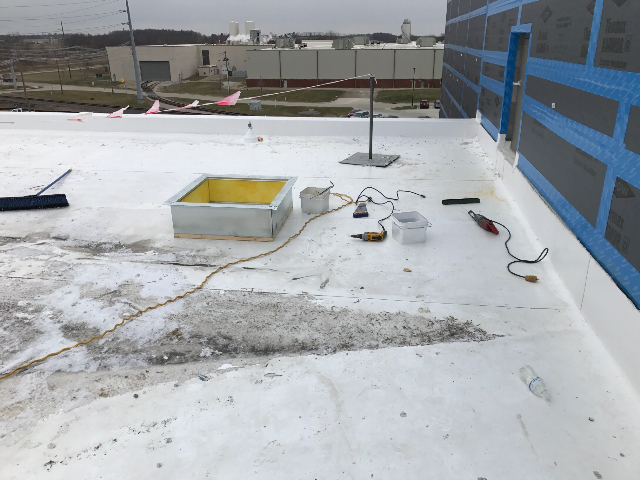
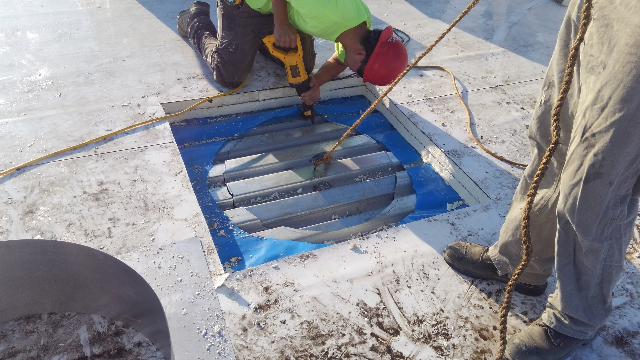
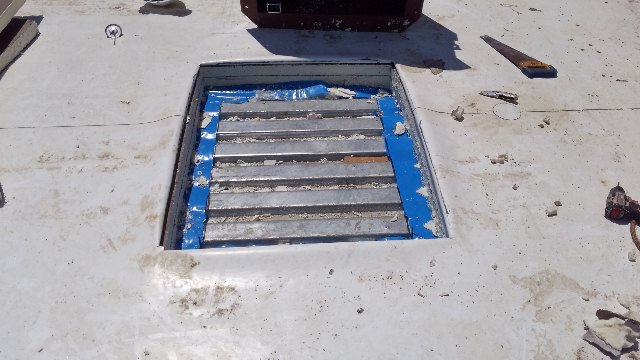
The insulation removed down the metal decking so the roof hatches can be secured to the deck. 06/02/2017
|
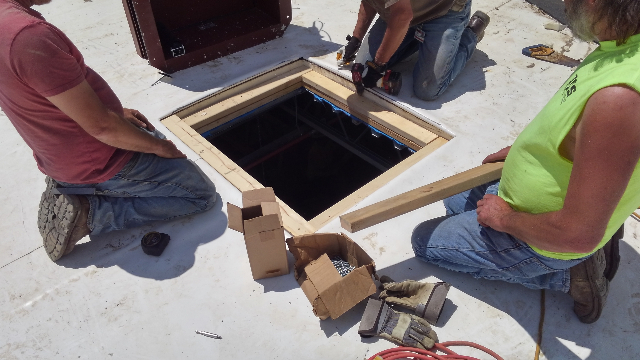
Installing wood blocking for the roof hatch to sit on. 06/02/2017
|
 |  |
|
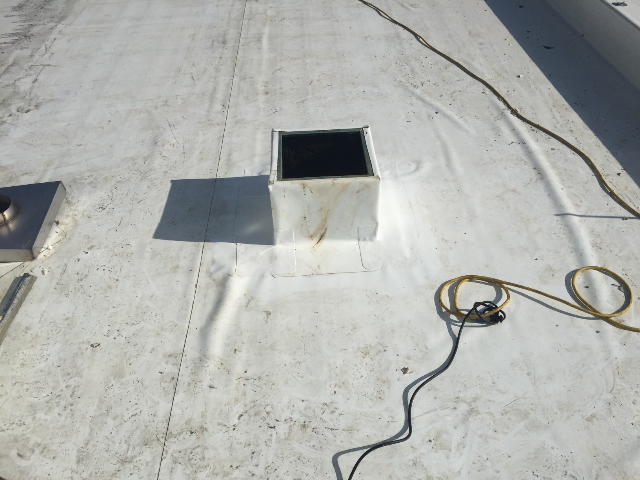
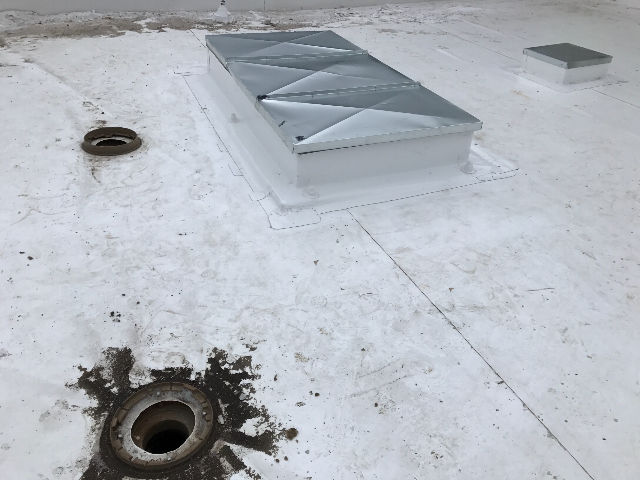
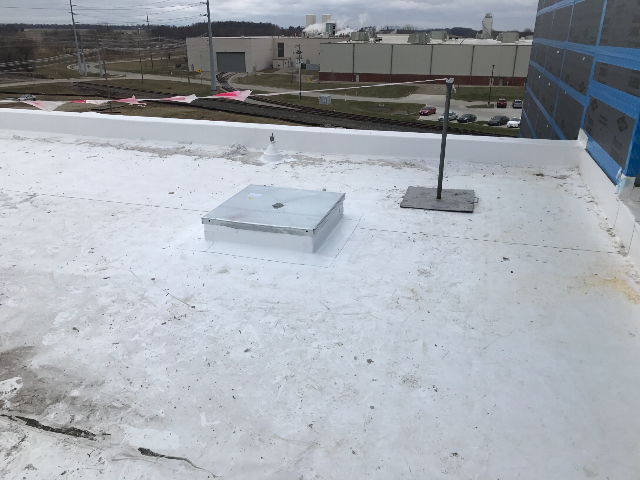
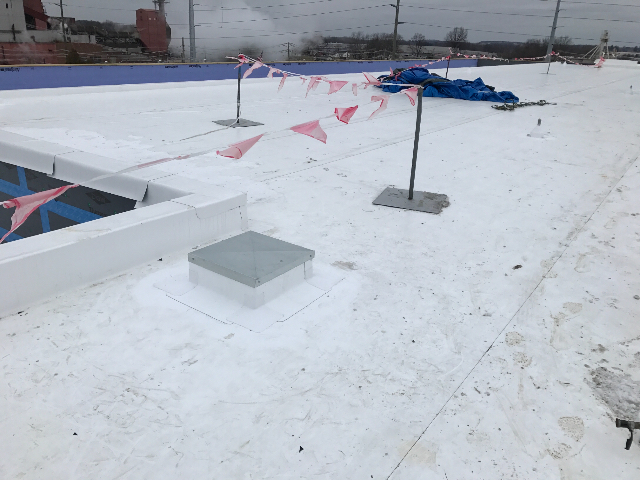
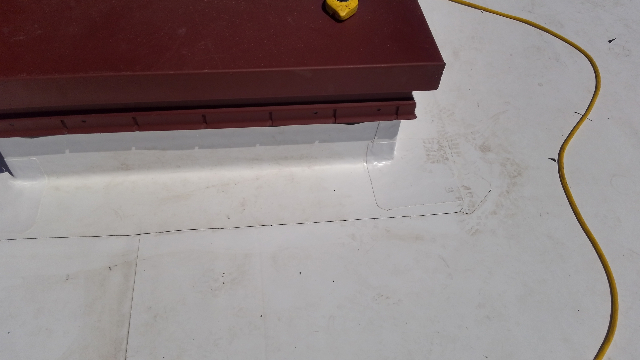
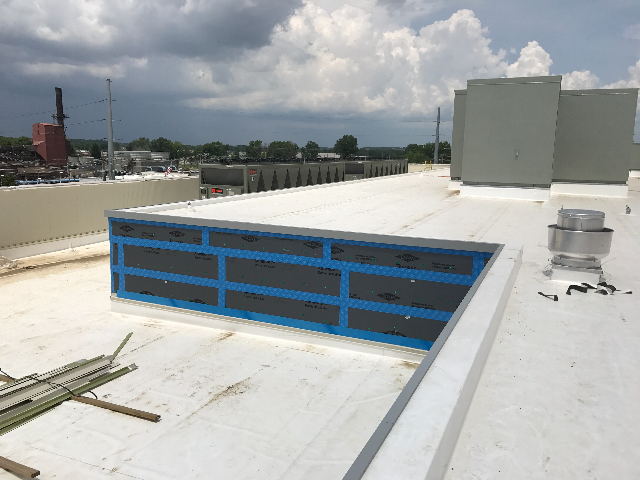
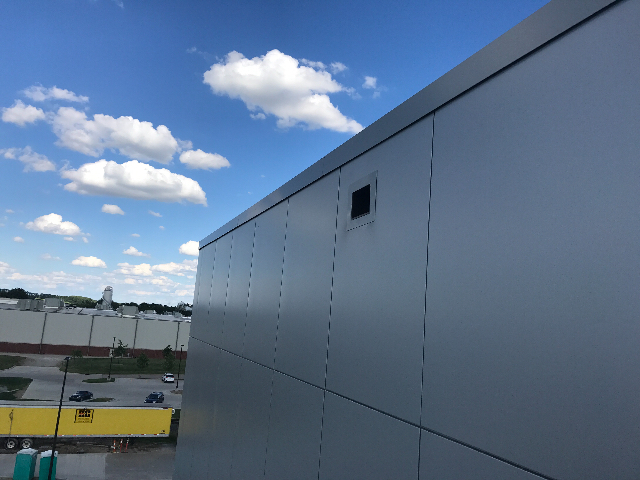
The new skylight has been flashed In. 06/02/2017
|
 |
|
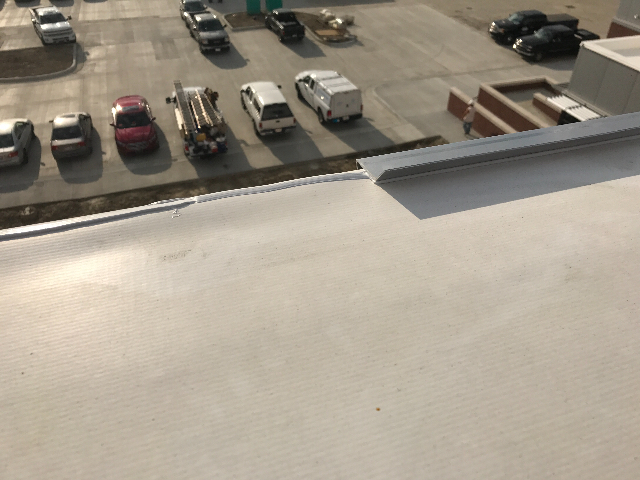
Cleat metal is set in a continuous bead of caulk. 06/13/2017
|
Cleat metal is then face fastened into the wood nailer every 12 inches on center. 06/13/2017
|
 |  |
|
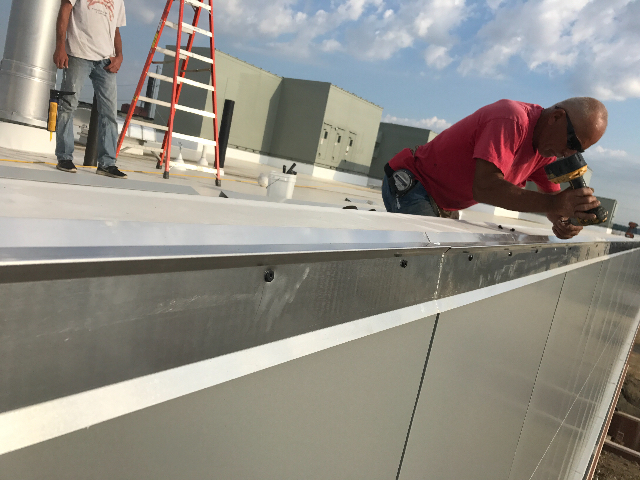
Prefabricated corners and face metal are snapped in place onto the cleat metal. 06/13/2017
|
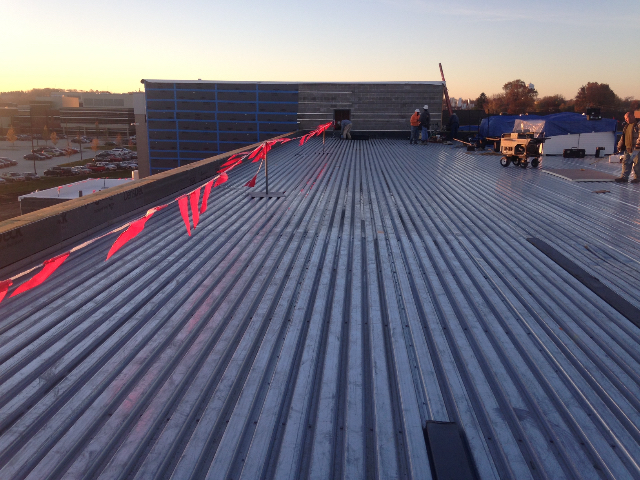
Metal was completed on the northeast roof. 06/13/2017
|
 |  |
|
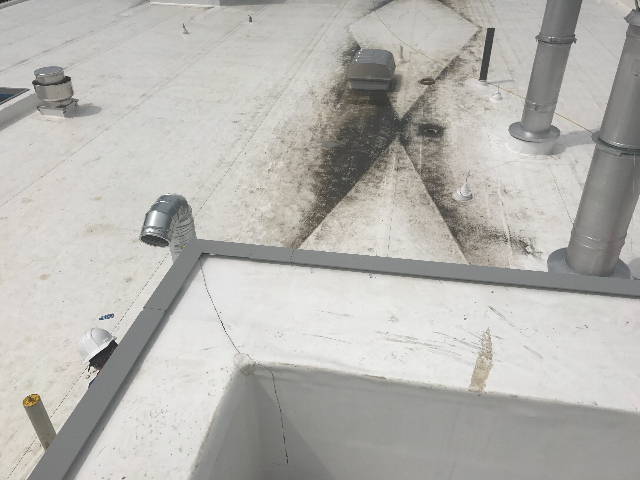
Edge metal was also completed on the boiler room roof. 06/13/2017
|
 |
|
Cleat metal and cap metal are ran on the low roof to the north side of the building. 06/14/2017
|
The lower roof edge metal was completed today. Color of the cap metal was coordinated with the wall on which it was installed. 06/14/2017
|
 |  |
|
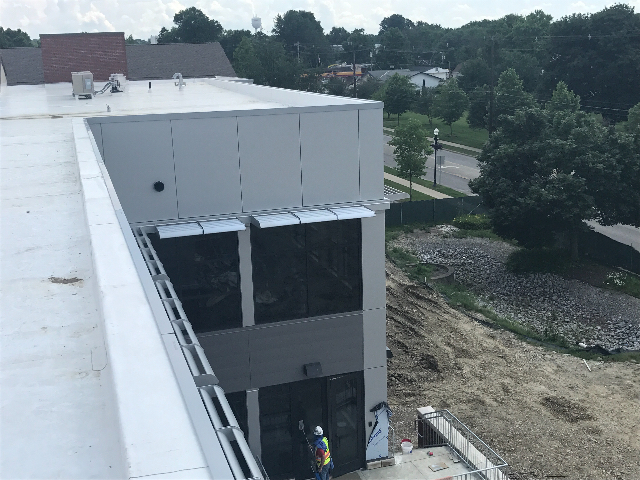
The roof edge directly above the lower roof was completed today as well. 06/14/2017
|
Edge metal was also installed on the main roof level along the front side of the building towards Main Street. 06/14/2017
|
 |  |
|
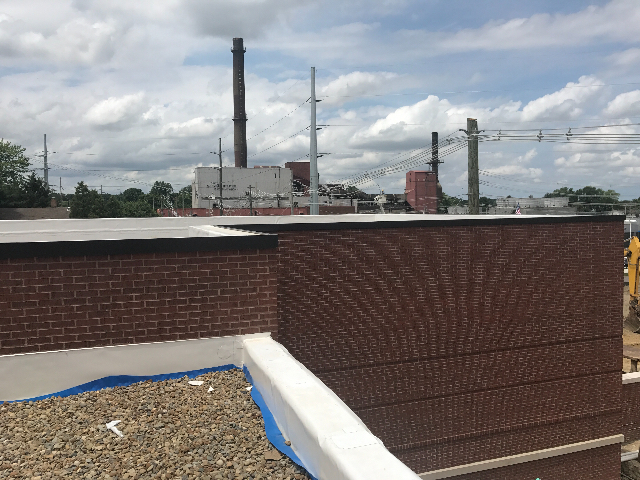
Edge metal was installed on top of the walls on the ballast roof. 06/15/2017
|
The color of the edge metal varied across the roof in accordance with the siding color. 06/15/2017
|
 |  |
|
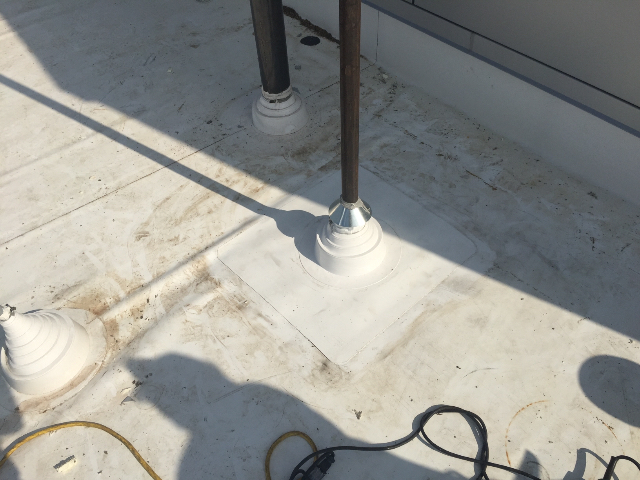
Pipes were completed by heat welding a boot around the pipe and completing with a pipe clamp and caulk. 06/15/2017
|
 |
|
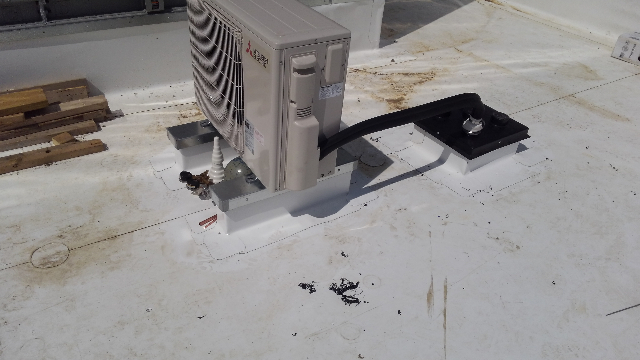
Tapered insulation was added behind the unit to move water from behind the unit. 06/19/2017
|
Membrane is adhered over the newly installed insulation. 06/19/2017
|
 |  |
|
Membrane is heat welded to seal the roof. 06/19/2017
|
Edge metal was installed on the ballast roof and the roof beyond the shingle roofs. 06/19/2017
|
 |  |
|
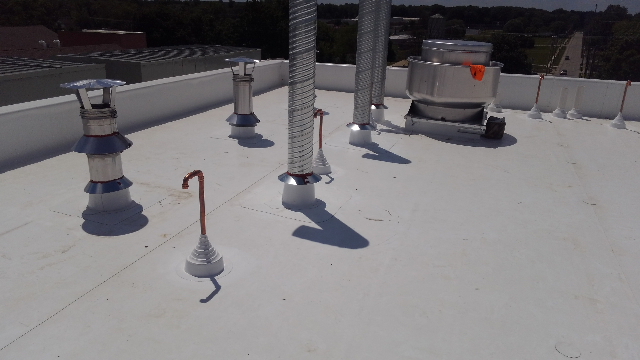
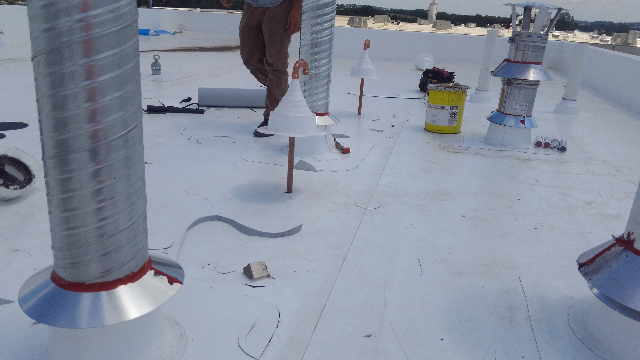
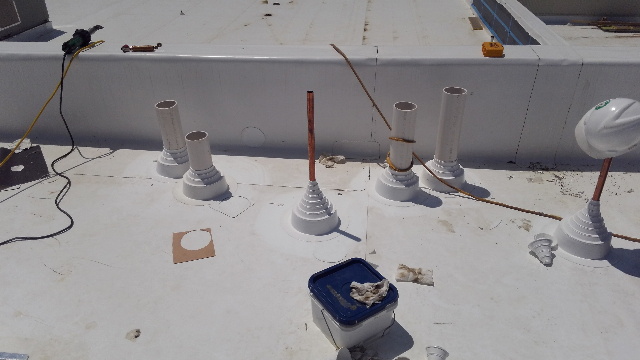
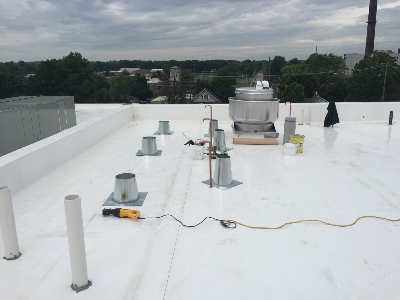
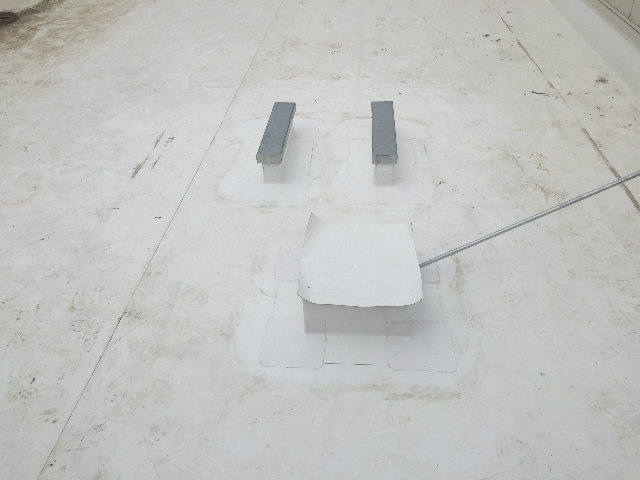
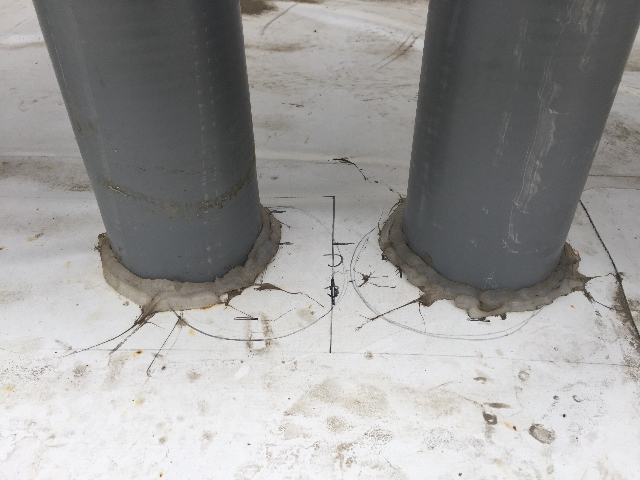
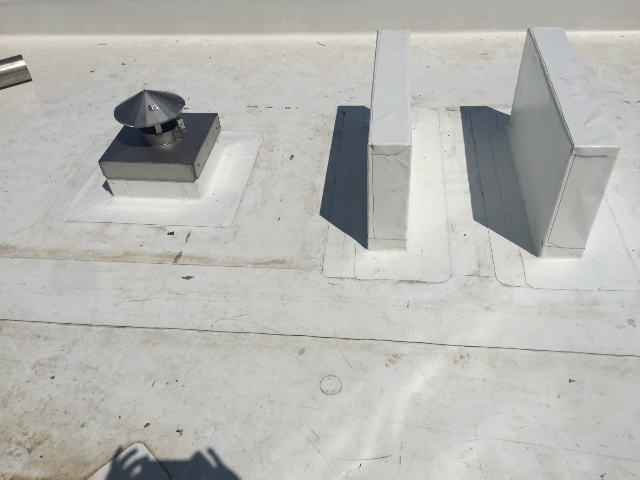
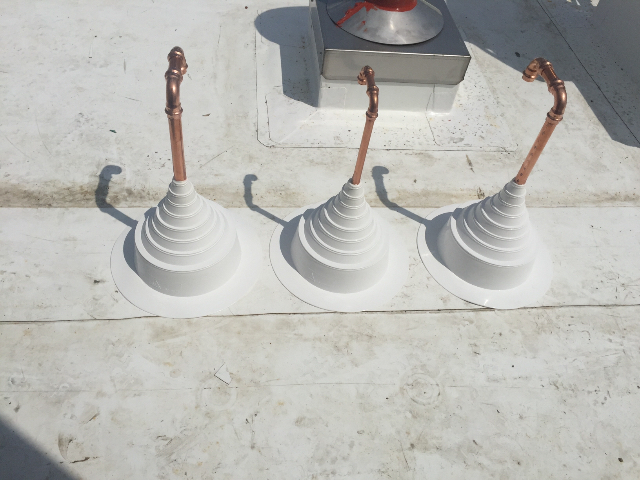
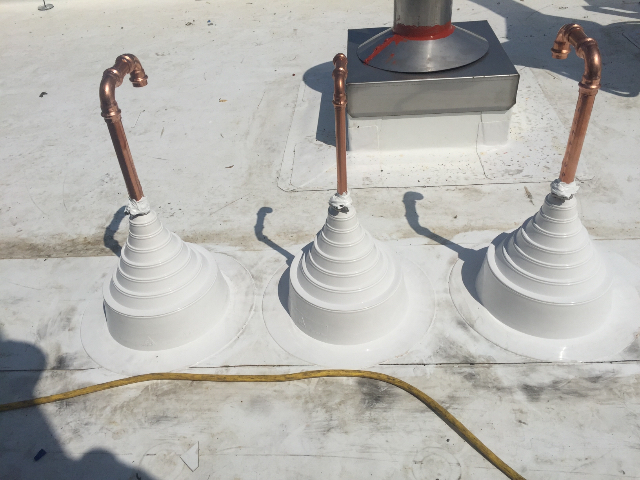
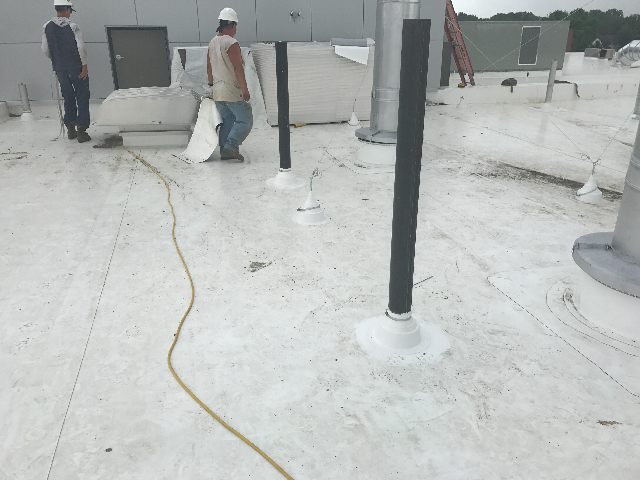
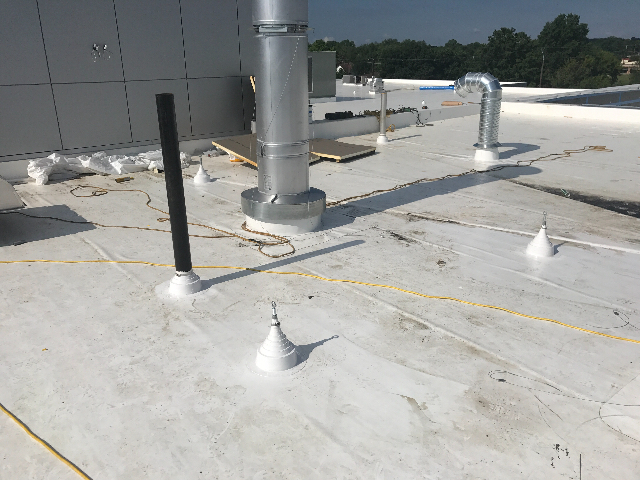
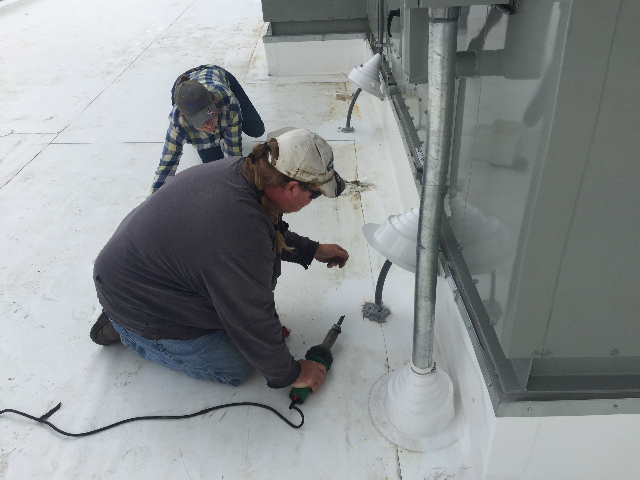
Four pipes were installed today to support the taller stacks nearby. 06/19/2017
|
The four pipes were sealed with pipe boots. 06/19/2017
|
 |  |
|
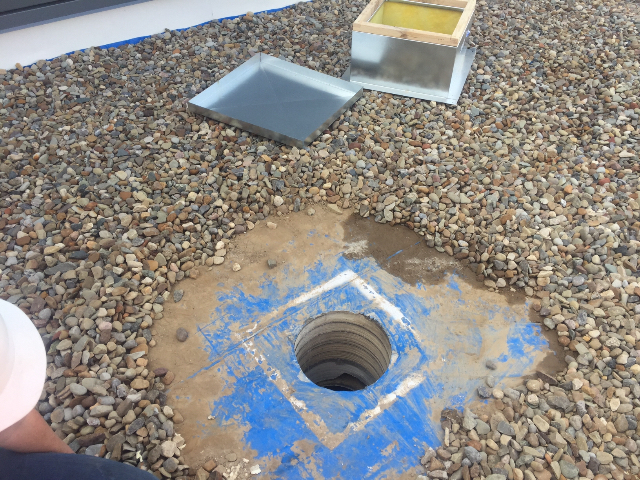
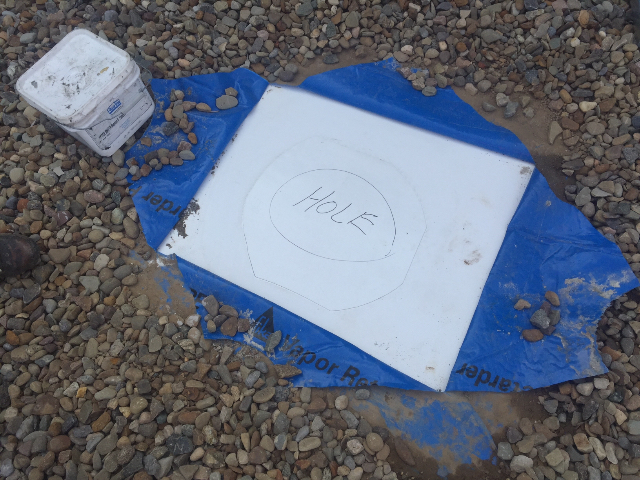
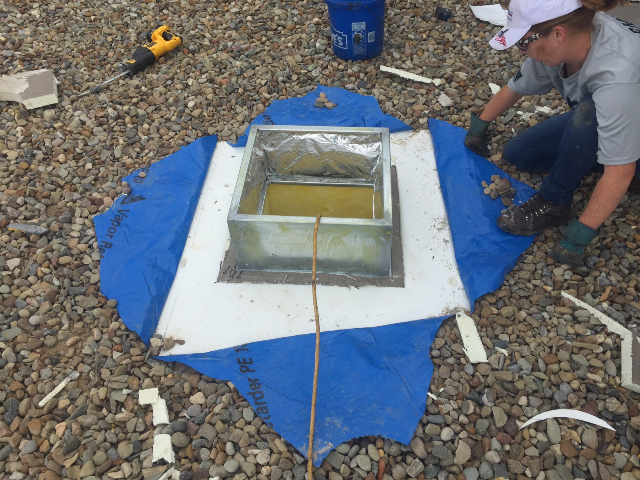
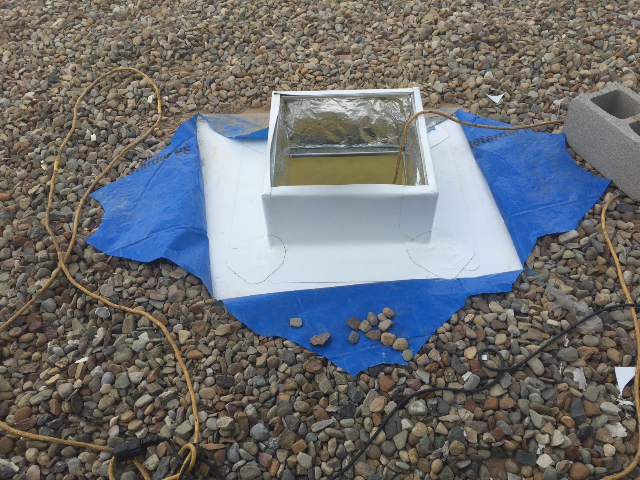
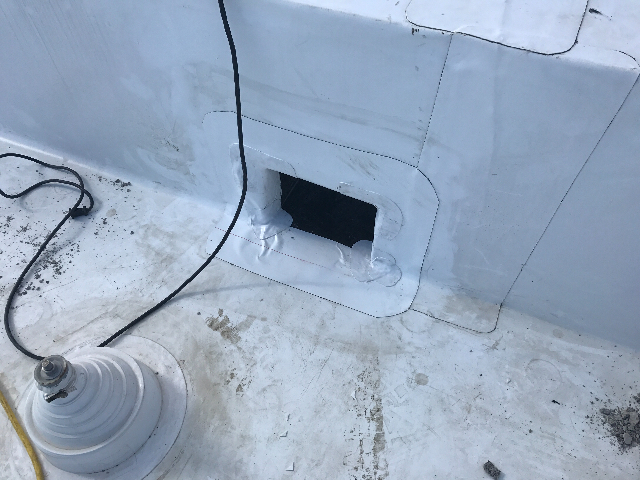
The through the wall overflow was installed today. 06/20/2017
|
The overflow was flashed in on the roof side to seal the box. 06/20/2017
|
 |  |
|
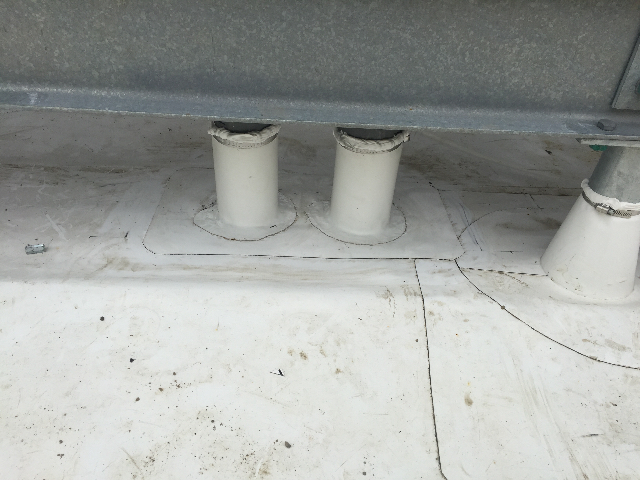
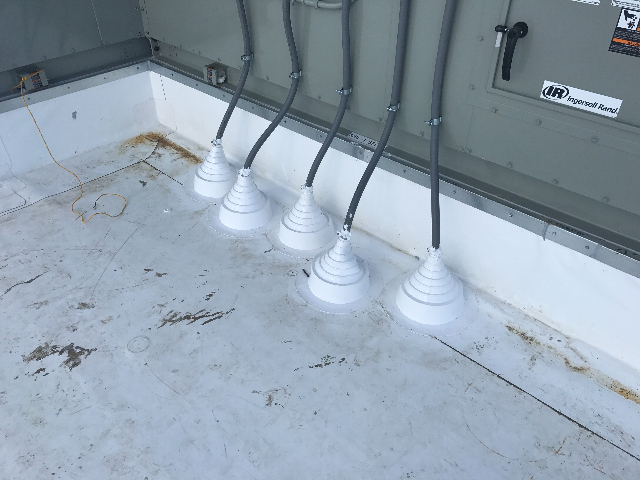
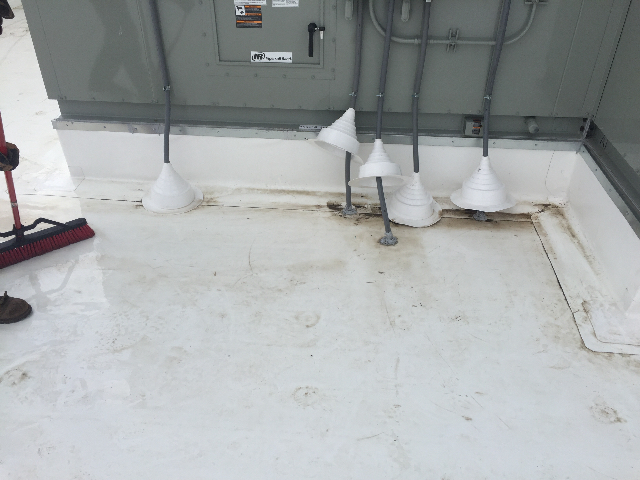
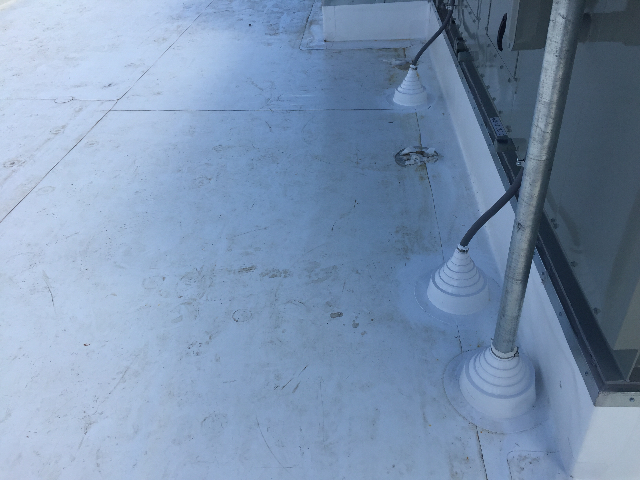
A total of nine pipe boots were installed in order to seal the conduit lines. 06/20/2017
|
 |
|
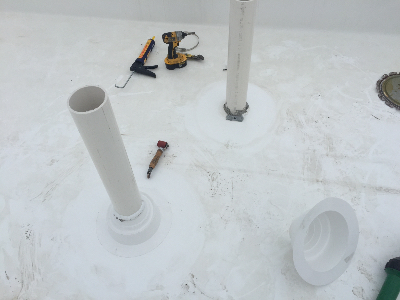
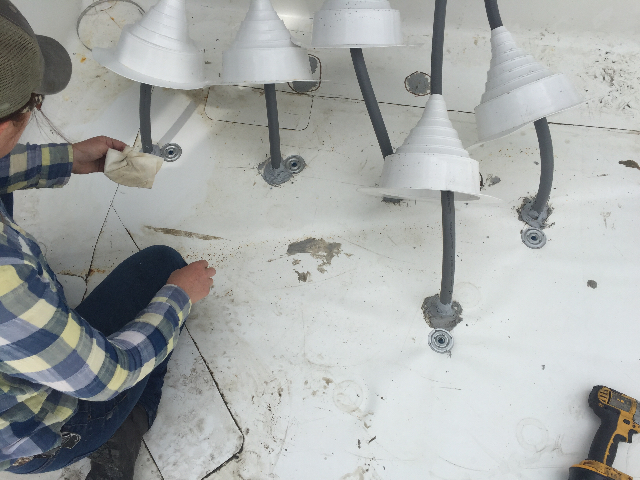
The roof technicians heat welding the Sarnafil pipe boot flashing. 06/27/2017
|
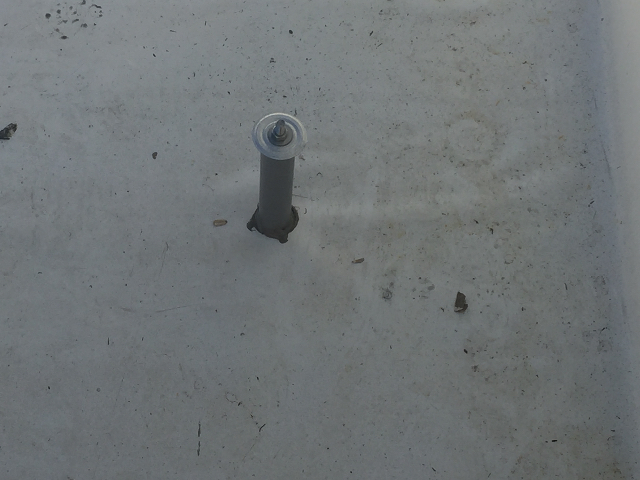
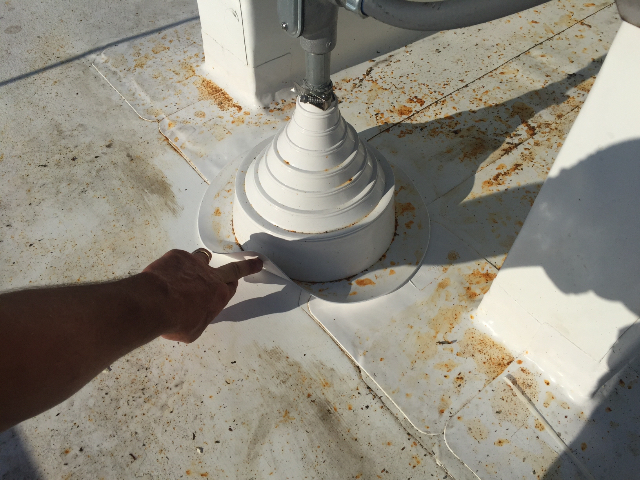
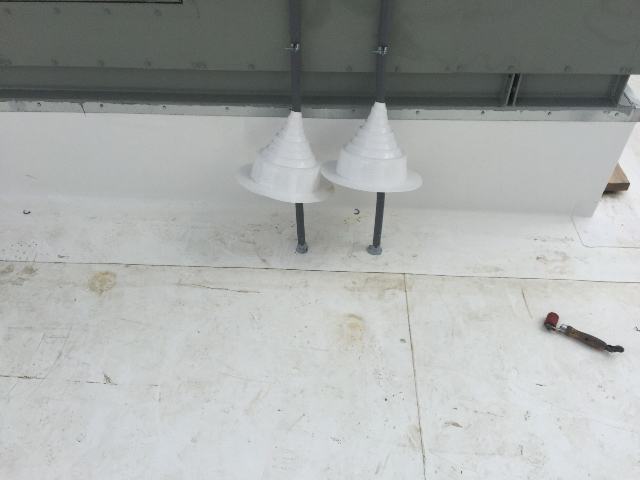
The Sarnafil pipe boot flashings before they were heat welded into place. 06/27/2017
|
 |  |
|
The Sarnafil pipe boot flashings before they were heat welded into place. 06/27/2017
|
The roof technicians heat welding the Sarnafil pipe boot flashings. 06/27/2017
|
 |  |
|
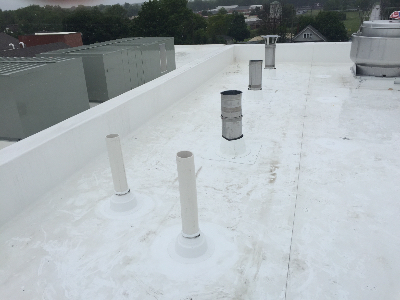
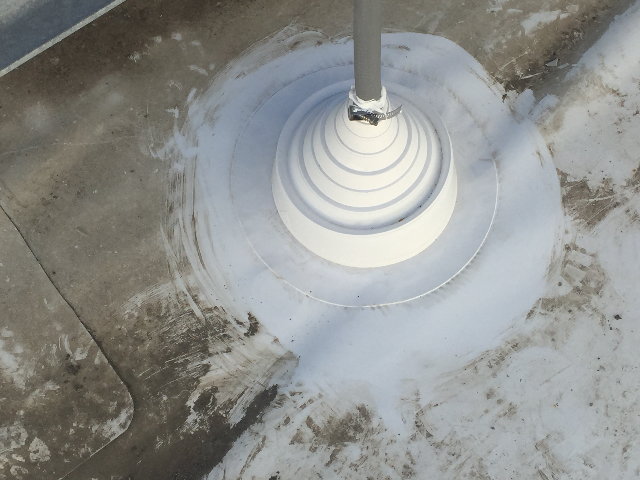
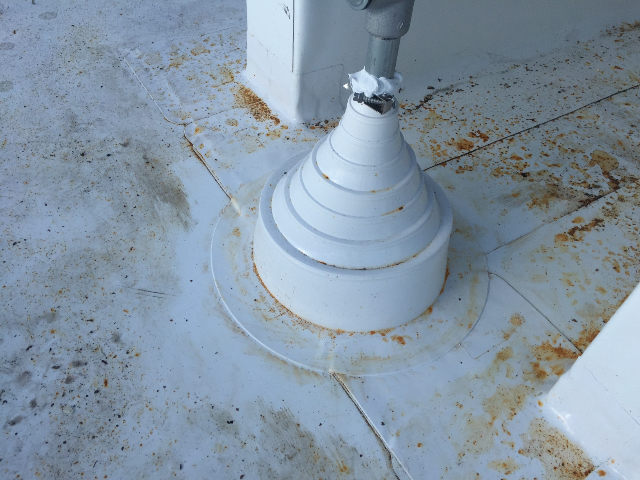
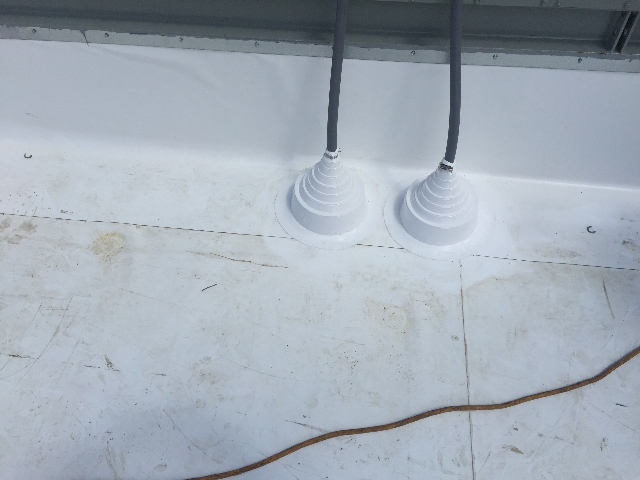
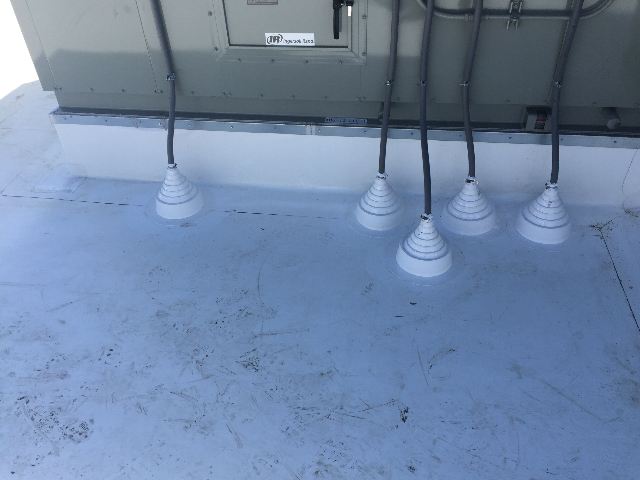
The Sarnafil pipe boot flashings after they were heat welded into place. 06/27/2017
|
The Sarnafil pipe boot flashings after they were heat welded into place. 06/27/2017
|
 |  |
|
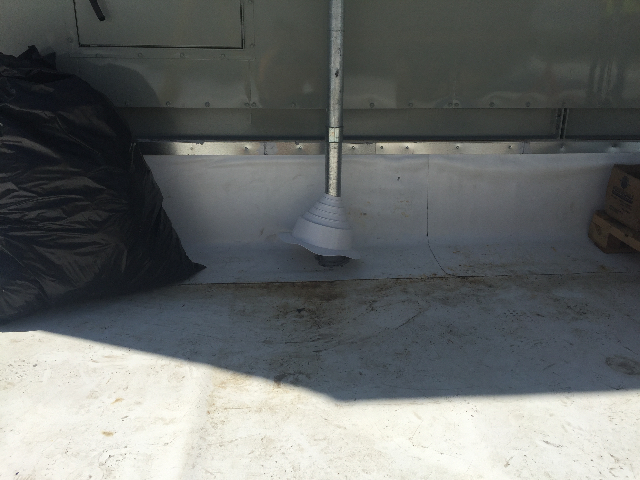
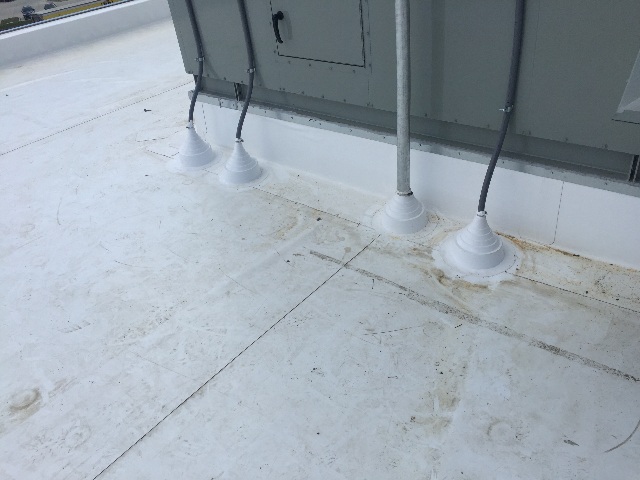
The Sarnafil pipe boot flashings after they were heat welded into place. 06/27/2017
|
The Sarnafil pipe boot flashings after they were heat welded into place. 06/27/2017
|
 |  |
|
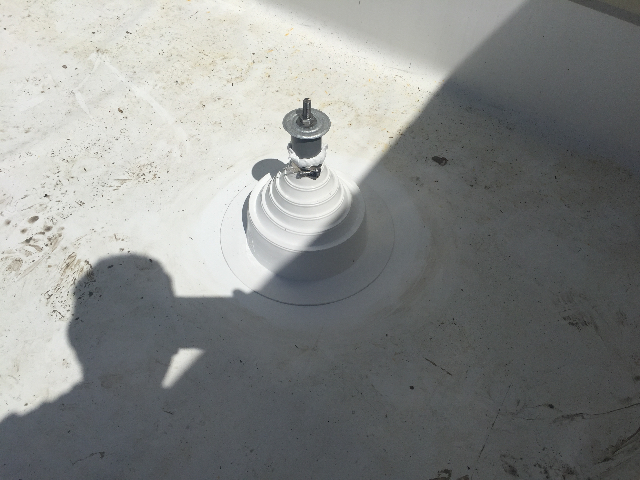
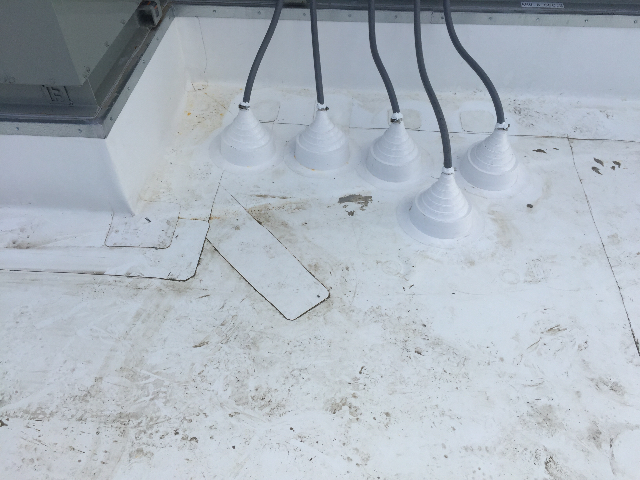
The Sarnafil pipe boot flashings after they were heat welded into place. 06/27/2017
|
 |