|
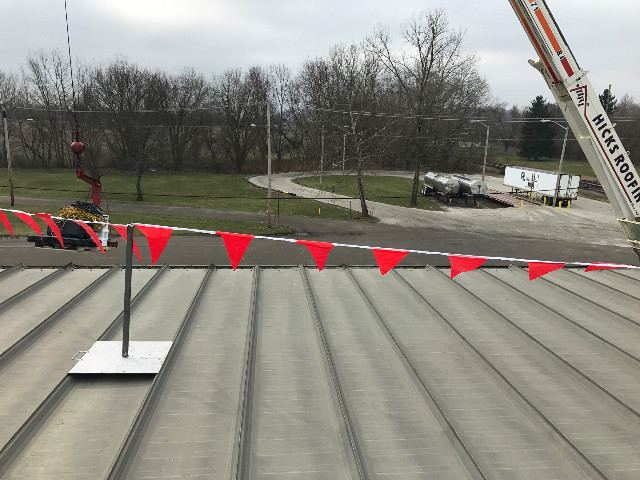
Here is the crane hoisting up some materials to the roof. 03/21/2017
|
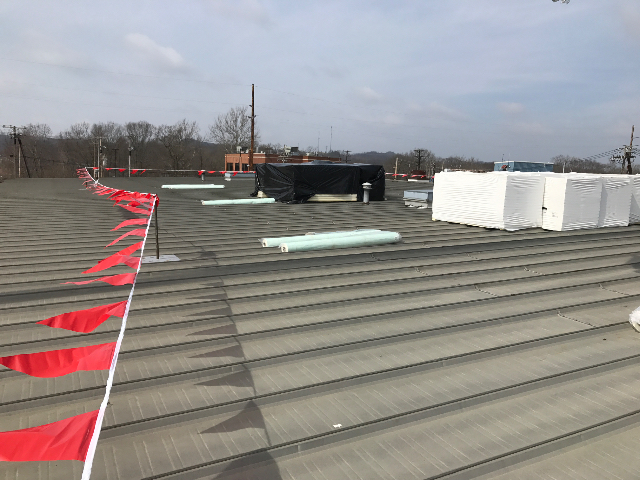
After the banners are in place, the roof got loaded with the need supplies. 03/21/2017
|
 |  |
|
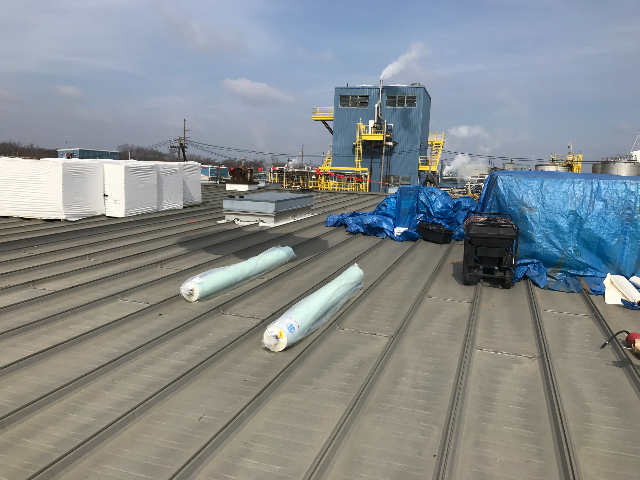
Here is another view of our supplies after they were loaded and covered. 03/21/2017
|
 |
|
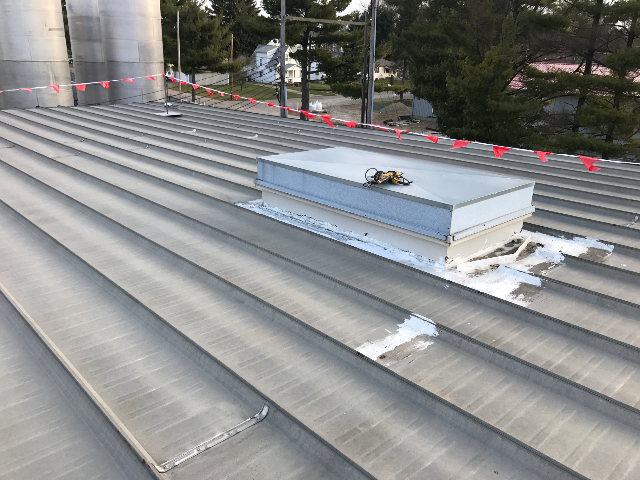
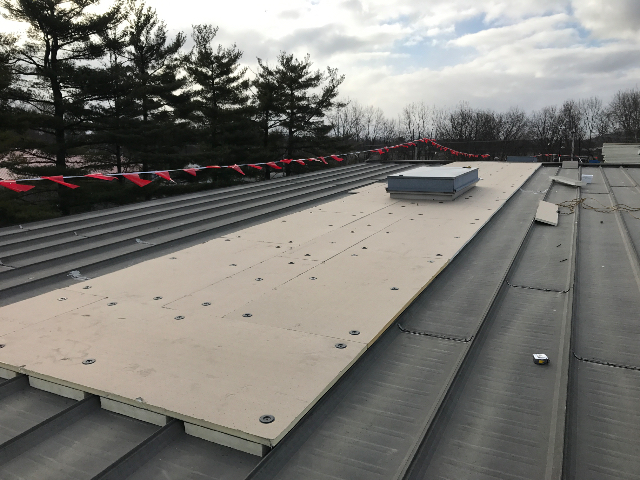
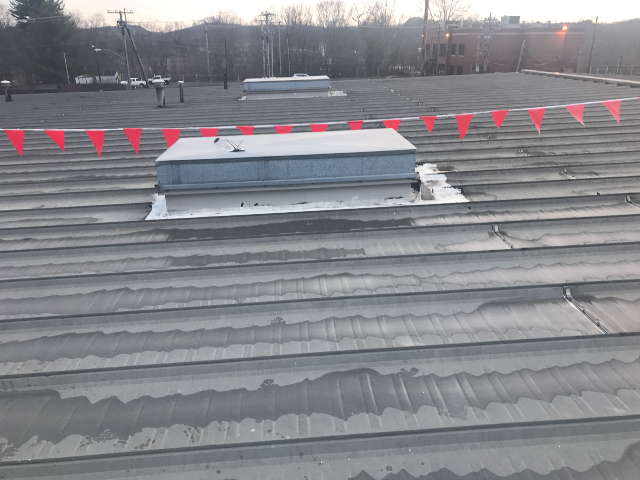
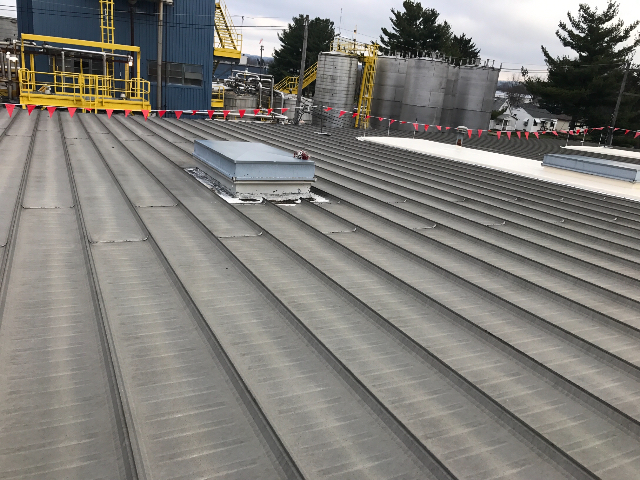
Here is a view of one of the skylight sections before we started Roofing. 03/22/2017
|
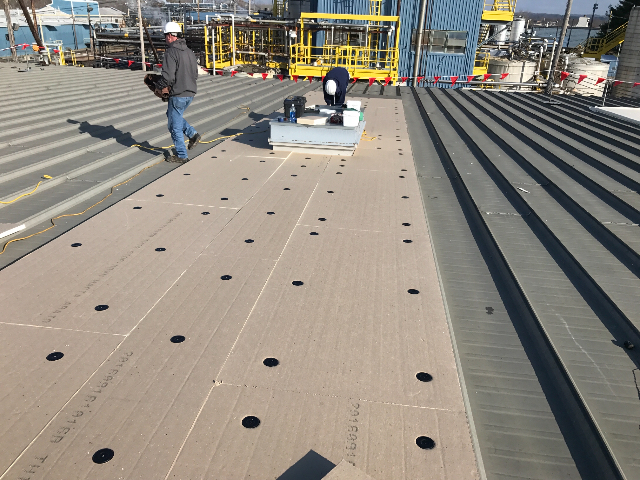
In the photo you can see the insulation fill in the flutes of the existing metal deck with the 1.5 insulation of top screwed down with rhino bond plates. 03/22/2017
|
 |  |
|
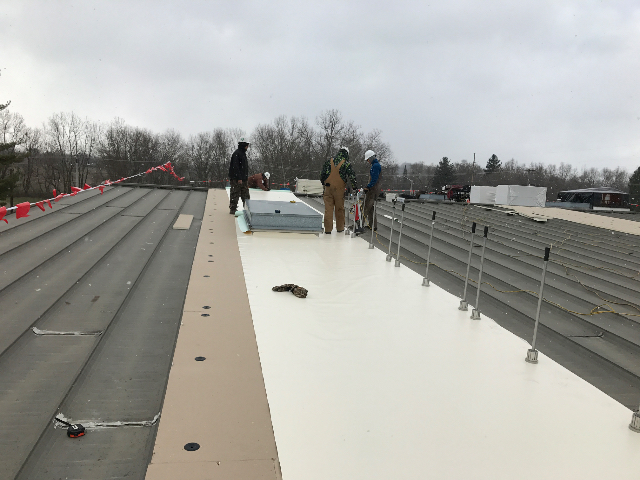
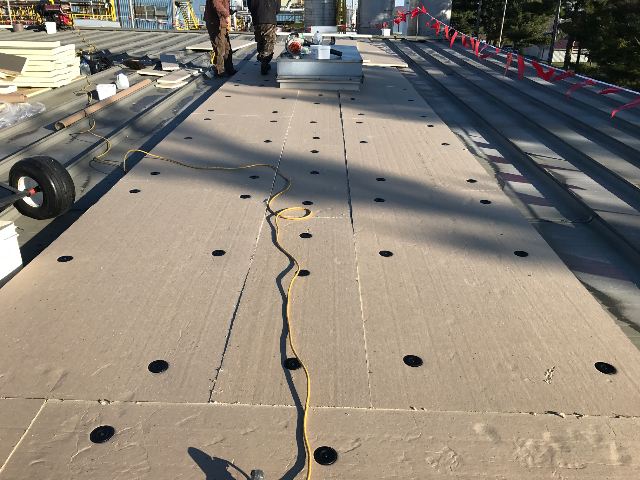
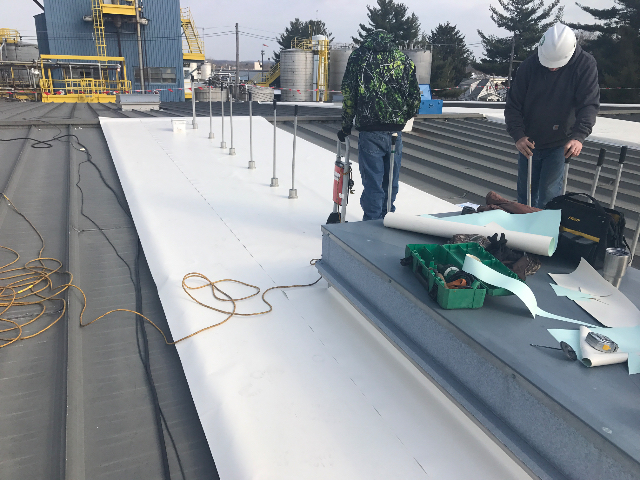
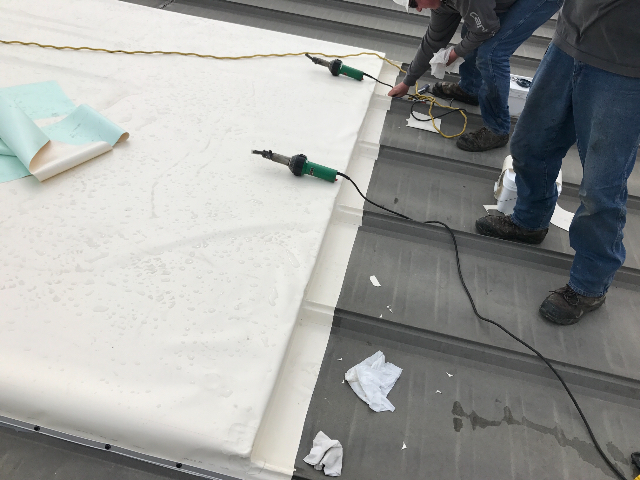
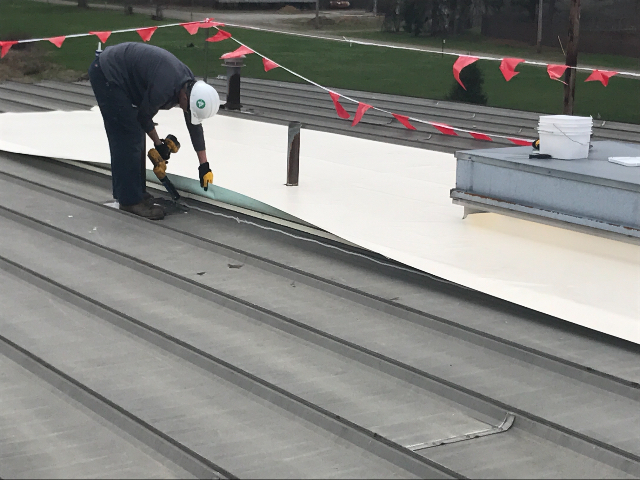
After the insulation and metal deck is screwd down, fibertite is rolled out and rhino bonded to the plates. 03/22/2017
|
Now that all the fibertite is down and welded we can now wrap the boxes and run the termination bar. 03/22/2017
|
 |  |
|
Angle change plates are ran and screwed down into the deck below. 03/22/2017
|
The curbs are then wrapped with with fibertite material and sealed. 03/22/2017
|
 |  |
|
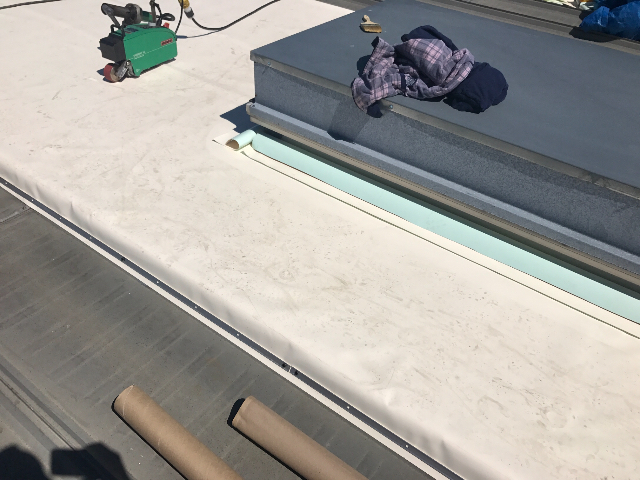
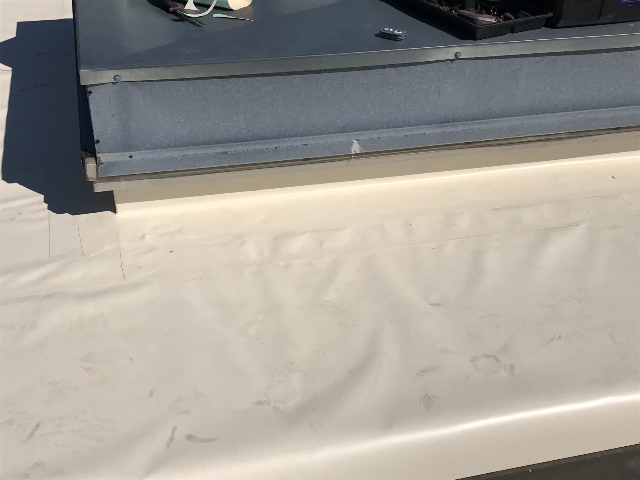
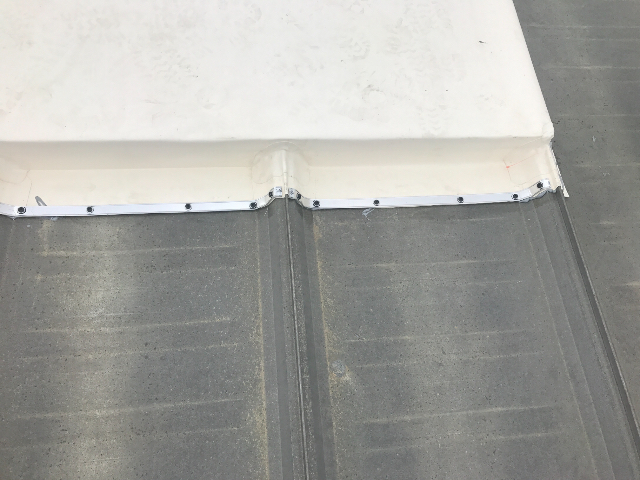
Here is a view of one of the sections after the curb was wrapped and the termination bar was installed on the side of the Fibertite roof. 03/22/2017
|
A bead of water cutoff was installed behind the material and termination bar to prevent water from coming in behind the material. 03/22/2017
|
 |  |
|
Here is one of the skylights while we were filling the flutes with insulation. 03/23/2017
|
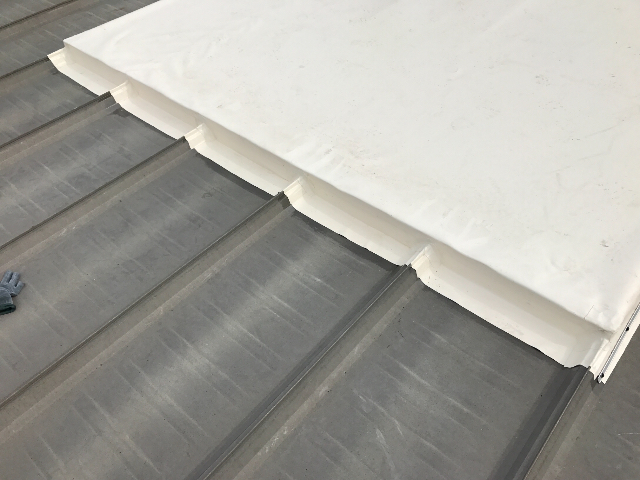
Here's the one section afte the insulation was installed and screws down. 03/23/2017
|
 |  |
|
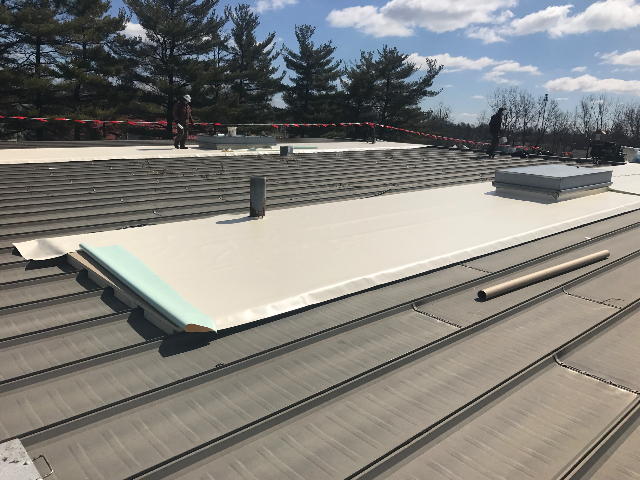
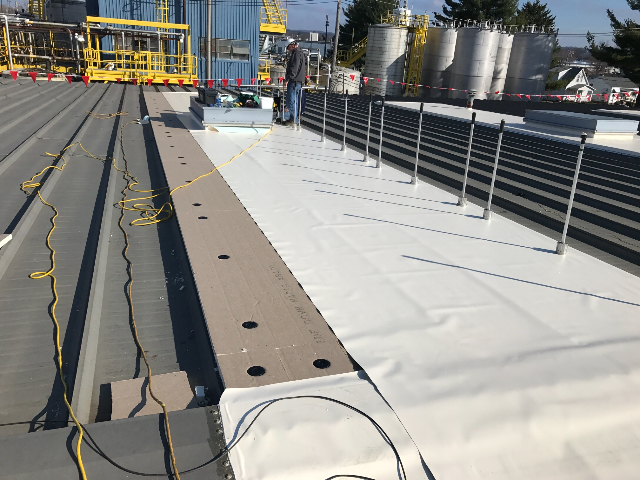
New fibertite material is then rolled out and cut into place. The material is then rhino bonded to the plates below. 03/23/2017
|
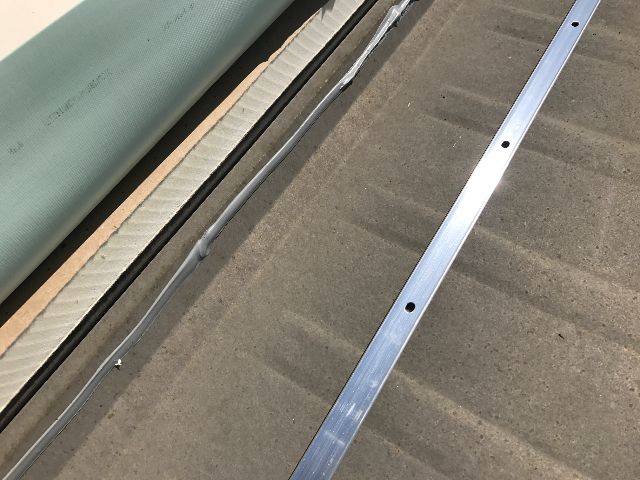
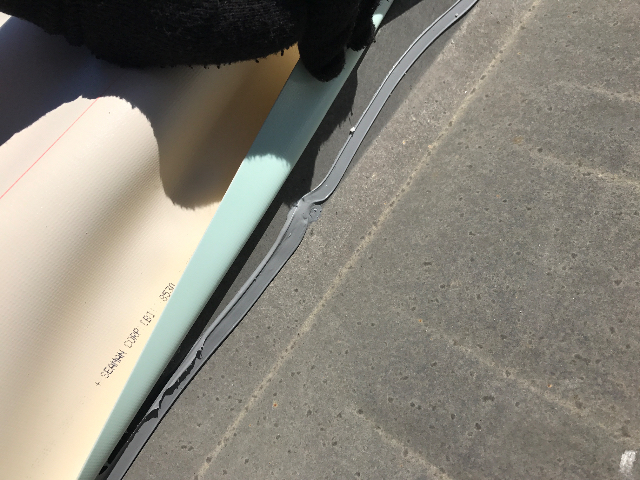
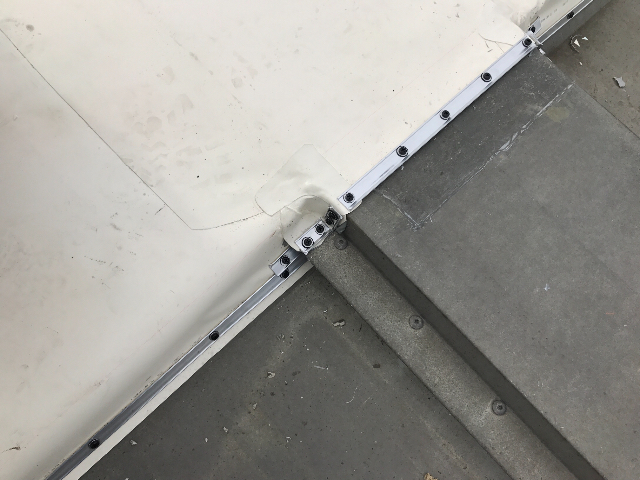
A bead of water cutoff is laid into place along the outer edge of the metal rib. 03/23/2017
|
 |  |
|
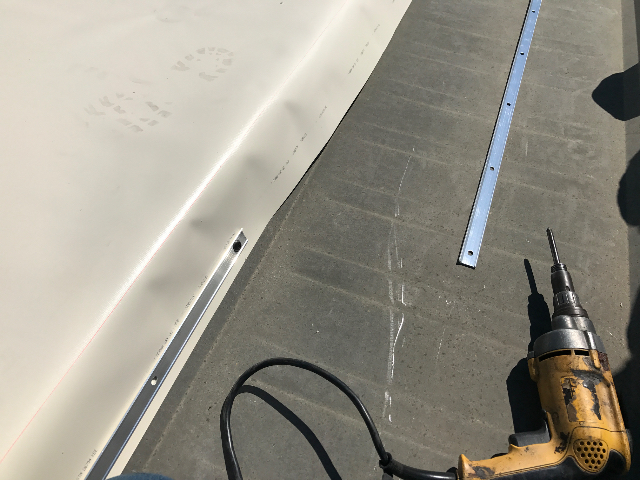
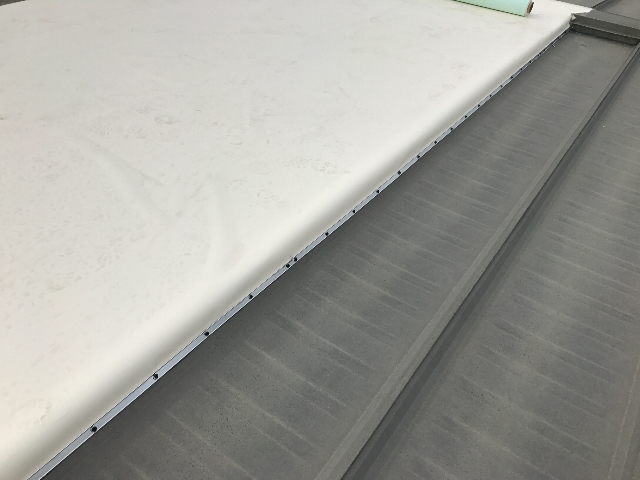
Termination bar is now screwd into place along the metal rib. 03/23/2017
|
Here's one of the sections we did today after we were done for the day. 03/23/2017
|
 |  |
|
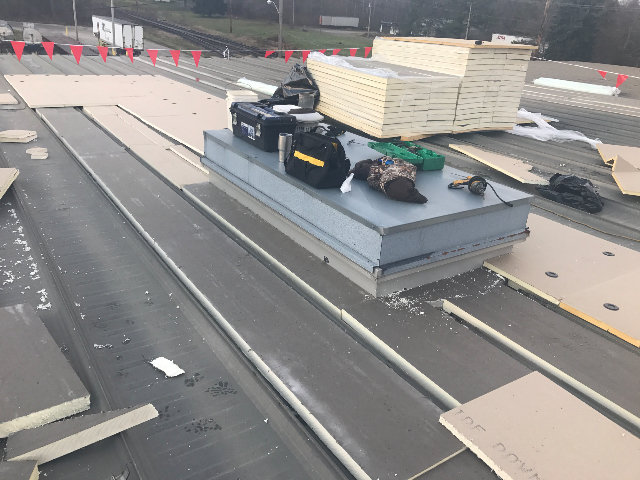
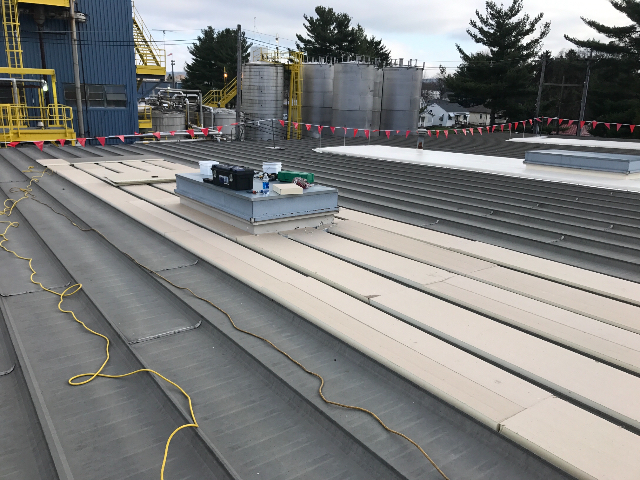
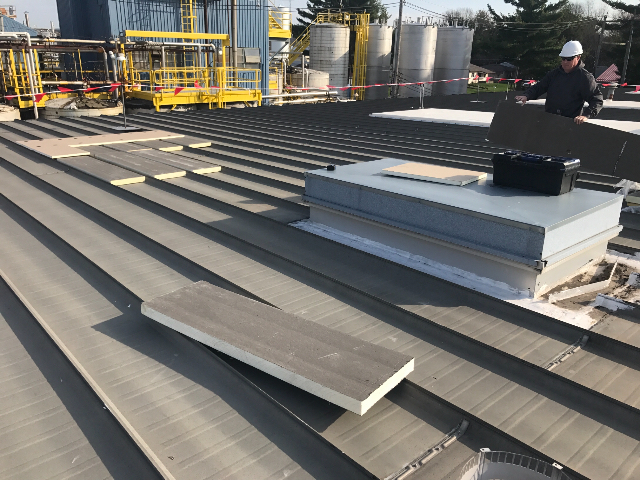
Here's one of the section before we laid in the insulation fill. 03/24/2017
|
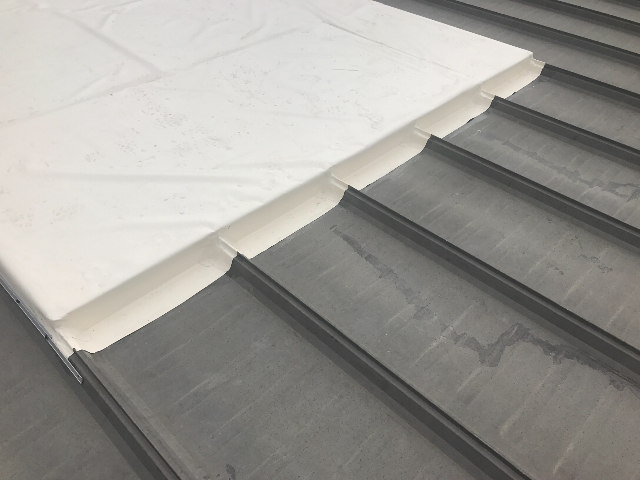
The fill has now been installed and is ready for the top layer of 1.5 insulation. 03/24/2017
|
 |  |
|
After the 1.5 is installed, insulation plates are acres down to the insulation surface. 03/24/2017
|
Fibertite is now rolled out and rhino bonded to the welder friendly insulation plates underneath. 03/24/2017
|
 |  |
|
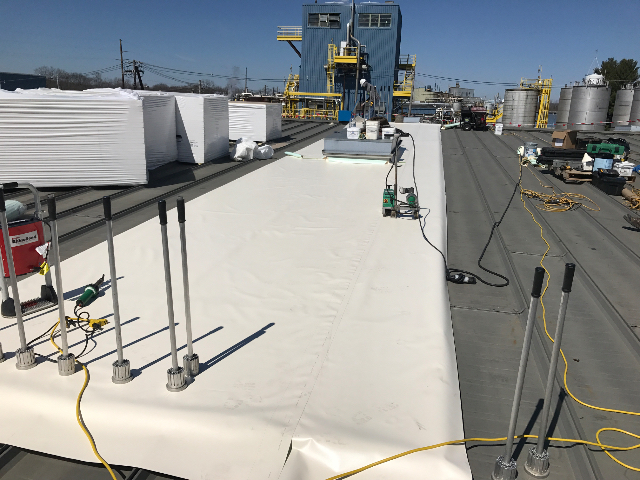
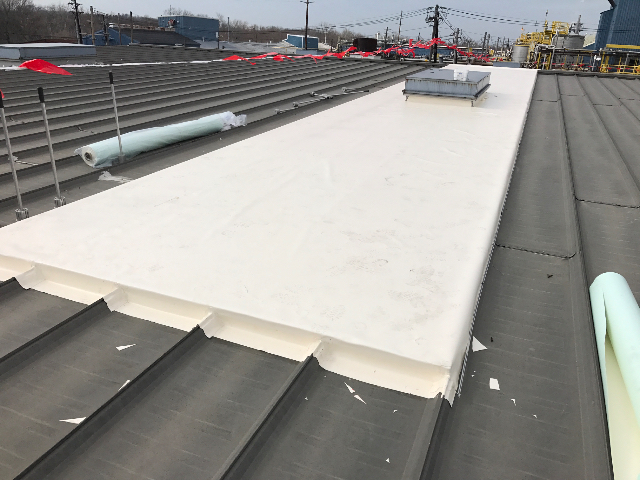
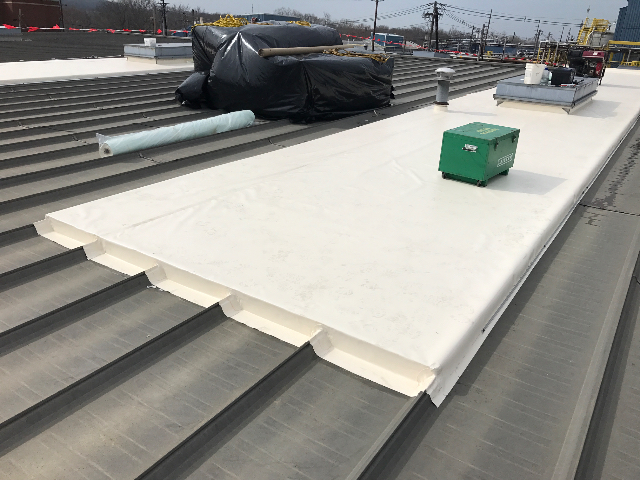
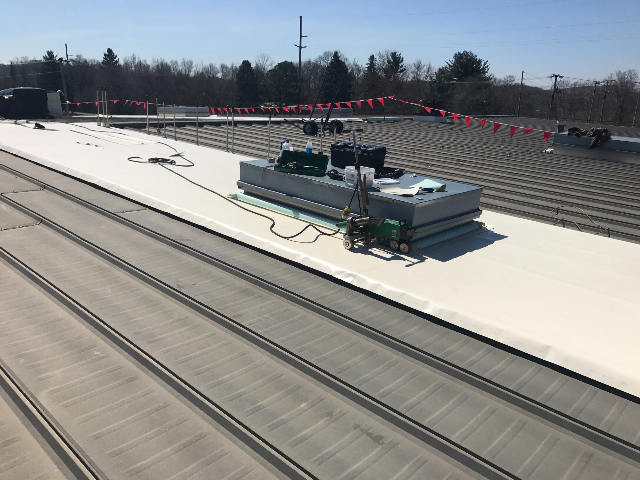
Here is one of the sections after we were done for the day. 03/24/2017
|
Here is a view of the other section. 03/24/2017
|
 |  |
|
Here is the section of skylight that we roofed today. 03/29/2017
|
ISO fill is installed 5 flutes wide around the skylights for stability when we add the top layer. 03/29/2017
|
 |  |
|
The top layer of 1.5 insulation is cut into place and fastened down with plates and screws. 03/29/2017
|
Fibertite material is now rolled out and rhino bonded into place. 03/29/2017
|
 |  |
|
Now that both sheets have been installed they are welded together for a warertite seal. 03/29/2017
|
Angle change plates are screwd in around the skylight to hold the field sheet into place. 03/29/2017
|
 |  |
|
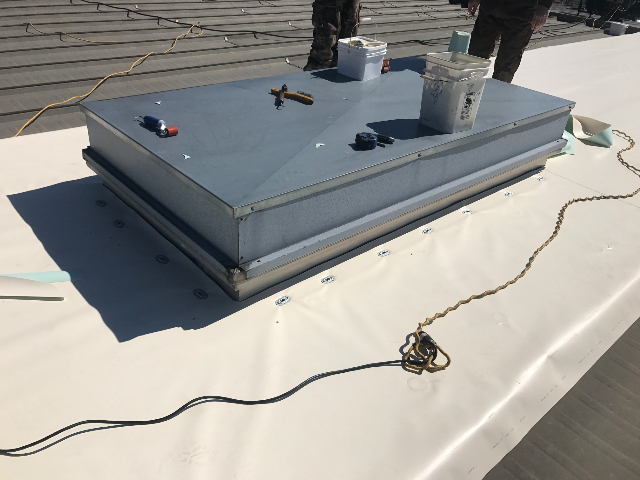
Fibertite pieces are then tacked into place in preparation to wrap the skylight. 03/29/2017
|
The pieces are then welded together for a watertite seal around the skylight. 03/29/2017
|
 |  |
|
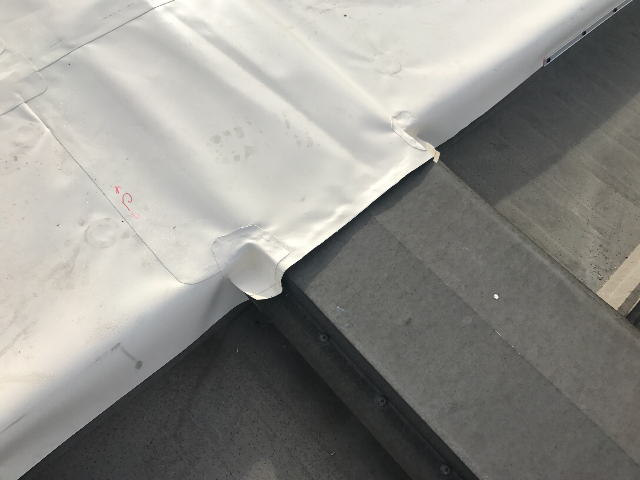
Here is the bottom of one of the roofs after it was cut and flashed in. 03/30/2017
|
This the bottom of another section after then men finished flashing it in. 03/30/2017
|
 |  |
|
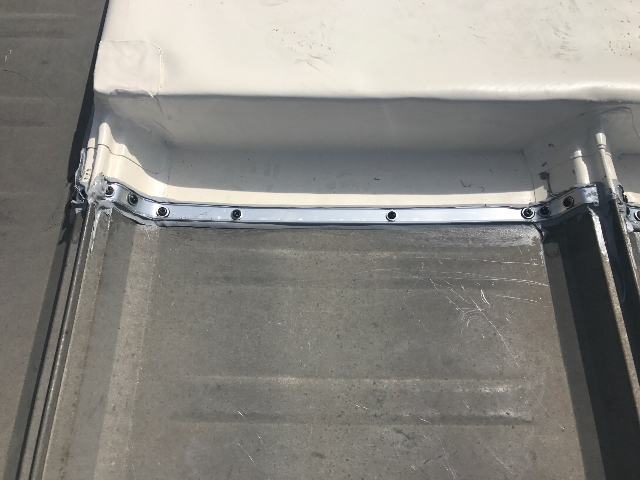
Here is the termination bar after all the screws were installed. 03/30/2017
|
Here is where the peak was terminated with termination bar. 03/30/2017
|
 |  |
|
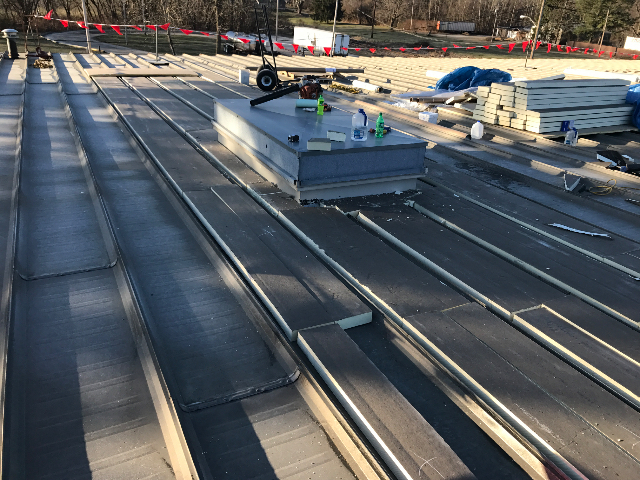
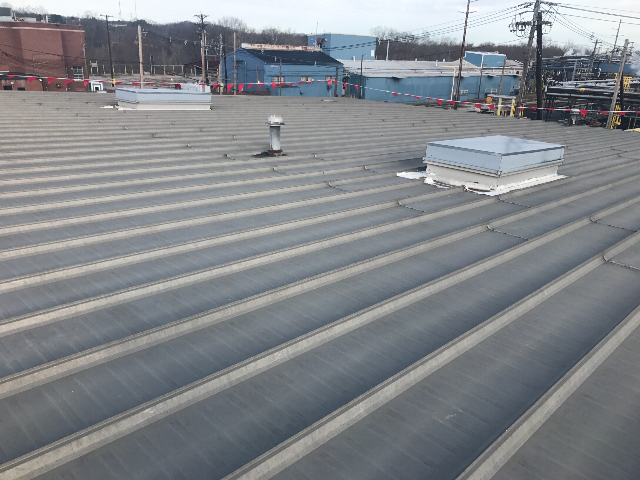
Here's a view of two of the skylights we roofed today. 04/03/2017
|
New insulation fill is being installed into the metal flutes. 04/03/2017
|
 |  |
|
Now that the fill and 1.5" insulation is installed, screws and plates are then used to secure it to the deck. 04/03/2017
|
Fibertite membrane is then rolled out and cut into place. The plates are then heat welded to the FiberTite membrane. 04/03/2017
|
 |  |
|
After the FiberTite membrane is installed and welded a bead of cut off in placed on the metal rib so termination bar can be installed. 04/03/2017
|
Here is a view of one of the sections after we were done for the evening. 04/03/2017
|
 |  |
|
One of the skylight bottoms after it was cut and flashed in. 04/04/2017
|
Water cutoff was placed under the material and termination bar was screwed in. 04/04/2017
|
 |  |
|
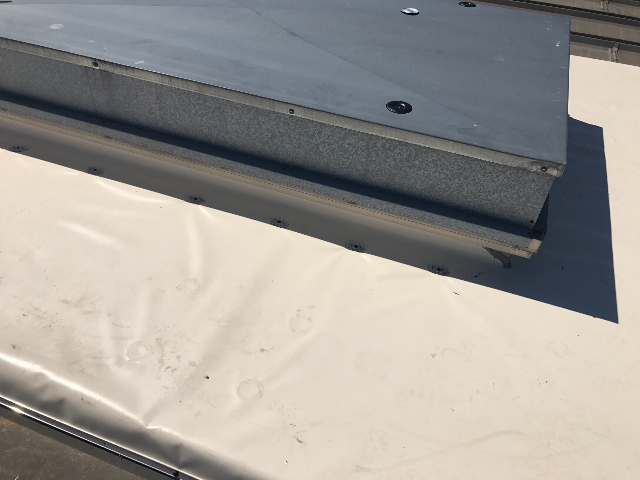
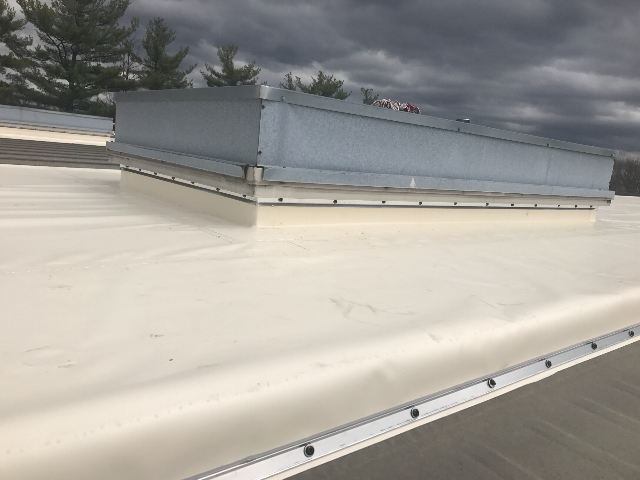
One of the skylights after it was wrapped and flashed in with the FiberTite membrane. 04/04/2017
|
Here you can see the counter flashing has been installed and the termination bar has been caulked. 04/04/2017
|
 |  |
|
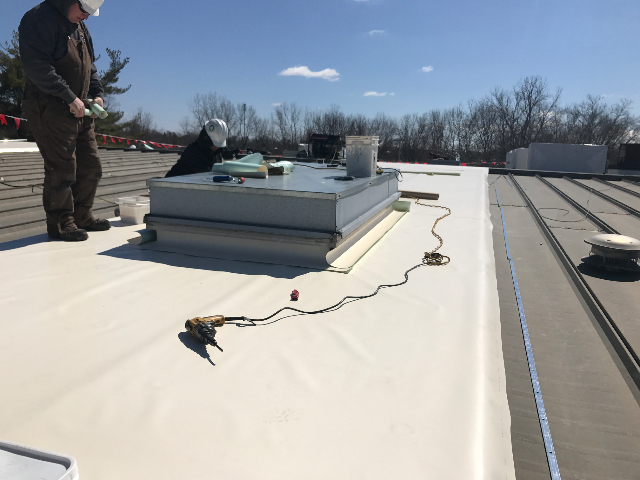
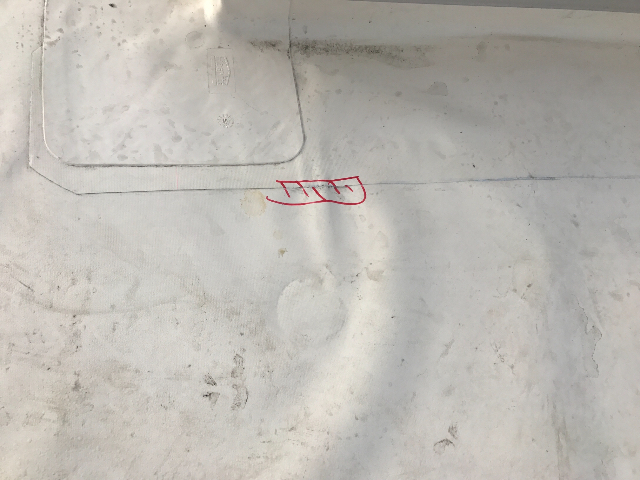
We also probed the roof. Any bad spots are marked with a red marker and then patched with FiberTite. 04/04/2017
|
 |
|
We had to flash in two of the peaks on the new FiberTite roof. 04/05/2017
|
We installed the rest of the termination bar at the bottoms of the FiberTite roofs. 04/05/2017
|
 |  |
|
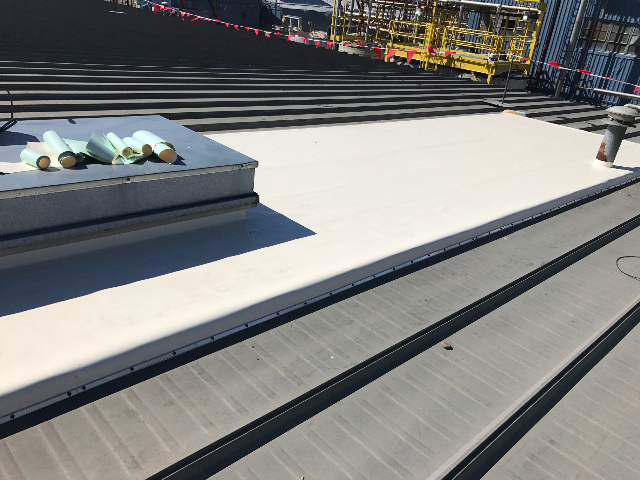
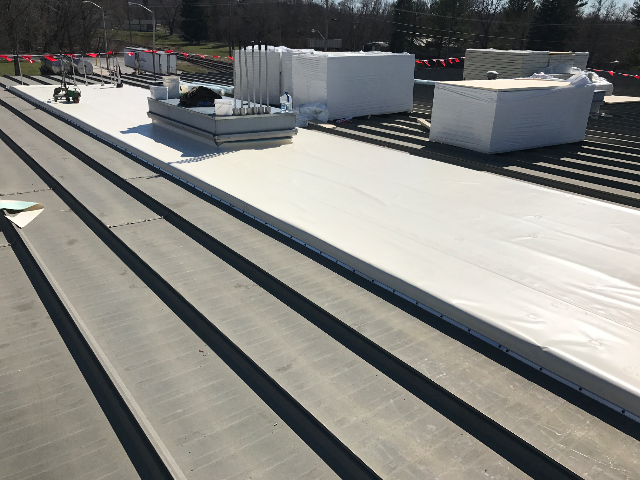
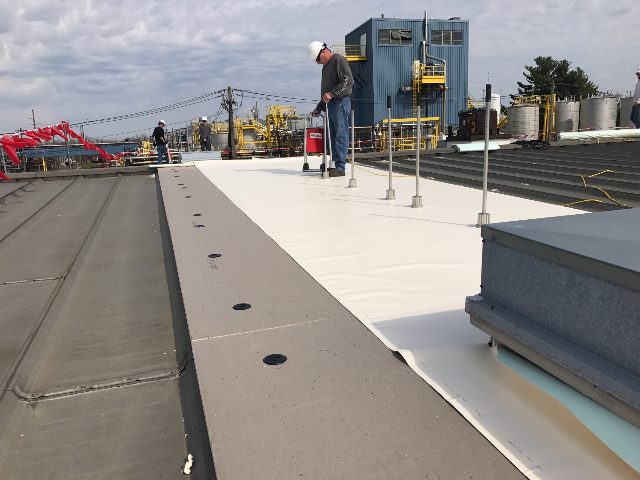
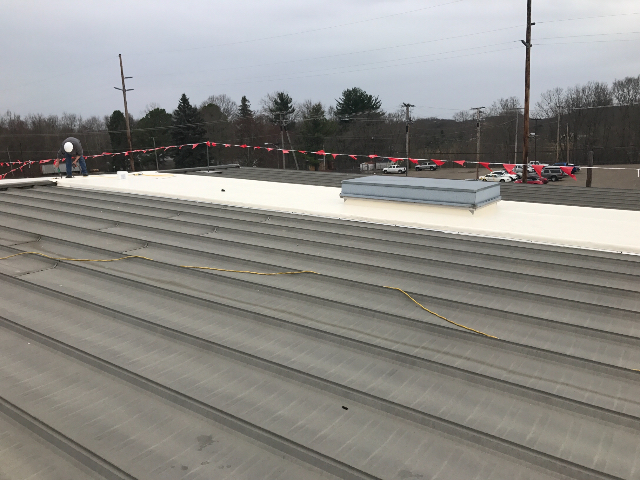
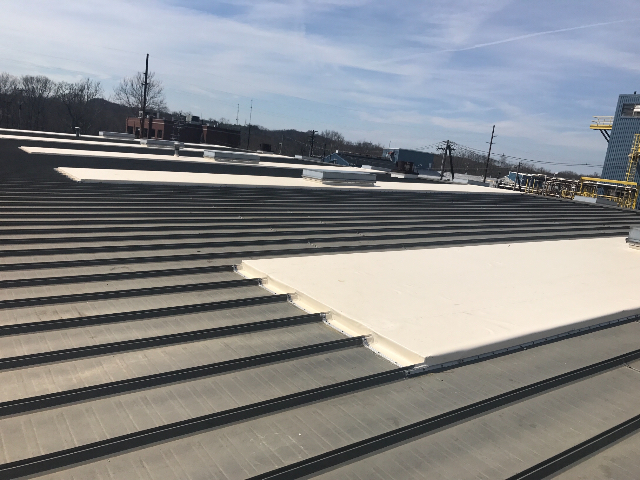
A view of the roof after we were done. 04/05/2017
|
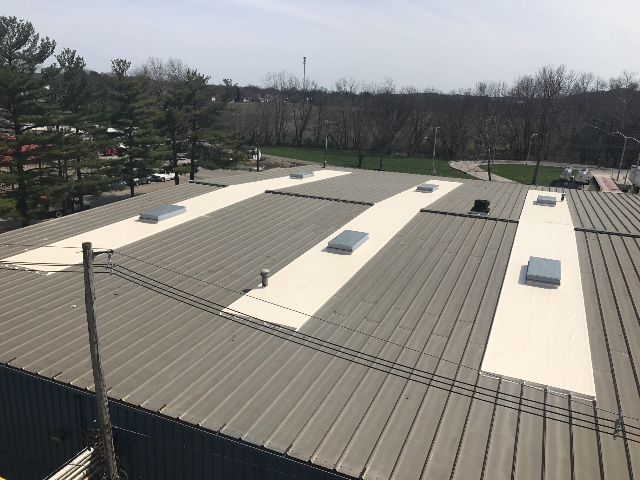
An overview of the FiberTite roof after we were done. 04/05/2017
|
 |  |
|
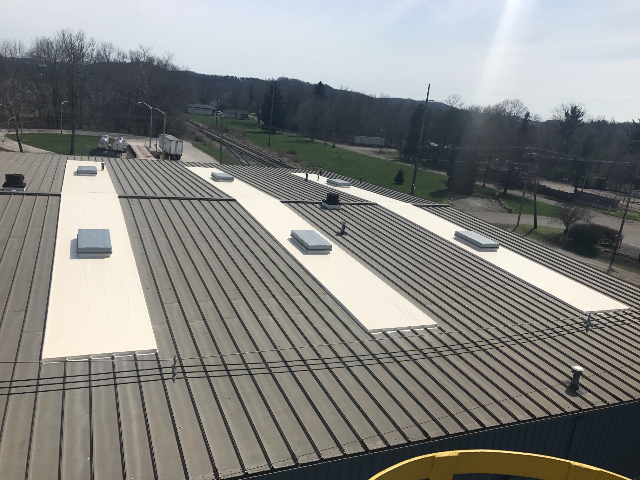
Here is a view of the other side of the roof. 04/05/2017
|
 |